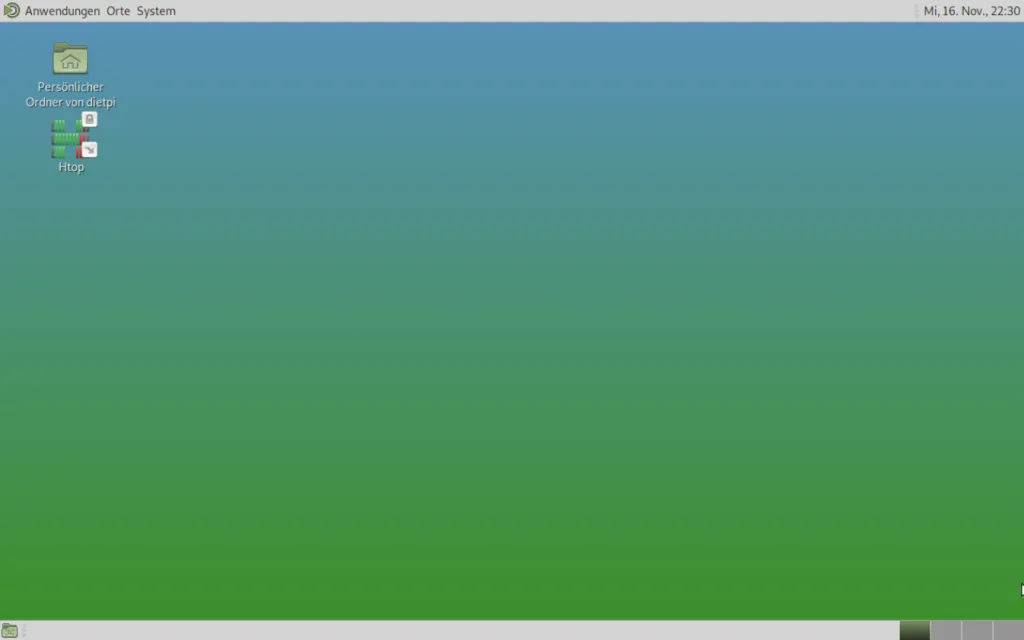
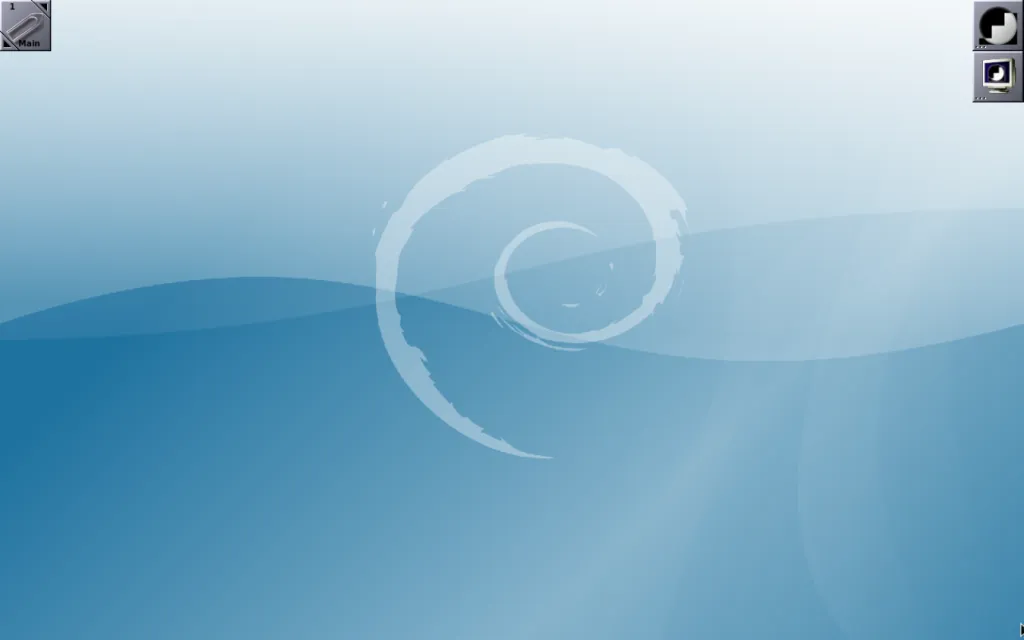
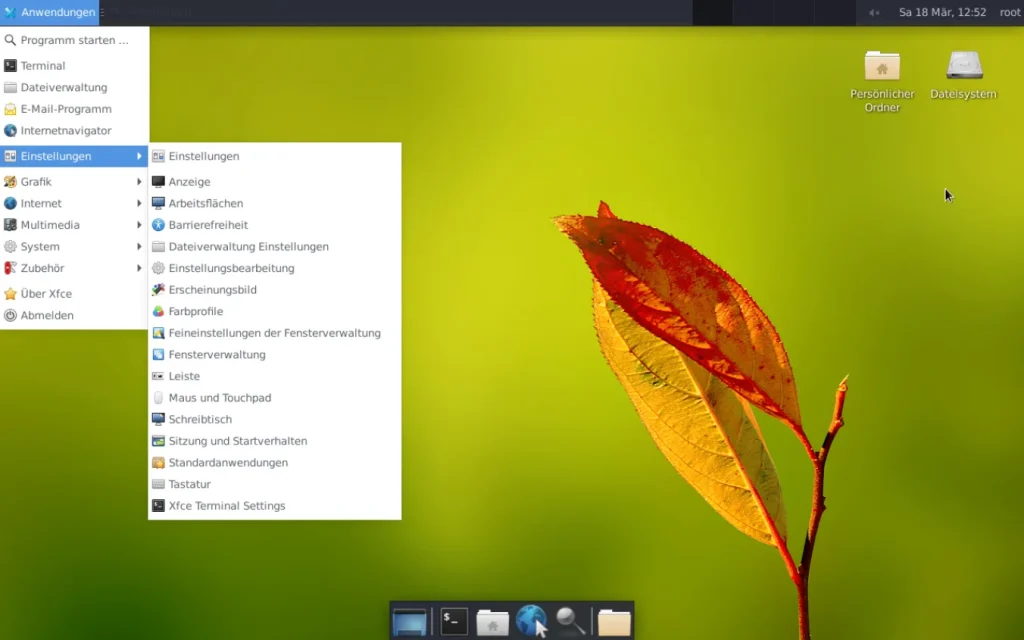
In the last blog entry Install a DietPi desktop system in a few steps, the installation of a DietPi system with a graphical user interface is described. DietPi has built in installation options for a couple of desktop variants (Xfce, MATE, LXDE, LXQt, GNUstep).
This blog post describes how to install further desktop variants and how to change the desktop appearance (theming).
The desciption was generated with DietPi based on Debian 11 (Bullseye). Some Debian 12 (Bookworm) preview options will also be given.
Table of Contents
- DietPi built in installation options
- Getting / installing further GUI desktops
- 2.1 GNOME desktop (version 3)
- 2.2 KDE Plasma
- 2.3 Cinnamon
- 2.4 Budgie
- 2.5 Enlightenment
- 2.6 Xfce
- 2.7 Trinity
- 2.8 Working with several installed X11 desktop UI versions
- Theming (make your desktop look nicer)
- Design examples
1. DietPi built in installation options
DietPi offers a couple of installable via the dietpi-software installer. They are mainly Desktops which focus on a small footprint (disk, RAM).

2. Getting / installing further GUI desktops
The procedure of getting further desktops within a DietPi system has typically these steps:
- Do a base installation of X11 and LightDM
- Install the additional desktop
- Finalizing steps
- Boot to desktop
- Optionally change themes, icons, wallpapers
Starting the desktop (autostart or manually)
Generally, the installation instructions below contain the option of autostarting the desktop login dialog on system boot (via the instruction dietpi-autostart 16). If you choose to let it set to console login (e.g. dietpi-autostart 0), you can start the X11 desktop via the command startx. See also the documentation of DietPi autostart.
2.1 GNOME desktop (version 3)
The GNOME desktop can be installed with several “packages” containing more or less additional apps: GNOME minimal installation, GNOME Debian package, GNOME full installation.
The GNOME version 3 desktop is more focused on touch based desktops (like on tablets).
2.1.1 GNOME minimal installation
Installation:
apt install gnome-session gnome-terminal
dietpi-software install 6
dietpi-autostart 16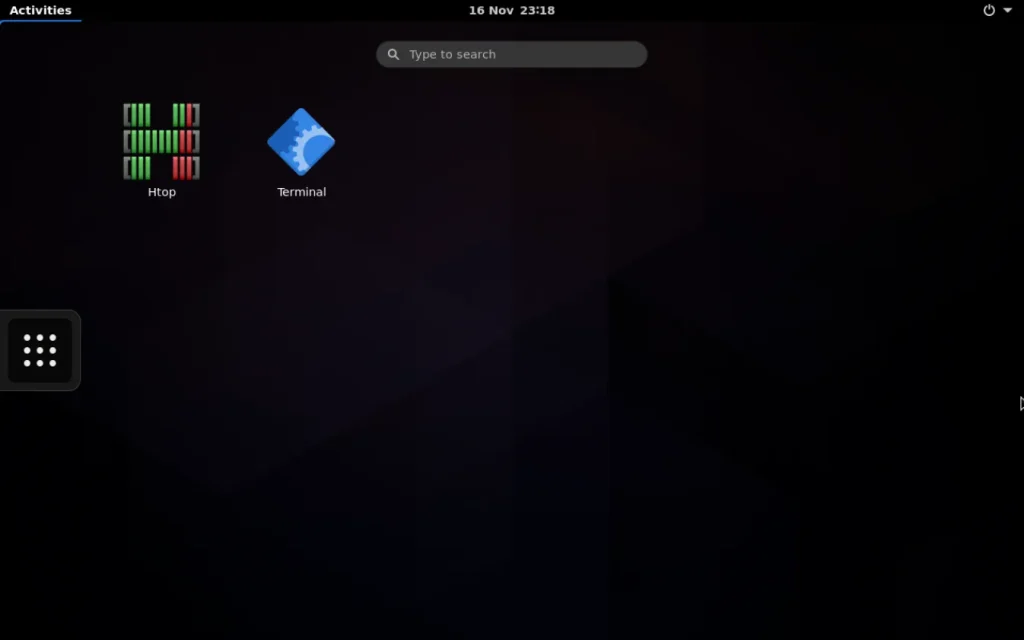
This installation consists only of the minimum package you need to have a GNOME desktop installed.
2.1.2 GNOME Debian package
Installation:
apt install task-gnome-desktop
dietpi-software install 6
dietpi-autostart 16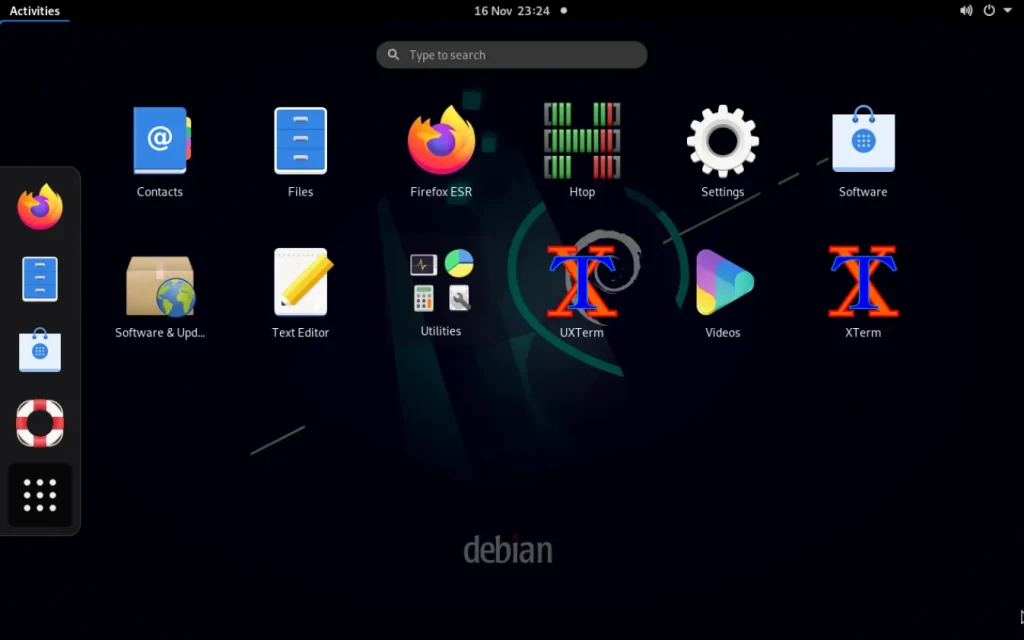
This installation adds a few more apps compared to the minimal installation.
2.1.3 GNOME full installation
Installation:
apt install gnome
dietpi-software install 6
dietpi-autostart 16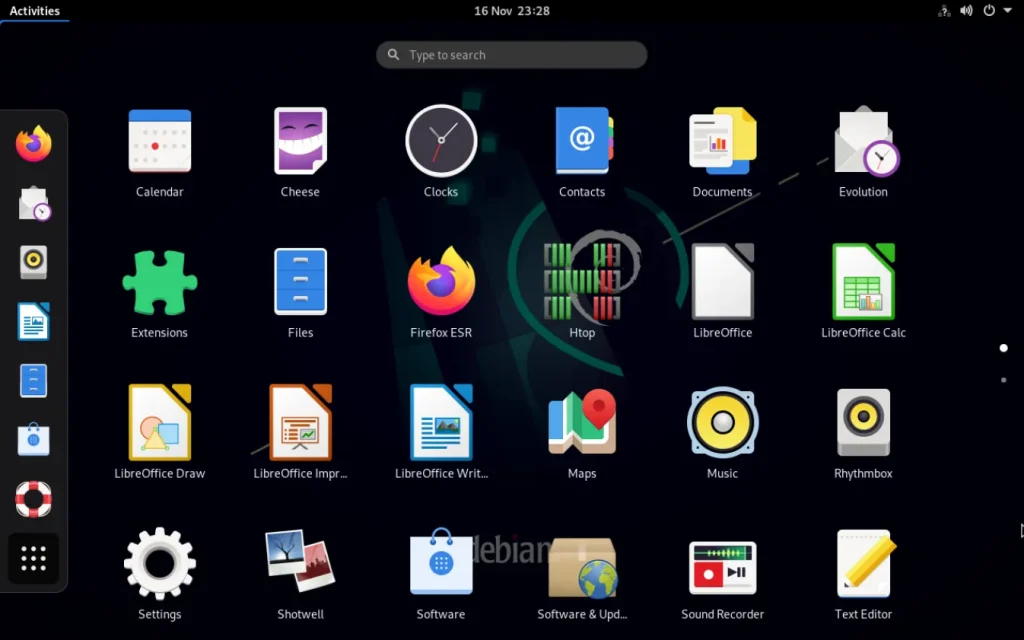
This installation adds many more apps compared to the Debian package installation.
2.1.4 Gnome dock, Gnome panel and other tools
Gnome dock and Gnome panel are good to start applications quickly.
Installation Gnome dock
apt install gnome-shell-extensions gnome-shell-extension-prefs
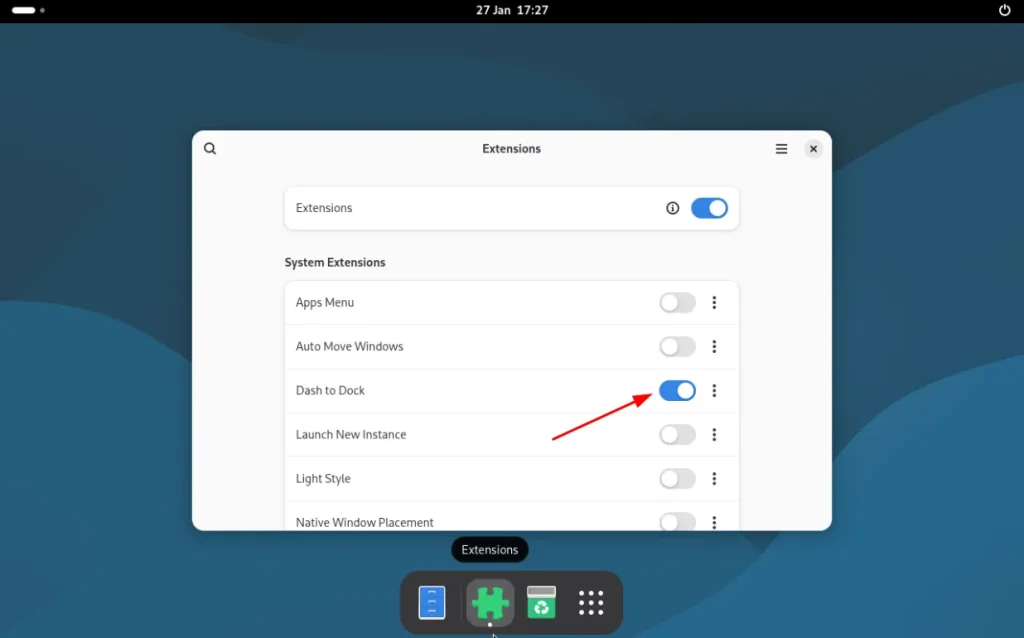
apt install gnome-shell-extension-dash-to-dockThen, after a logout/login or a reboot, the Gnome dock needs to be activated in the “Extensions” app:
Installation Gnome panel
apt install gnome-shell-extensions gnome-shell-extension-prefs
apt install gnome-shell-extension-dash-to-panel
Then, after a logout/login or a reboot, the Gnome panel needs to be activated in the “Extensions” app (see above for the Gnome dock).
Gnome tweaks
An additional worthful extension is the installation of the Gnome tweaks tool:
apt install gnome-tweaksThis gives an app which helps to customize further behaviour/apearance/windows settings (e.g. the Maximize/Minimize buttons in the right upper windows corner):

2.1.5 Themes, extensions
Additional themes, etc. can be found there:
- Apps:
- Themes
- Wallpapers
2.1.6 GNOME 4 preview
Currently the Debian Bullseye apt sources install the GNOME 3 desktop. A preview of the GNOME 4 desktop (e.g. GNOME 43) can be installed in these steps:
- Switch apt sources from bullseye to bookworm and deactivate Debian apt sources regarding “security” resp. “backports”.
- Execute
apt updateapt install gnome
to install the GNOME software. - Change the apt sources back to bullseye and resp. activate the “security” resp. “backports” sources.
- Execute
dietpi-software reinstall 6 - Reboot to the desktop
2.2 KDE Plasma
The KDE Plasma desktop can be installed with several “packages” containing more or less additional apps: KDE Plasma minimal installation, KDE Plasma standard package, KDE Plasma full installation. There is also a Debian package which is identical to the KDE Plasma standard package.
2.2.1 KDE Plasma minimal installation
Installation:
apt install kde-plasma-desktop sddm kde-config-sddm kwin-x11
apt install systemsettings plasma-discover
dietpi-software install 6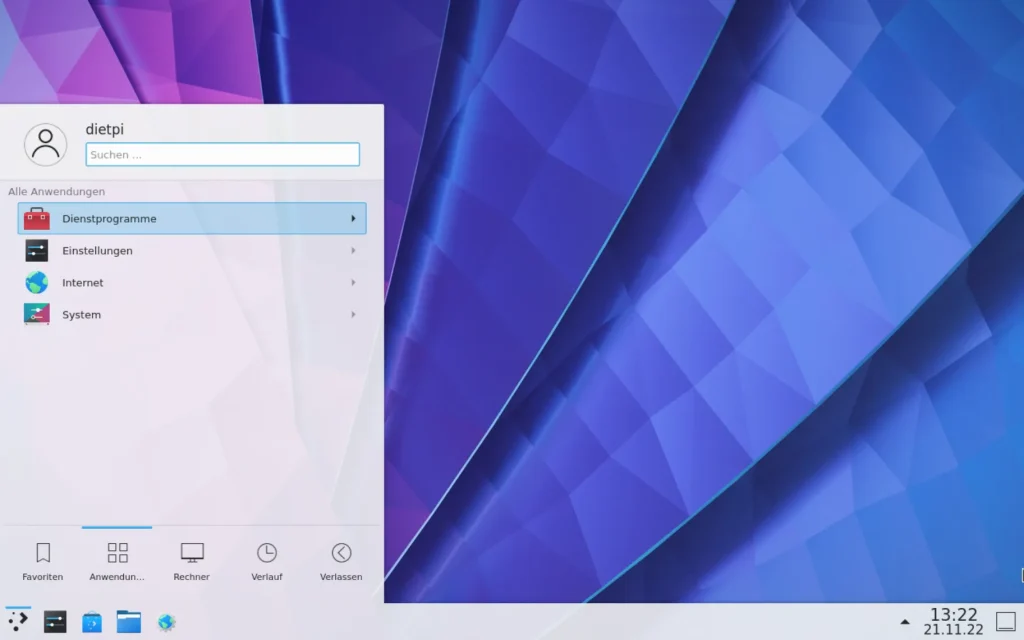
This installation consists only of the minimum package you need to have a KDE desktop installed.
2.2.2 KDE Plasma standard installation
Installation:
apt install kde-standard sddm kde-config-sddm kwin-x11
apt install systemsettings plasma-discover
dietpi-software install 6
This installation adds a couple more apps compared to the minimal installation.
2.2.3 KDE Plasma full installation
Installation:
apt install kde-full sddm kde-config-sddm kwin-x11
apt install systemsettings plasma-discover
dietpi-software install 6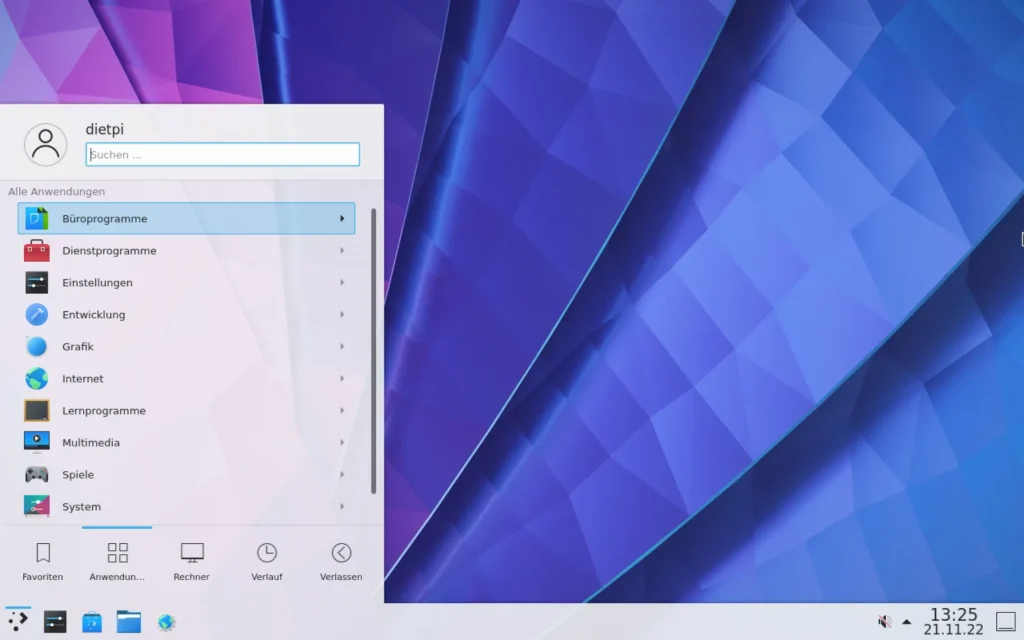
This installation adds many more apps compared to the standard installation.
2.2.4 Themes, extensions
Many KDE stuff can be found, e.g. in the KDE store. In the following some example links for adjusting the desktop are given:
- Themes
- Apps
- Wallpapers
2.2.5 Remarks
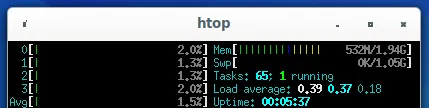
- The first call of the app
plasma-discover(app package management) usually takes a longer time and might last several minutes. This can be monitored withinhtopwhere the task/usr/libexec/packagekitduses much of the processing power during the database update.
2.3 Cinnamon
Like the other desktops described before, Cinnamon desktop can also be installed with several “packages”: Cinnamon core (minimal installation) and Cinnamon full desktop installation. There is also a Debian package which is nearly identical to the full desktop installation.
2.3.1 Cinnamon core (minimal installation)
Installation:
apt install cinnamon-core
dietpi-software install 6
dietpi-autostart 16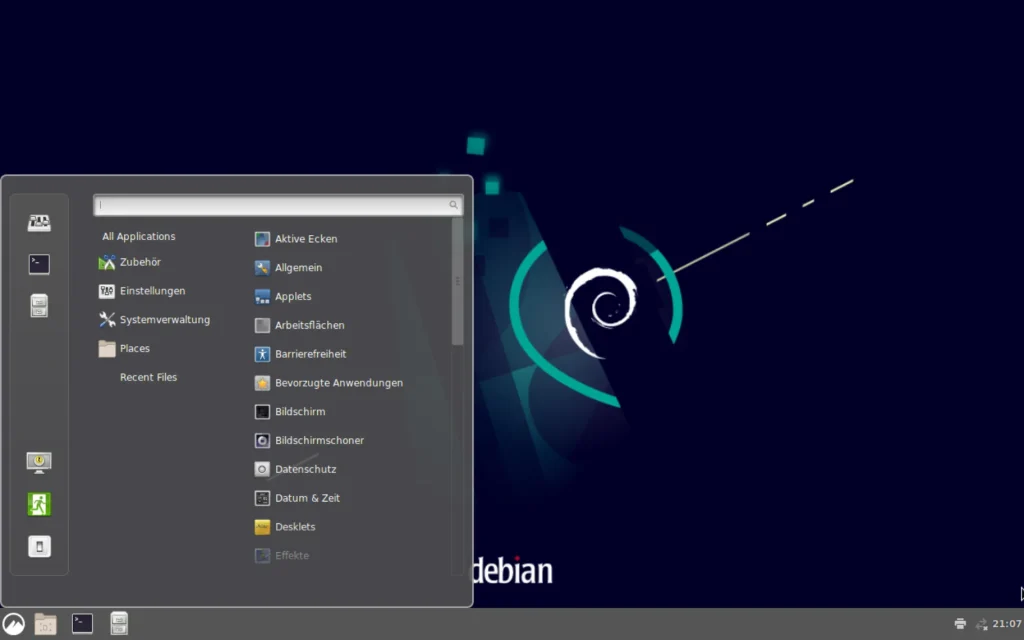
The Cinnamon core installation only offers very few basic applications.
2.3.2 Cinnamon full desktop installation
Installation:
apt install cinnamon-desktop-environment
dietpi-software install 6
dietpi-autostart 16
This screenshot was made with a different theme and icons compared to the Cinnamon core installation above to show how easy the look is changeable by theming.
2.3.3 Themes, extensions
There is a large list of repositories for Cinnamon theming, like e.g.:
- Themes
- Apps
- Wallpapers
2.4 Budgie
The design of Budgie emphasizes simplicity and elegance.
2.4.1 Budgie 1.1
Installation:
apt install budgie-desktop
dietpi-software install 6
dietpi-autostart 16
Remark: Do not forget to select Budgie Desktop instead of Default Xsession in the login screen in the upper right corner.
One example theme can be found there: https://www.gnome-look.org/p/1276879/
2.4.2 Budgie 1.5 preview
Budgie 1.5 is the desktop version which is installed with the upcoming Debian 12 (bookworm). A preview screenshot is:
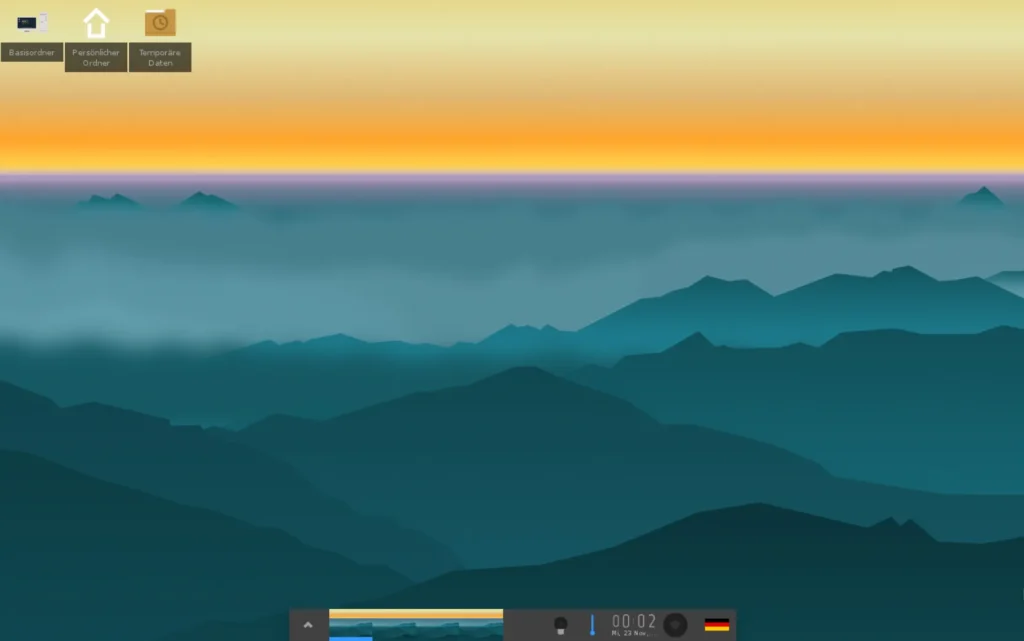
2.5 Enlightenment
2.5.1 Enlightenment 0.24
The Enlightenment desktop has a basic installation.
Installation:
apt install enlightenment terminology acpid
dietpi-software install 6
dietpi-autostart 16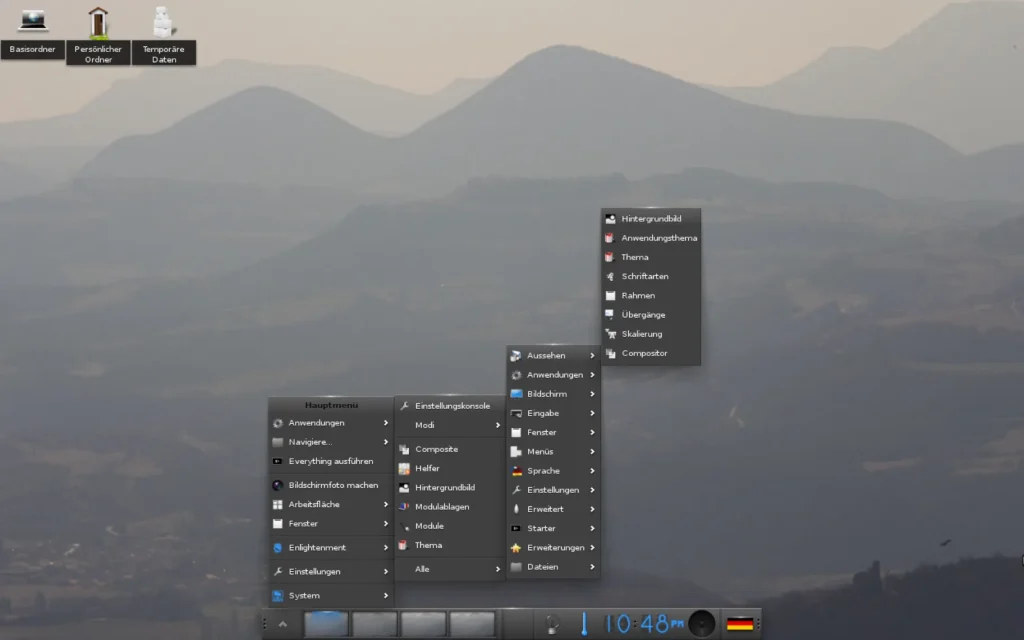
The screenshot was taken with a changed wallpaper.
2.5.2 Enlightenment 0.25 preview
Currently the Debian Bullseye apt sources install the Enlightenment desktop version 0.24. A preview of the version 0.25 desktop can be installed in these steps:
- Switch apt sources from bullseye to bookworm and deactivate Debian apt sources regarding “security” resp. “backports”.
- Execute
apt updateapt reinstall enlightenment terminology acpid
to install the new desktop package. - Change the apt sources back to bullseye and resp. activate the “security” resp. “backports” sources.
- Reboot the desktop
2.6 Xfce
General information can be retrieved there: https://www.xfce.org/
2.6.1 Themes, extensions
- Themes
- Apps
- Wallpapers
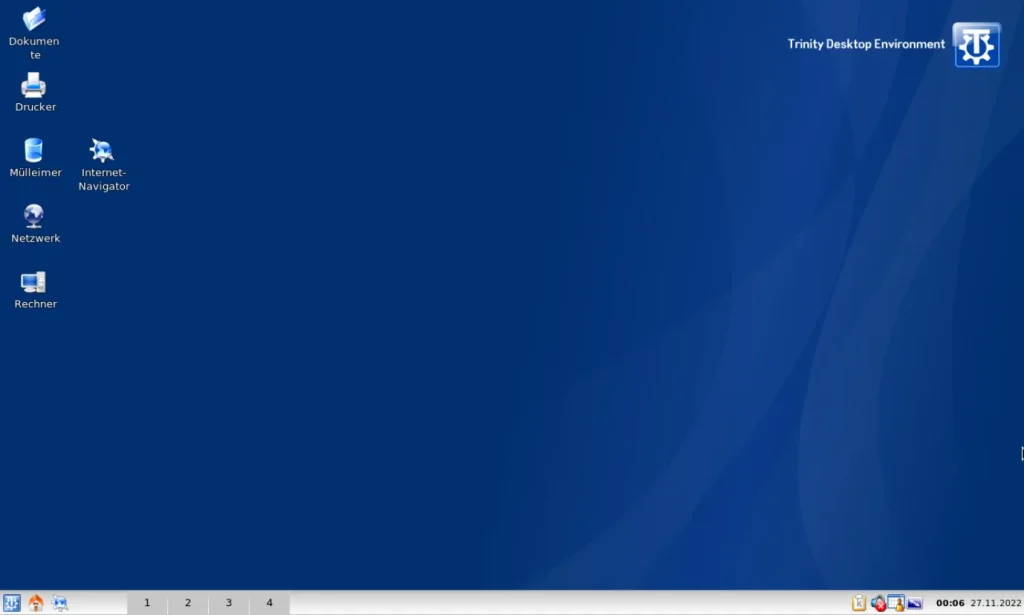
2.7 Trinity
General information can be retrieved there: https://www.trinitydesktop.org/
The Trinity desktop has a basic installation with the following installation steps.
Set apt sources for Trinity (e.g. via nano /etc/apt/sources.list.d/trinity.list):
deb http://mirror.ppa.trinitydesktop.org/trinity/deb/trinity-r14.0.x bullseye main
deb http://mirror.ppa.trinitydesktop.org/trinity/deb/trinity-builddeps-r14.0.x bullseye main
Then install the desktop via:
wget http://mirror.ppa.trinitydesktop.org/trinity/deb/trinity-keyring.deb
dpkg -i trinity-keyring.deb
apt update
apt install tde-trinity
dietpi-software install 6
dietpi-autostart 16
Then add your language file via apt install tde-i18n-<region>-trinity. Replace <region> with your country code, e.g. :
apt install tde-i18n-de-trinityAfter all, reboot to the destop login.
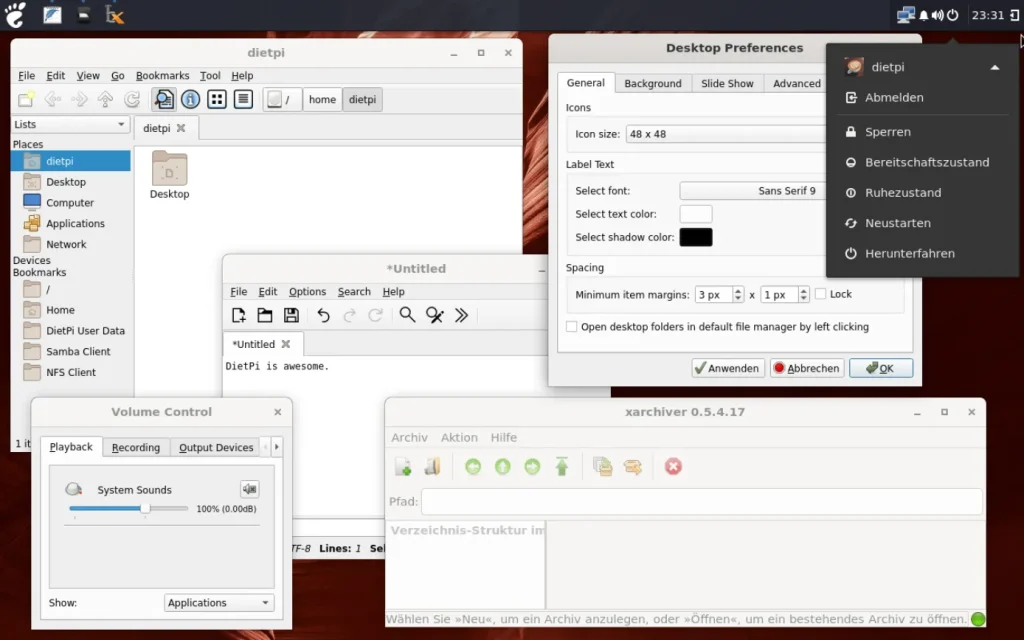
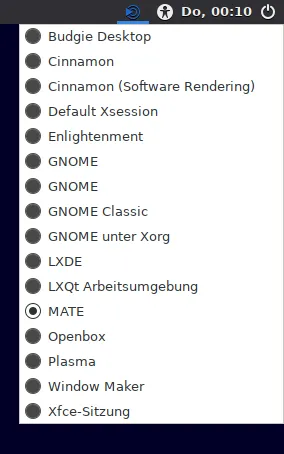
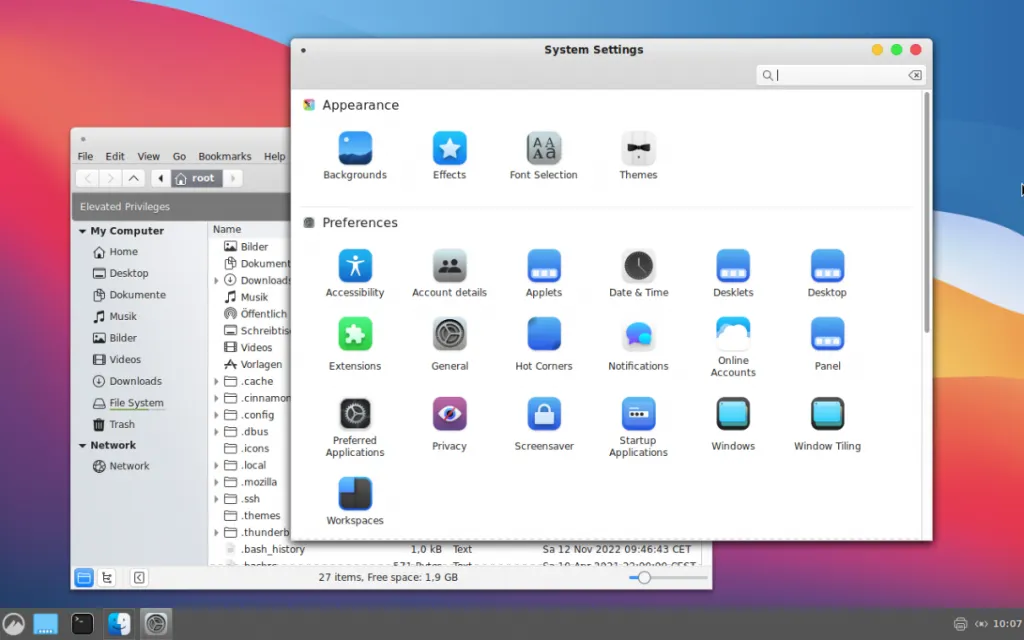
2.8 Working with several installed X11 desktop UI versions
If you have more than one X11 desktop UIs installed, you can select the active one within the login screen in the upper right corner. Just enter name and password, after this select the desktop UI version and then log in. Here an example screenshot with many installed desktops:
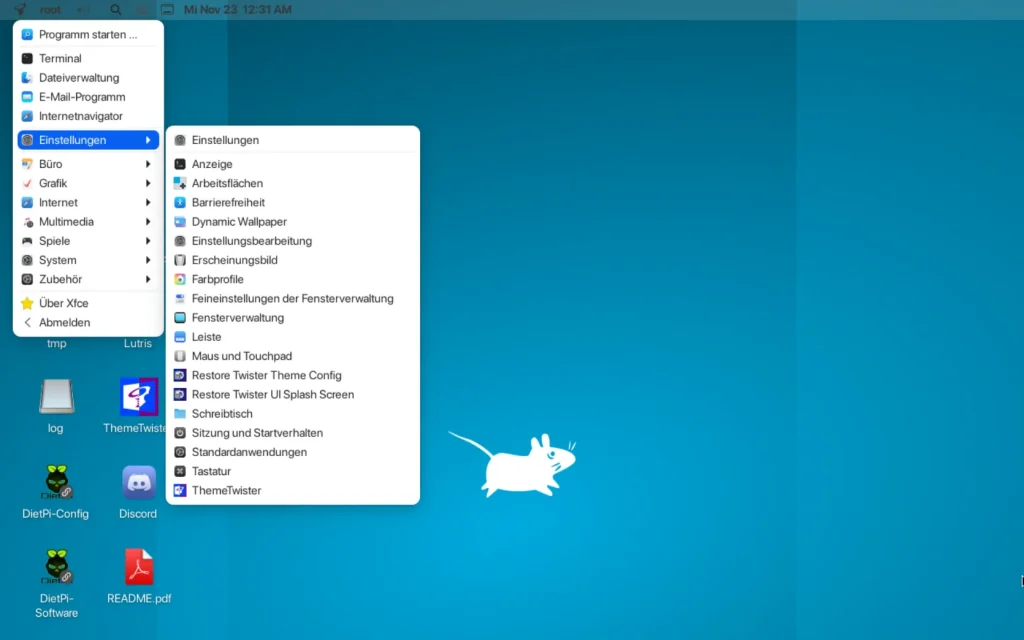
3. Theming (make your desktop look nicer)
3.1 Manually changing themes
3.1.1 General
Theming is used to tweak the look of the desktop environments.
An example with different wallpapers and icons show these screenshots:

Themes, icon sets and wallpapers typically need to be downloaded and installed on your system, therefore a couple of web page links are given at at the desktop sections above. To provide these downloaded tweaks for all users, they need to be copied to these locations:
- themes to
/usr/share/themes - icons to
/usr/share/icons - wallpapers to
/usr/share/wallpapers
Why theming? Often, the basic desktops do not have a very nice look, e.g. default window borders might show (example Cinnamon):
This can be changed by selecting a different theme. An example could be these theme options:

An example with a different icon theme, e.g. in a macOS look could be (example Cinnamon, no panel at the bottom):
A more macOS natural theme can be retrieved there: https://github.com/vinceliuice/WhiteSur-gtk-the
3.1.2 Tweaking with the settings app
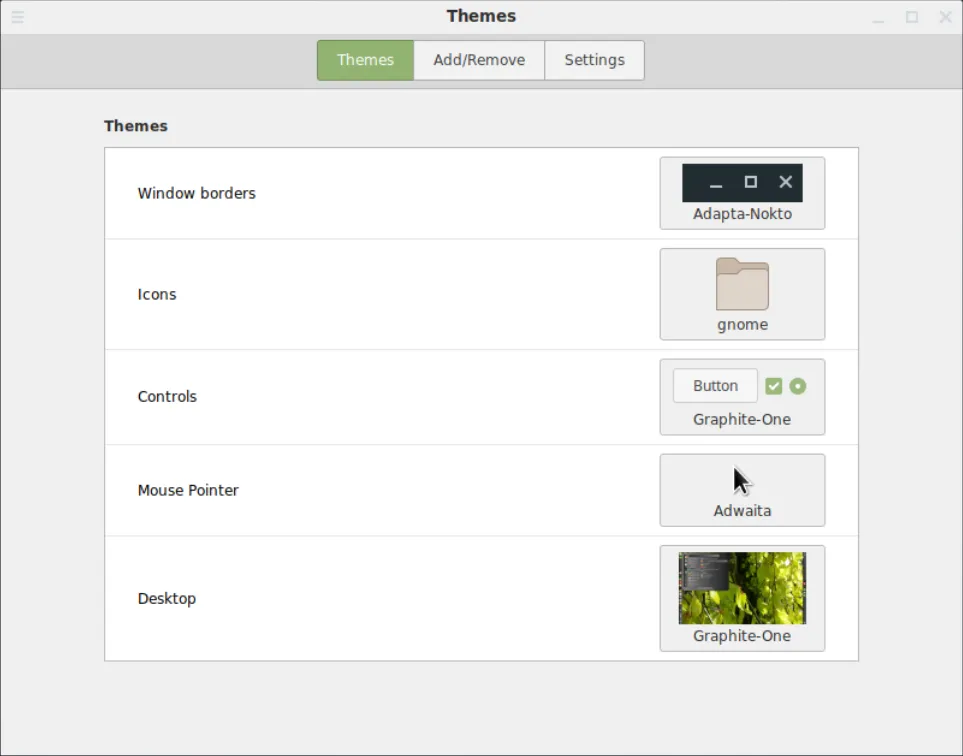
Themes are typically set via the systems settings, e.g. in Cinnamon it looks like this:
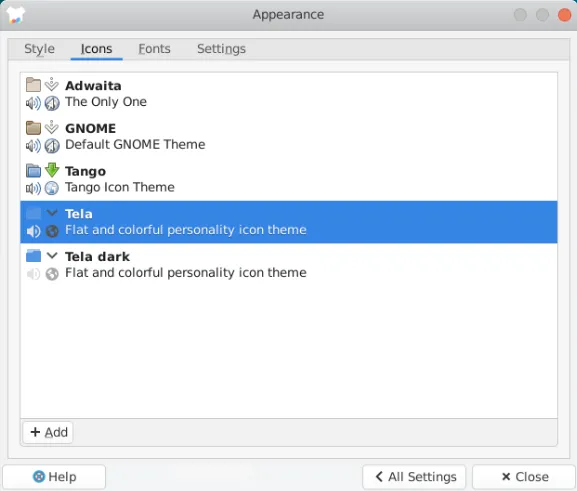
In the Xfce example, you can add themes and icons via the +Add button (see screenshot below). If you previously downloaded themes resp. icons they can be selected.
Example procedure for an icon theme:
- Search for a theme (e.g. goto https://www.xfce-look.org and select “XFCE/XFWM4 Themes” or “GTK3/4 Themes” on the left side)
- Find a theme of your choice and download the theme from the “files” tab.
Example- Select Tela-icon-theme
- Download
01-Tela.tar.xz
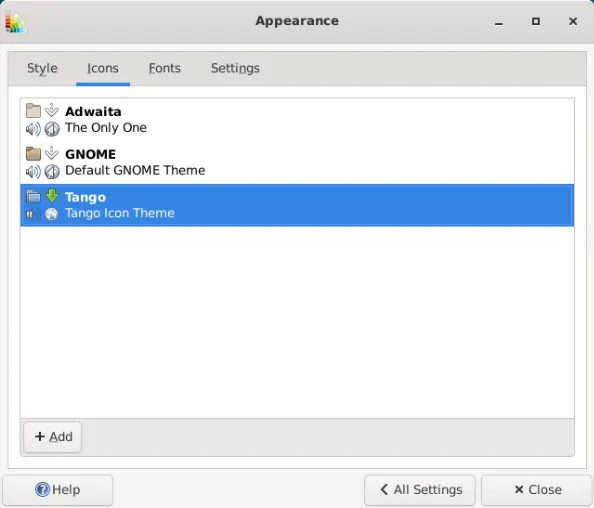
- Go to the “Appearance” settings app (see screenshot above), select the “Icons” tab and press the
+Addbutton - Select the downloaded file and install it
- After you installed the icon theme you can select it in the “Appearance” app
Remark: Possibly you need to install an uncompress program (e.g. like xz-utils) to be able to open the downloaded .xz file before selecting it in the settings app:
apt install xz-utilsThen you can select the new icons:
3.2 Theme changing using TwisterUI
There is a nice tool, TwisterUI, available which contain an automatic theme changer and a couple of predefined themes. See https://twisteros.com/twisterui.html for the latest version.
TwisterUI can be installed via:
wget https://archive.org/download/twister-uiv-2-1-2-install/TwisterUIv2-1-2Install.run
chmod +x TwisterUIv2-1-2Install.run
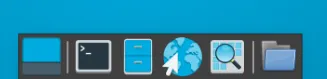
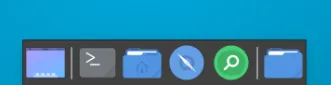
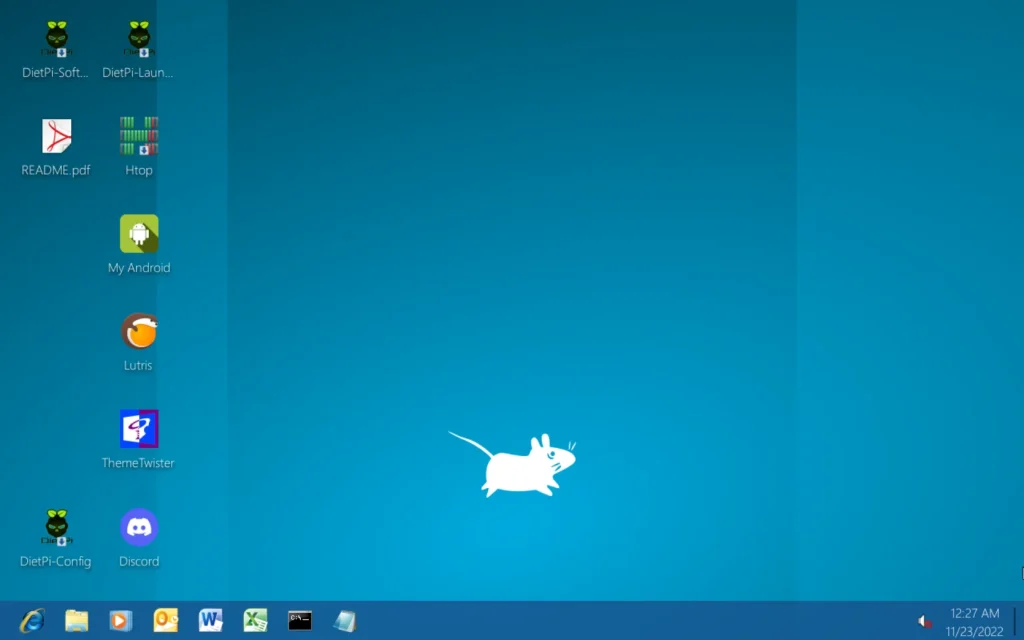
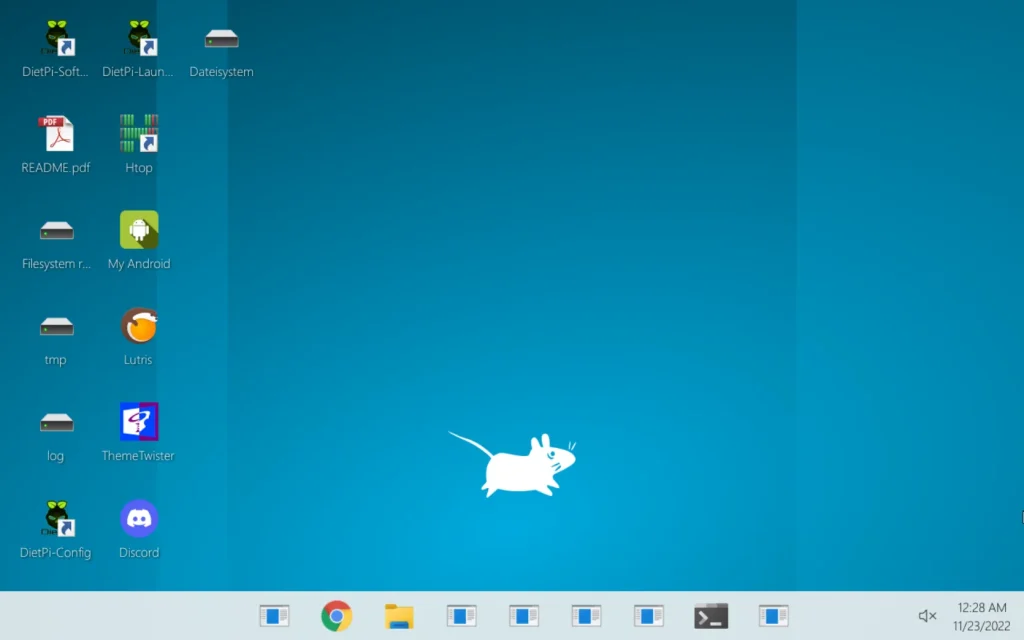
./TwisterUIv2-1-2Install.runThe following screenshots were taken by installing TwisterUI on top of the Xfce desktop. On the desktop there is a program called ThemeTwister which changes your themes. Some screenshots are given:
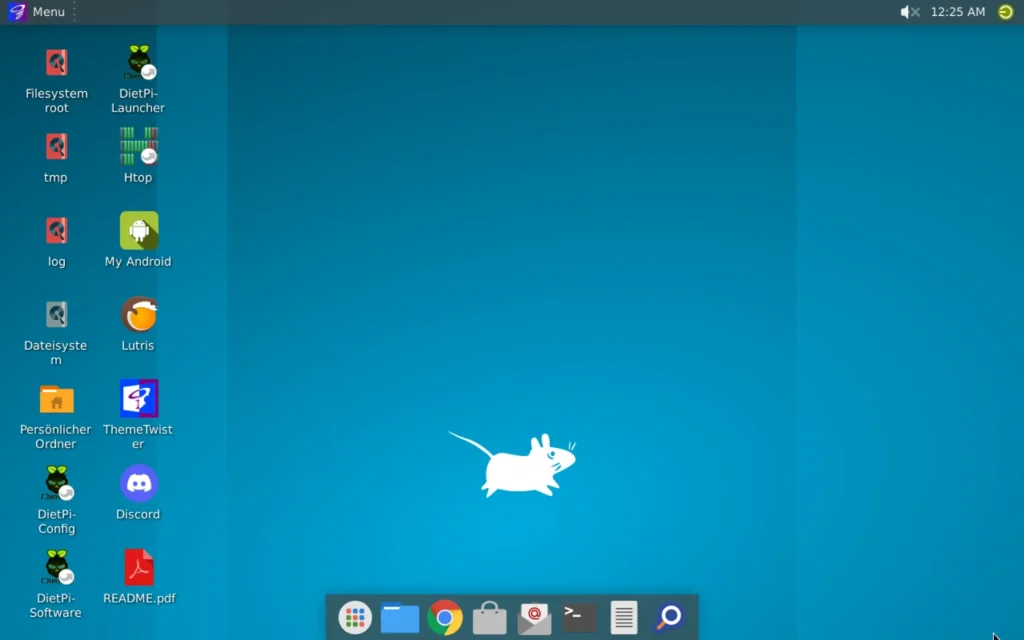
without extra dock at the bottom
3.3 Check theming via neofetch
The command line program neofetch is a good choice of showing your X11 configuration. neofetch is installed via
apt install neofetchIf called, it prints out the X11 configuration, see e.g. entries Theme and Icons:

3.4 Icon themes
There are a couple of icon themes which are part of the Debian packages. They can be easily installed via the apt install ... command line and be selected via the GUI theming tool. Some examples are:
- adwaita-icon-theme
- breeze-icon-theme
- deepin-icon-theme
- elementary-xfce-icon-theme
- faenza-icon-theme
- moka-icon-theme
- obsidian-icon-theme
- paper-icon-theme
- papirus-icon-theme
See https://packages.debian.org/search?suite=bullseye&arch=any&searchon=names&keywords=icon-theme for a complete list.
4. Design examples
4.1 Cinnamon example based on Linux Guides
This design example was taken from the YouTube video “Warum ich kein Linux Mint mehr nutze – Für fortgeschrittene Nutzer” from Linux Guides DE
Installation steps:
- Install the Cinnamon desktop like described above
- Install the following packages
apt install gnome-software lightdm-settings slick-greeterapt install plymouth-themes arc-theme papirus-icon-theme dmz-cursor-theme
- Change themes (Window borders, Icons, Controls, Mouse Pointer and Desktop) like shown below:

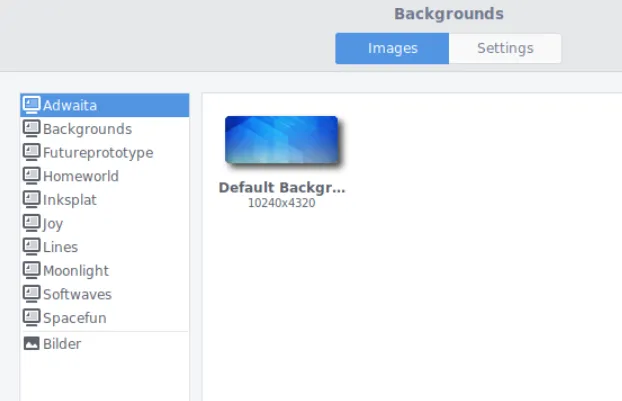
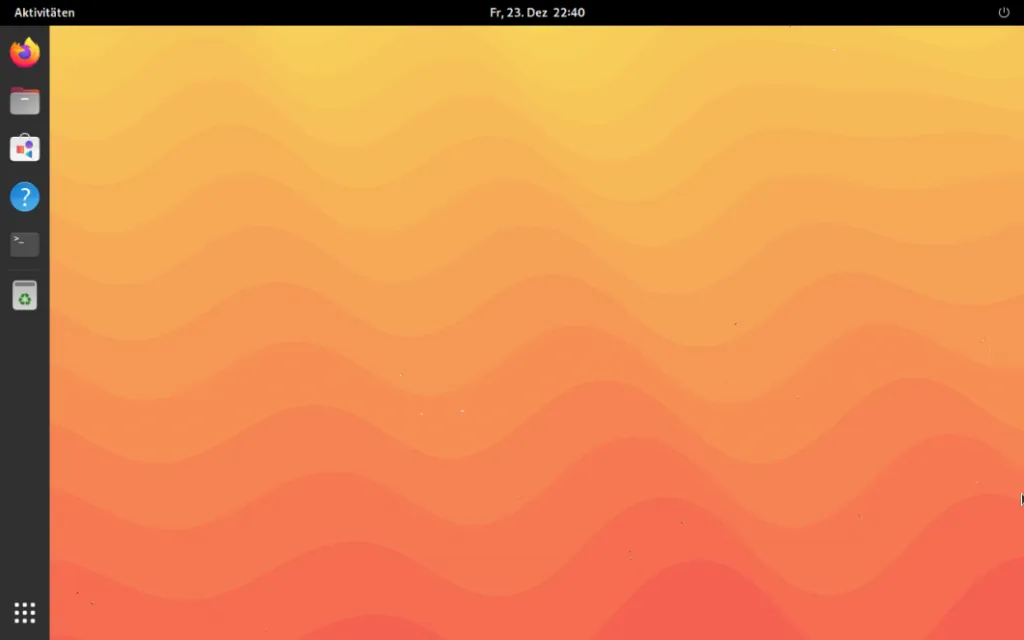
- Change desktop background to one of your pleasure:
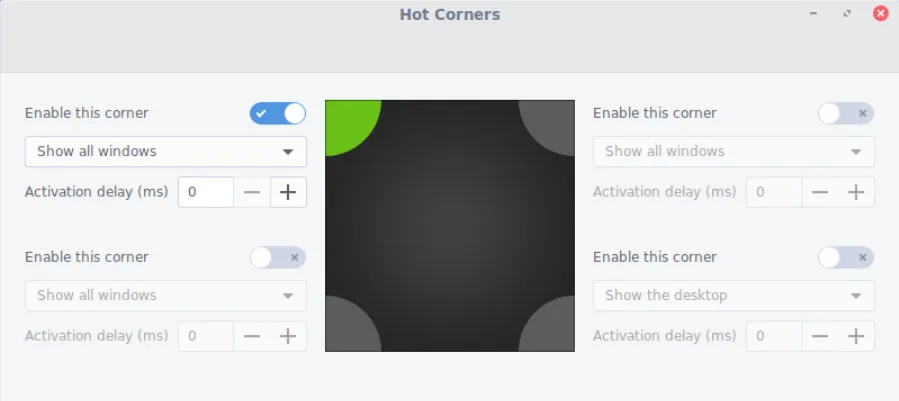
- Add “hot corner” functionality, e.g.:
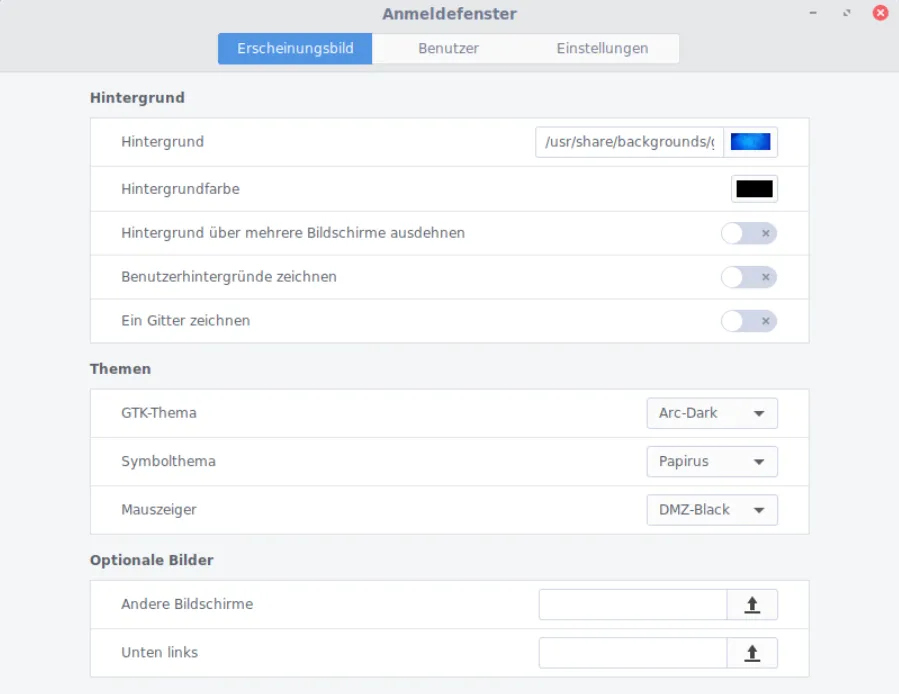
- Change LightDM login screen appearance via
lightdm-settings:
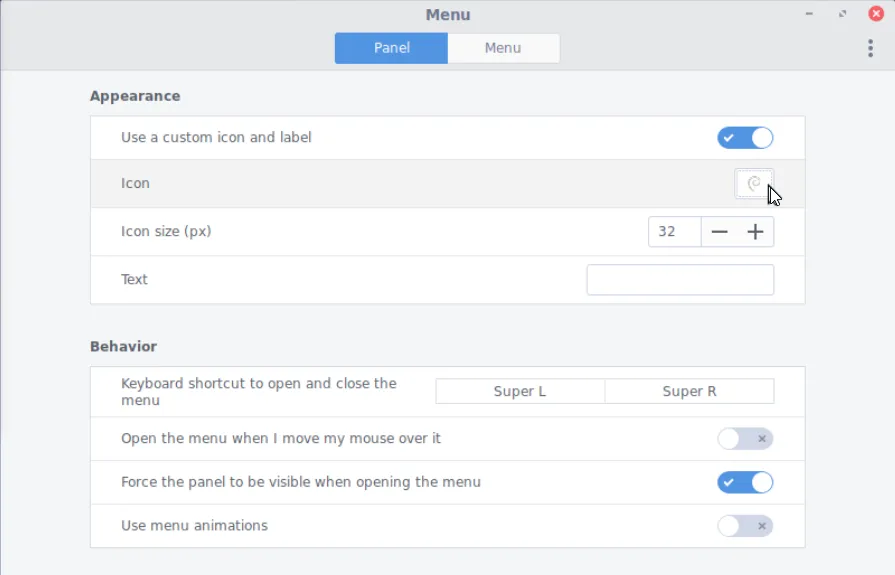
- Set start menu icon and text (via “Configure” context menu entry):
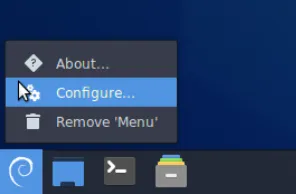
Choose “Use a custom icon and label” and select emblem-debian-white for the icon and and empty “Text” field:
The themes and other settings can also be executed in a terminal within an GUI session (i.e. not via an SSH terminal session!):
gsettings set org.cinnamon.theme name 'Arc-Dark'
gsettings set org.cinnamon.desktop.background.slideshow image-source 'xml:///usr/share/gnome-background-properties/adwaita.xml'
gsettings set org.cinnamon.desktop.background picture-options 'zoom'
gsettings set org.cinnamon.desktop.background picture-uri 'file:///usr/share/backgrounds/gnome/adwaita-timed.xml'
gsettings set org.cinnamon.desktop.interface cursor-theme 'DMZ-White'
gsettings set org.cinnamon.desktop.interface gtk-theme 'Arc'
gsettings set org.cinnamon.desktop.interface icon-theme 'Papirus'
The start menu icon/text can be set via:
gsettings set org.cinnamon app-menu-label ''
gsettings set org.cinnamon app-menu-icon-name 'emblem-debian-white'
4.2 Yaru (Ubuntu desktop design)
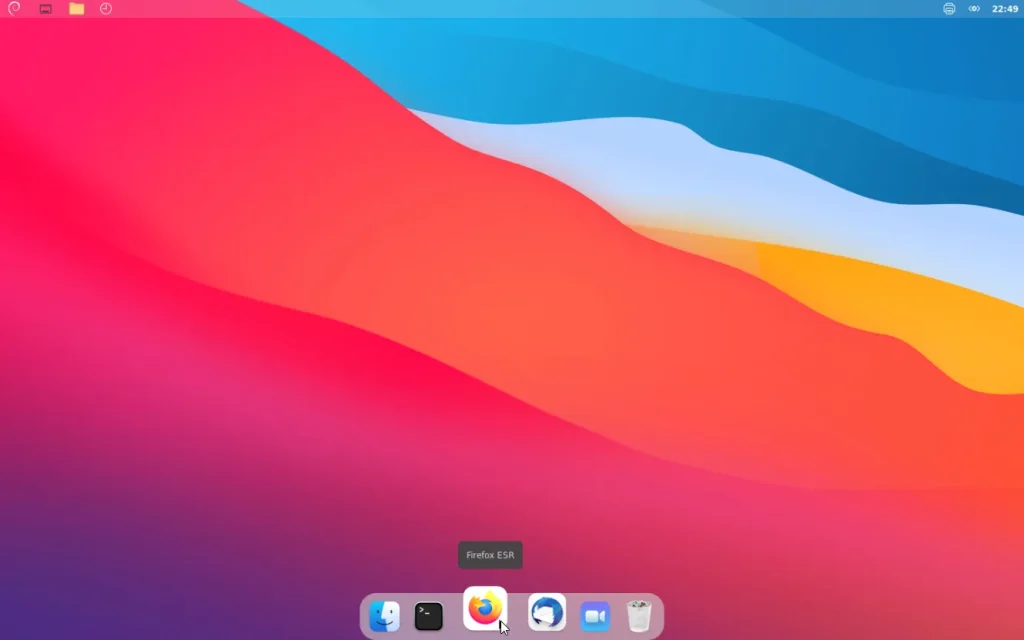
The basis for this is a Debian Bookworm system, i.e. you first need to update your system to Bookworm. Then, the Yaru design is installed/selected and the GNOME dock (gnome-shell-extension-dashtodock) is tweaked.
Installation steps:
- Install the GNOME desktop like described above
- Install the following packages
apt install gnome-tweaks gnome-shell-extension-dashtodockapt install yaru-theme-gtk yaru-theme-icon yaru-theme-sound yaru-theme-unity
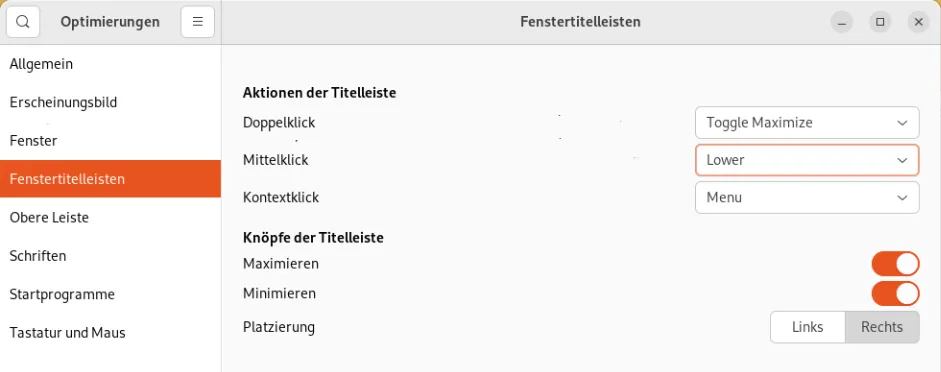
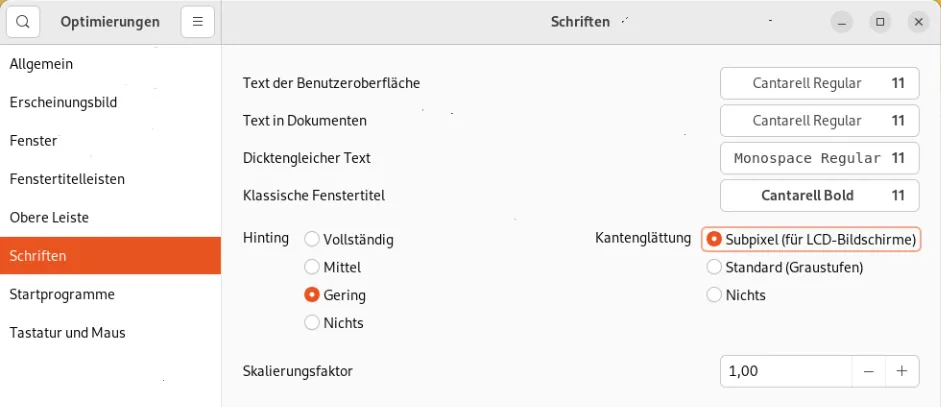
- Set appearance to Yaru via gnome-tweaks (program “Optimierungen” resp. “Optimizations”):

- Set window title border:
- Set fonts:
- Set dock settings via
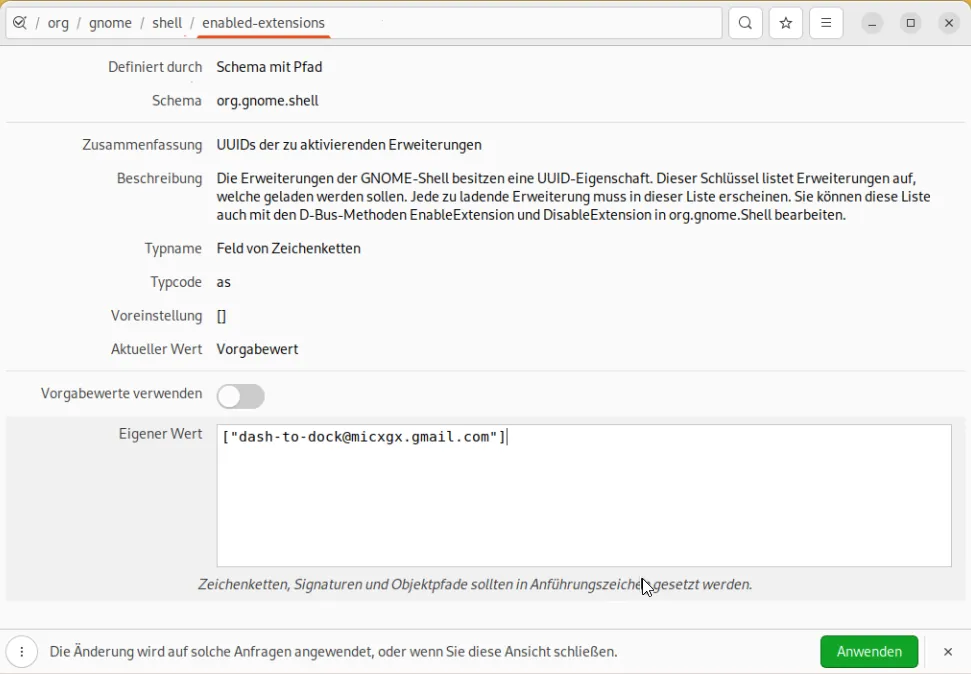
gsettings(must be done in an X11 session and not via an SSH terminal session):
gsettings set org.gnome.shell enabled-extensions "['dash-to-dock@micxgx.gmail.com']"
gsettings set org.gnome.shell.extensions.dash-to-dock click-action "'focus-or-previews'"
gsettings set org.gnome.shell.extensions.dash-to-dock custom-theme-shrink "true"
gsettings set org.gnome.shell.extensions.dash-to-dock dash-max-icon-size "40"
gsettings set org.gnome.shell.extensions.dash-to-dock disable-overview-on-startup "true"
gsettings set org.gnome.shell.extensions.dash-to-dock dock-fixed "true"
gsettings set org.gnome.shell.extensions.dash-to-dock dock-position "'LEFT'"
gsettings set org.gnome.shell.extensions.dash-to-dock extend-height "true"
gsettings set org.gnome.shell.extensions.dash-to-dock icon-size-fixed "true"
gsettings set org.gnome.shell.extensions.dash-to-dock intellihide-mode "'ALL_WINDOWS'"
gsettings set org.gnome.shell.extensions.dash-to-dock running-indicator-style "'DOTS'"
gsettings set org.gnome.shell.extensions.dash-to-dock scroll-action "'switch-workspace'"
gsettings set org.gnome.shell.extensions.dash-to-dock show-mounts-network "true"
gsettings set org.gnome.shell.extensions.dash-to-dock show-mounts-only-mounted "false"
Remark: The dock settings can also be done via the GUI tool dconf-editor instead of gsettings command line, e.g.:
As a prerequisite, the dconf-editor need to be installed via apt install dconf-editor.
4.3 macOS style example based on Linux Guides
This design example was taken from the YouTube video “macOS Thema auf Linux Mint Cinnamon oder Xfce – Tutorial für Anfänger” from Linux Guides DE
4.4 Xfce beautification example based on Linux Guides
This design example was taken from the YouTube video “Xfce schöner machen für Anfänger – Themen & Icons installieren & Xfce Einrichtung” from Linux Guides DE
Follow the installation steps given in the video.
Desktop can be run by typing startx.
You can also have DietPi boot directly to the desktop by using dietpi-autostart and selecting Desktop .
Right, thanks for the hint. @StephanStS we might want to add this info to the blog post as well?
Thx. I added the hint.
As an accountant, which type of equipment should I choose?
The tutorial is very detailed.
KDE Plasma on a Pi feels like overkill. Just stick with LXQt or Xfce if you actually want it to be snappy.
Running KDE Plasma on a DietPi setup sounds like a recipe for a sluggish nightmare. Stick to Xfce or LXQt if you actually want the thing to stay responsive.
been looking into this lately and this breakdown is pretty solid