Do you have some spare space on a hard drive, and want to help contribute to a decentralized internet? IPFS, the Inter-Planetary File System, can do that!
This guide will assume that you already have a working DietPi installation.
Topics covered
What is IPFS?
IPFS is a distributed file sharing system, that wants to “make the web faster, safer, and more open”. It brings a way to, for example, have a website distributed across multiple computers, and have each computer pull from every other computer. This distributed approach, similar to what torrents use, can reduce bandwidth use when streaming video by 60%, and can serve files even if the original server is down!
IPFS will only store files that you access, and even then will only keep them until garbage collection (when it goes through and removes old files), unless you pin them.
Here’s how it works: Every file added to IPFS is given a cryptographic hash, calculated from its contents. These files are then deduplicated across the network. Every node that then accesses one of these files stores that file for other computers to download.
Installing IPFS
To install IPFS, along with lots of other software, run dietpi-software. I recommend using an external hard drive for this, as IPFS can make many disk writes, but you might be fine without.
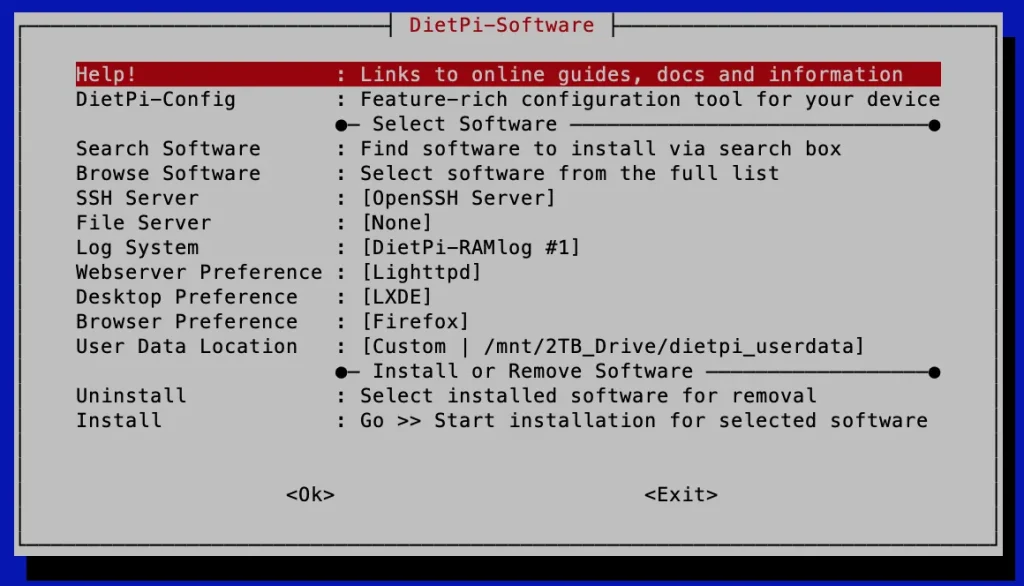
Choose Browse Software and select IPFS Node (or use the Search option). Once selected, press space to mark for installation. Then, press esc to go back to the main menu, and select Install. DietPi-Software should install IPFS, with no input needed from you.
Installing IPFS Companion
To automatically redirect IPFS content to your new local gateway, you need to install the IPFS Companion extension.
- Firefox: https://addons.mozilla.org/en-US/firefox/addon/ipfs-companion/
- Chromium and derivatives: https://chrome.google.com/webstore/detail/ipfs-companion/nibjojkomfdiaoajekhjakgkdhaomnch
The extension should then open a welcome page:
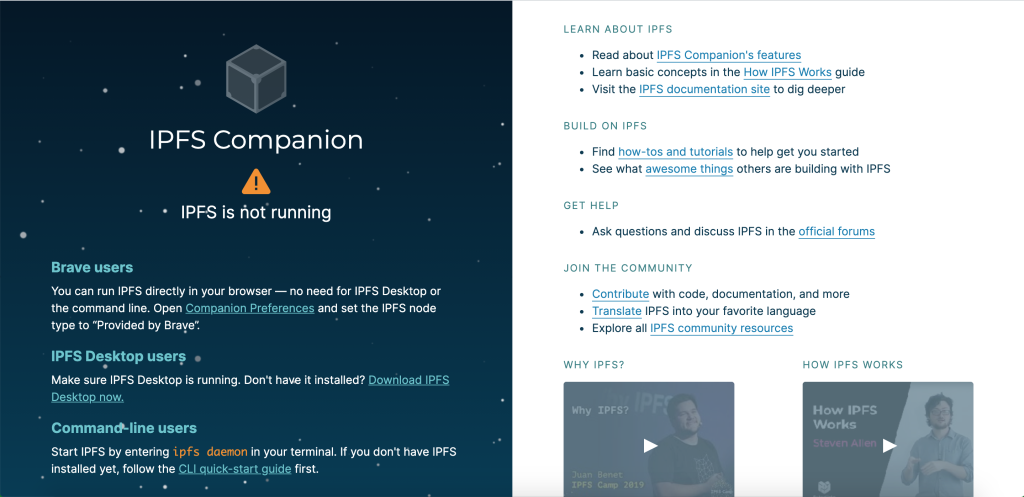
We’ll need to change some settings to get it to work with the external DietPi node, so click on the blue Companion Preferences link to open the settings page.
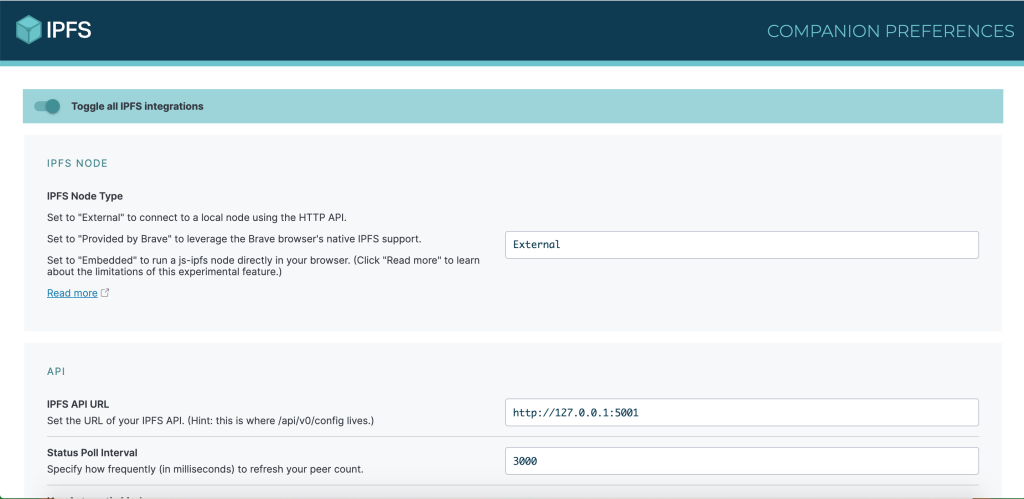
Change IPFS API URL to http://<your.IP>:5003, and change Local Gateway to http://<your.IP>:8087.
Adding a File
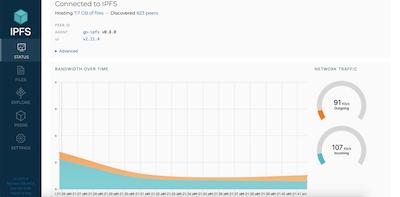
To add a file to the IPFS network, first go to the web UI located at http://<your.IP>:5003/webui.
Then, click on the Files tab on the side.
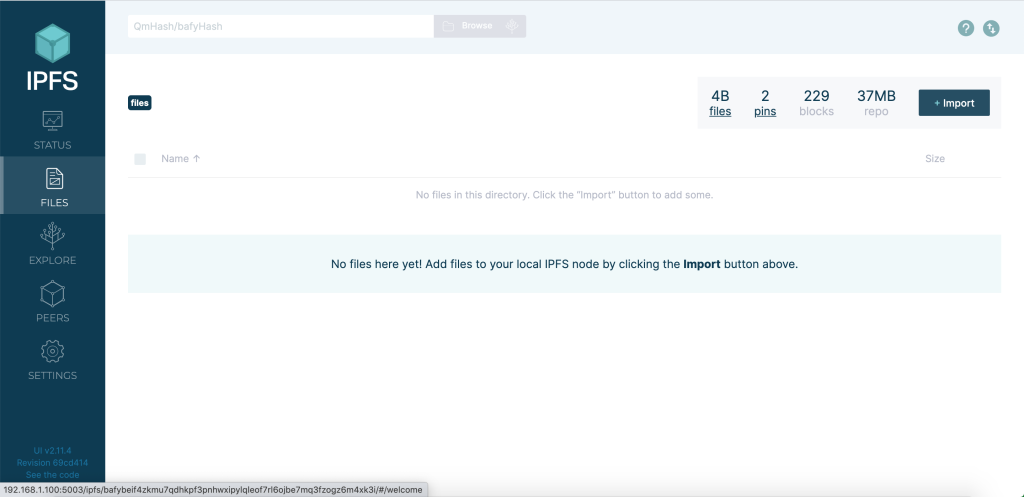
After that, all you need to do is click Import to select a file, or drag-and-drop one into the window.
Adding an external file
If there’s a file already on IPFS that you want to pin, you can do that too. All you have to do is run (on the command line) ipfs pin add /ipfs/path. Note that this file will not show up in the “Files” tab, but instead under “Pins”.
Read More
Read more about what you can do with IPFS at their documentation.