-
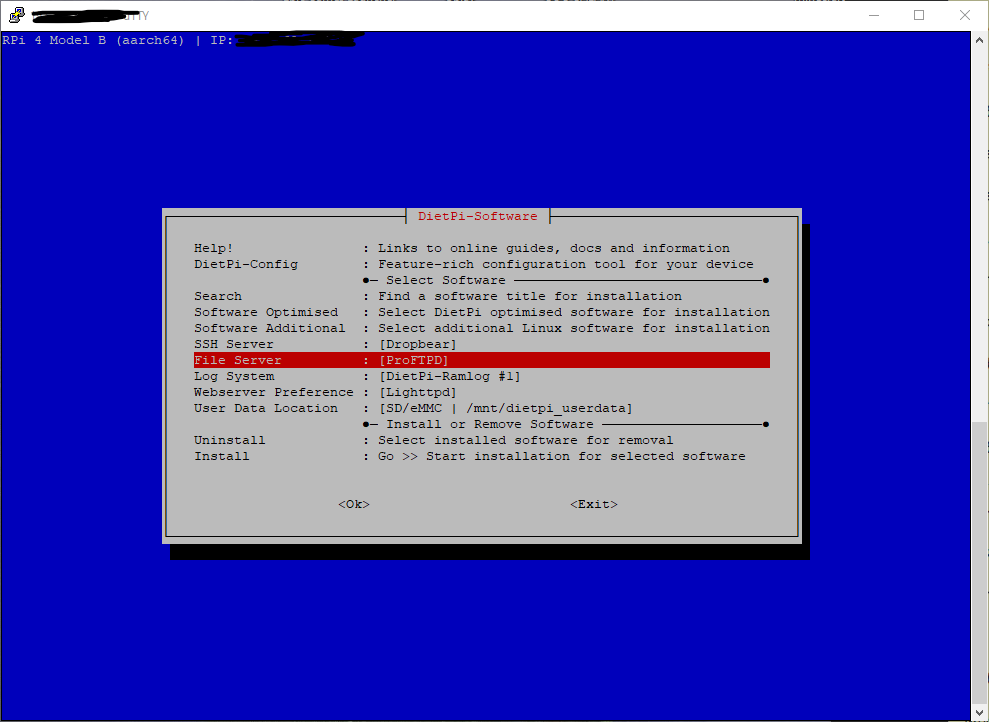
To put some mods on our forge server we will need the mods (obviously) but also an FTP-client to push them over.
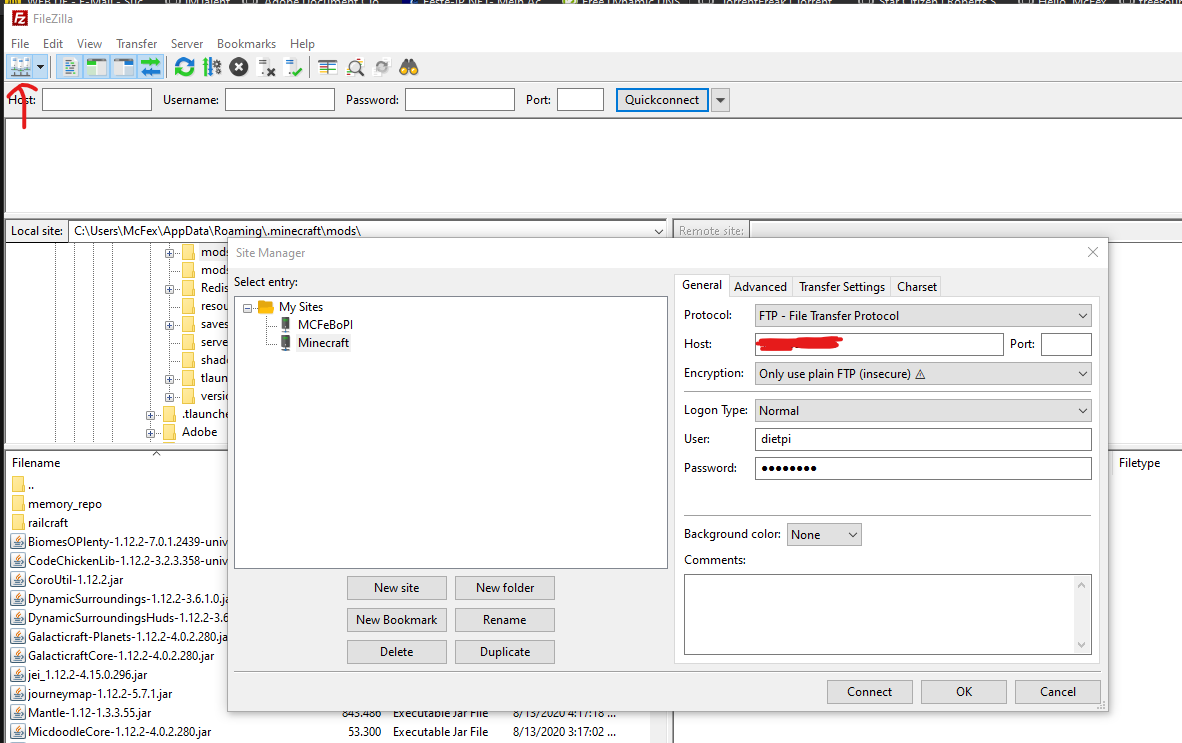
We installed proFTP on the server and will use FileZilla as our client, which you can get here https://filezilla-project.org/ .
Once installed, you can connect to the server. Remember that root login is disabled. So we choose the unix username (which by default is “dietpi”).
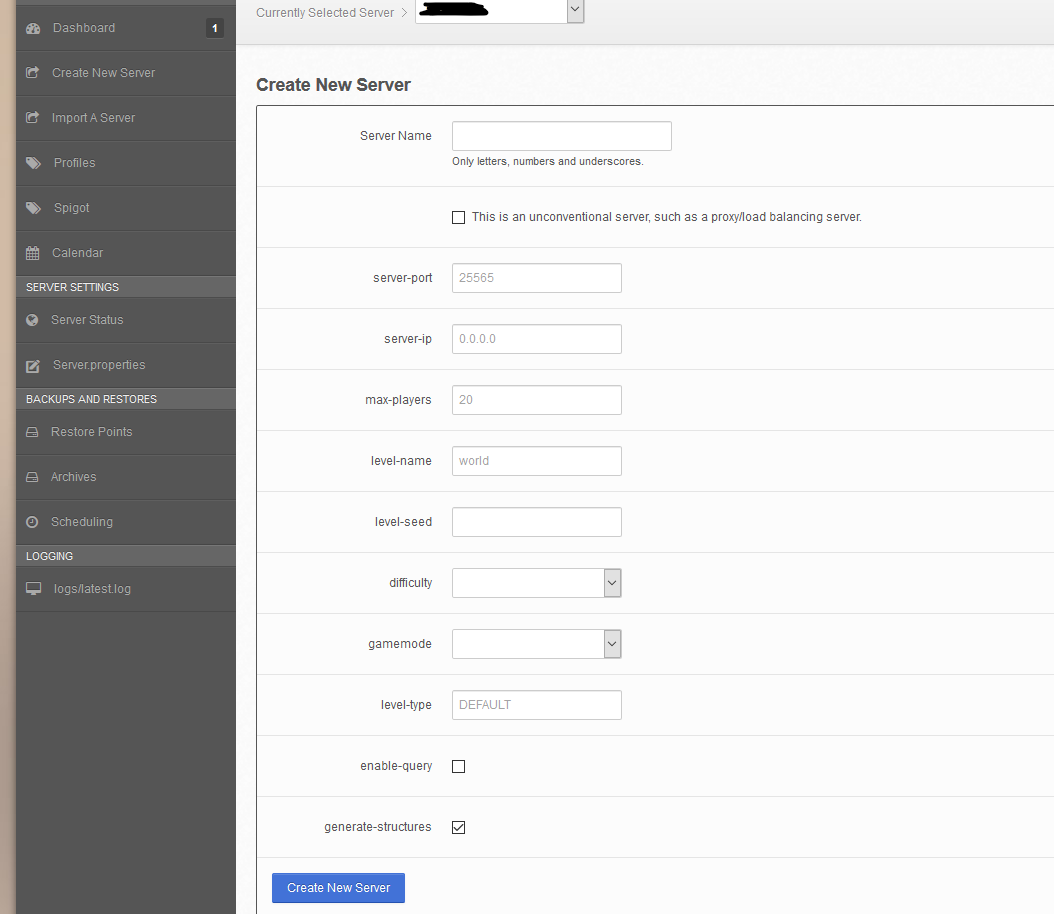
Clicking on the server-icon on the left opens the Servermanager. Here you set your parameters:
Use FTP as your protocol, only plain FTP as encryption, use the IP we found out earlier with
ip a
the port is 21, the user is the unix user (by default it is “dietpi”) and the password is the one you set during installation.
Don’t worry about security, we are transferring files over LAN.
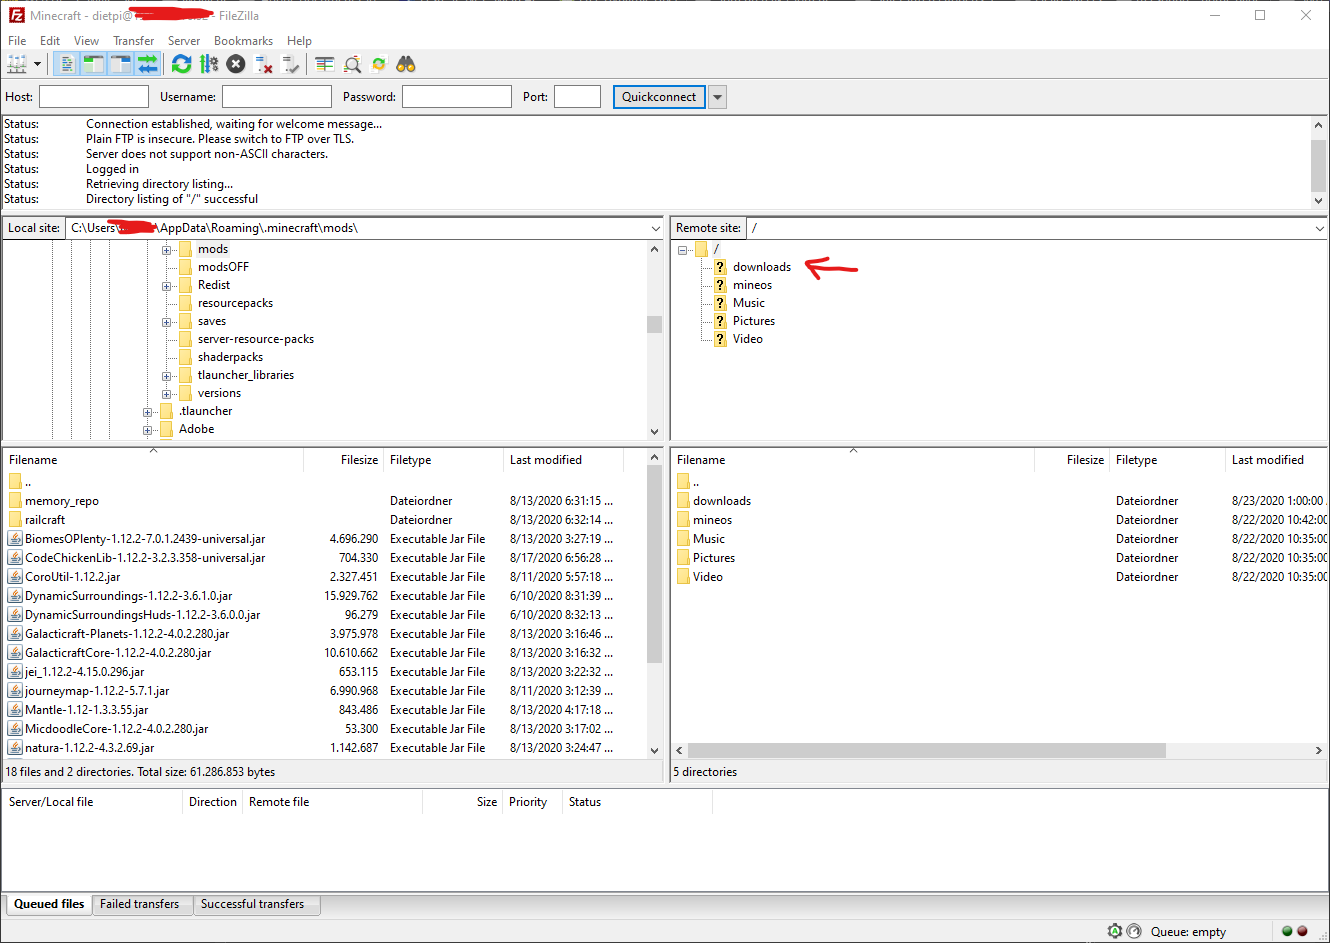
When you are connected it should look something like this
On the left is your computer, on the right the server.
The downloads folder is the place where we’ll put our mods at first. For security reasons this is the only folder we can put files into.
The others we can only access and read. This is useful if you want to check on the server log for example.
You can find it under /mineos/serverdata/servers/NiJoFeBo/logs/latest.log .
Drag and drop or select the files and right-click → “Upload” them to the downloads folder.
From there we need to move them to the right folder:
connect to the terminal via Putty again and type the following
mv /mnt/dietpi_userdata/downloads your-modfile.jar /var/games/minecraft/servers/NiJoFeBo/mods
or
mv /mnt/dietpi_userdata/downloads your_modfile.jar your_other_mod.jar your_other_other_mod.jar /var/games/minecraft/servers/NiJoFeBo/mods
if there is more than one mod.
(Obviously you’ll need to replace my .jar filenames with the real ones)
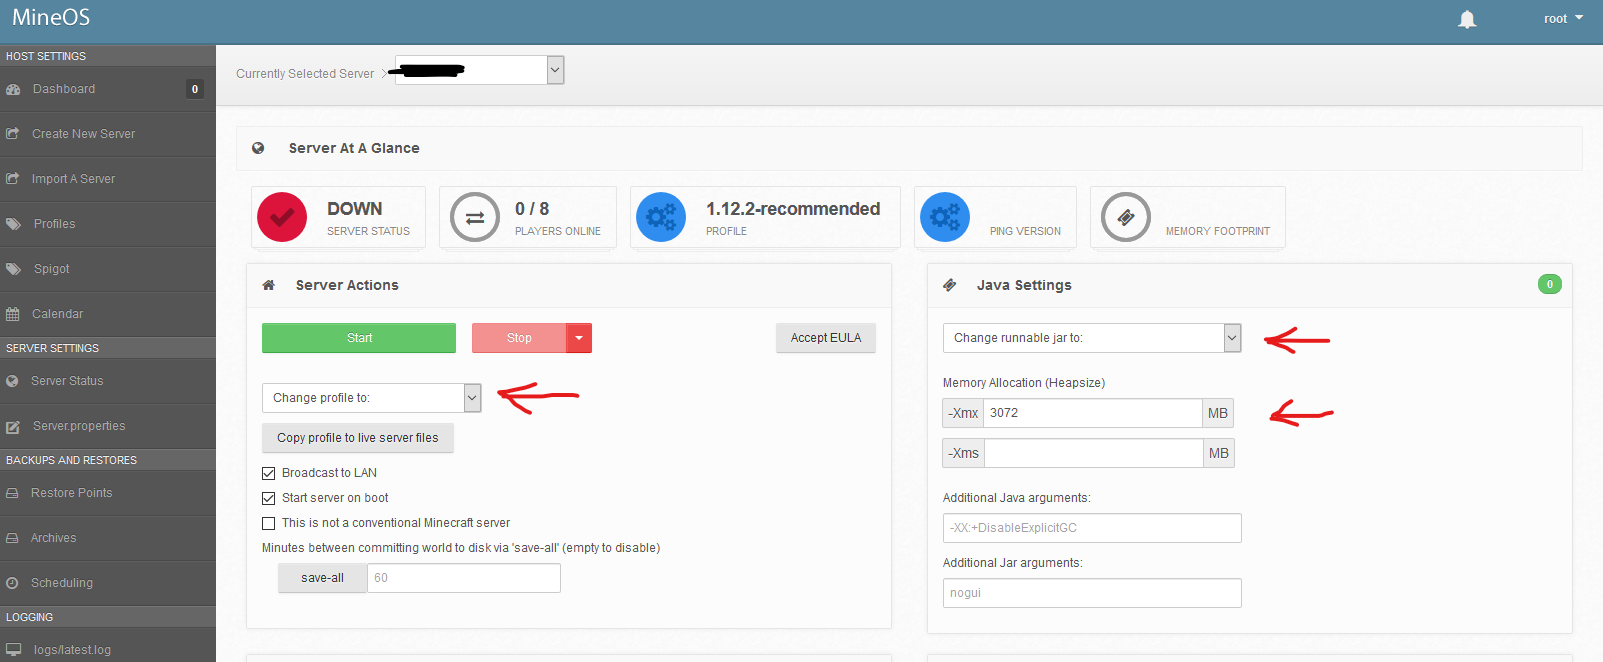
Last thing to do is starting the server again via webui in MineOS.
Eh Voila - your forge minecraft server with mods should be up and running and awaiting some players now.
.
- Setting up internet access
But if you want someone to join from outside your LAN, there is still one thing to be done: set up a portmapper or DynDNS if you are lucky to still have a dedicated IPv4 address. More and more people nowadays have DS-Lite, so I will look at both possibilities:
IPv4:
Choose a provider like https://www.noip.com/ .
They offer one dynamic address in their free plan. Follow the instructions on the site to get your address up and running.
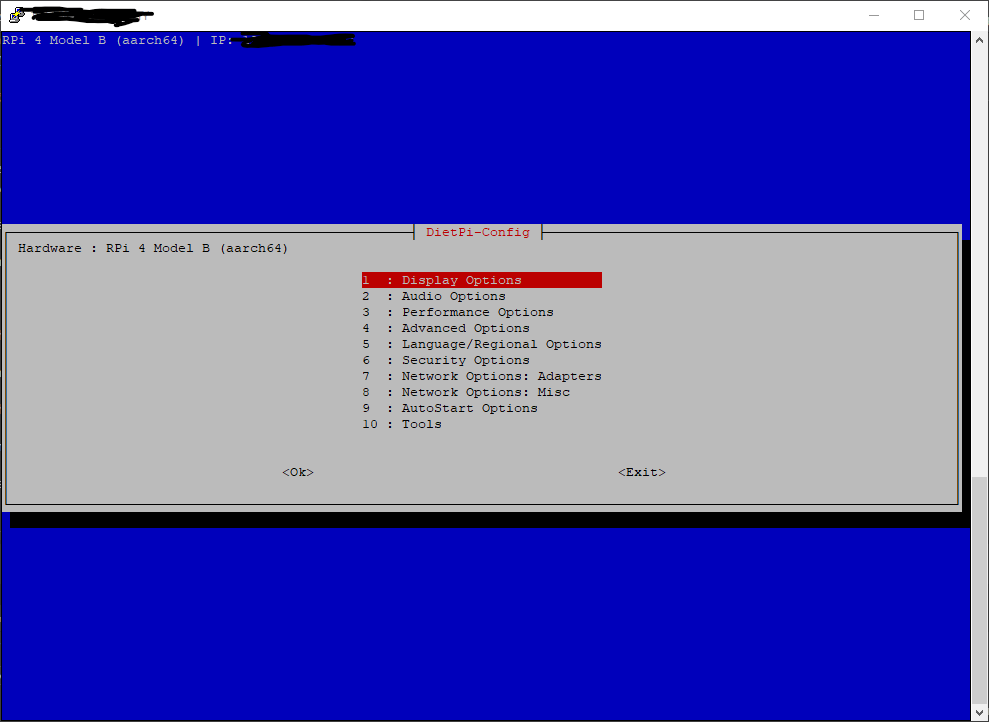
Then go to your server via Putty and install No-IP through dietpi-config under “8 : Network Options: Misc” and type in the username and password provided on the no-ip-site. Now set a port forwarding in your router. You need to forward port 25565 to your server.
In minecraft hit “add server” and type in the address: for example
no-ip.myserver.ddns.net:25565
IPv6:
First check your IP again in the terminal using Putty.
ip a
This will produce something like this:
root@Minecraft:~# ip a
1: lo: <LOOPBACK,UP,LOWER_UP> mtu 65536 qdisc noqueue state UNKNOWN group default qlen 1000
    link/loopback 00:00:00:00:00:00 brd 00:00:00:00:00:00
    inet 127.0.0.1/8 scope host lo
       valid_lft forever preferred_lft forever
    inet6 ::1/128 scope host
       valid_lft forever preferred_lft forever
2: eth0: <NO-CARRIER,BROADCAST,MULTICAST,UP> mtu 1500 qdisc mq state DOWN group default qlen 1000
    link/ether xx:xx:xx:xx:xx:xx brd ff:ff:ff:ff:ff:ff
3: wlan0: <BROADCAST,MULTICAST,UP,LOWER_UP> mtu 1500 qdisc pfifo_fast state UP group default qlen 1000
    link/ether xx:xx:xx:xx:xx:xx brd ff:ff:ff:ff:ff:ff
    inet 192.168.xxx.xx/24 brd 192.168.xxx.255 scope global dynamic wlan0
       valid_lft 587044sec preferred_lft 587044sec
    inet6 xxxx:xxxx:xxxx:xxxx:xxxx:xxxx:xxxx:xxxx/64 scope global dynamic mngtmpaddr
       valid_lft 4885sec preferred_lft 2185sec
    inet6 fe80::xxxx:xxxx:xxxx:xxxx/64 scope link
       valid_lft forever preferred_lft forever
I x-ed out all the numbers leaving the structure the global IPv6 has intact (usually it consists of numbers and letters, e.g. d654:a876:dea7:f78e: etc.):
in my case you can see it under 3: wlan0 → inet6 … scope global dynamic mngtmpaddr.
That is the global IPv6 address for your server, which now needs to be mapped with a portmapper to become available from outside your providers NAT (here is a link to a german Lexikon, explaining it very well Der Dual-Stack Lite (DS-Lite) - DasHeimnetzwerk.de).
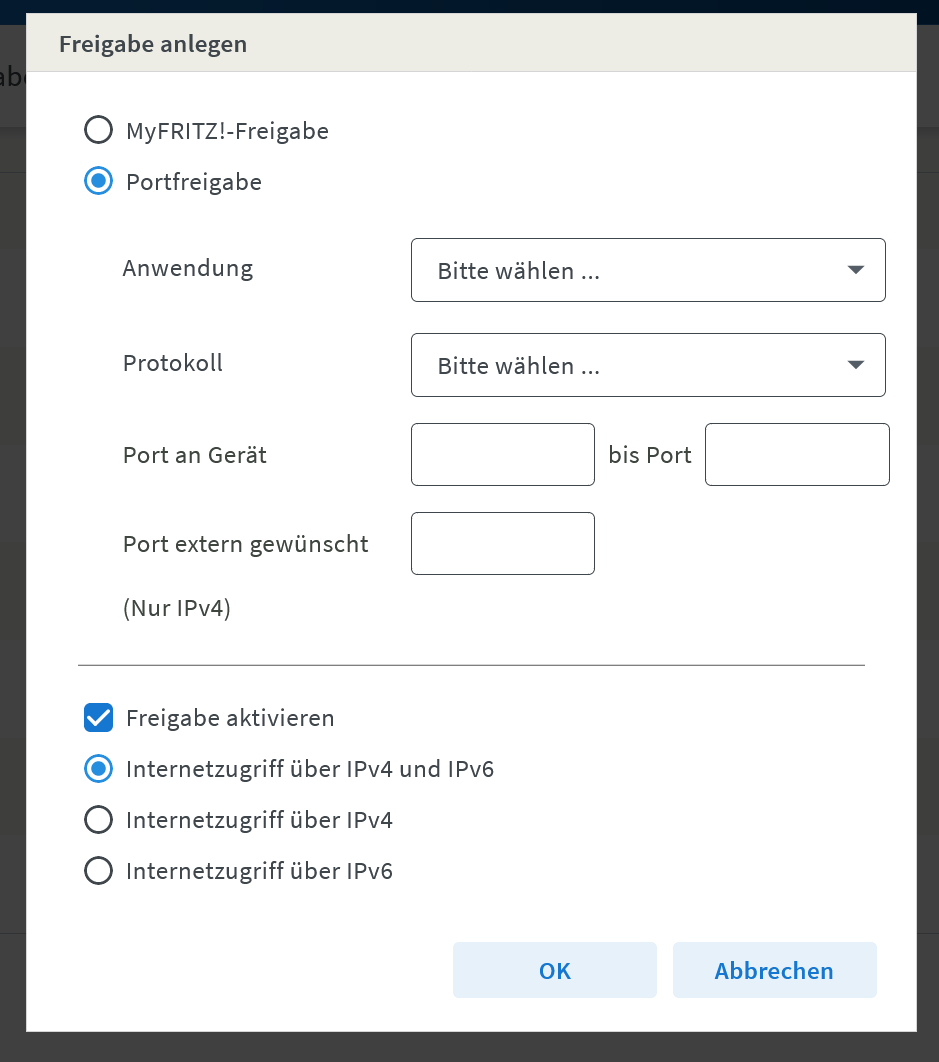
Again you need to forward the address in your router. I have a Fritzbox, so here is what I did:
First of all you I activatede IPv6 in my Fritzbox.
Then I created a so called “Fritzbox-forwarding” instead of a normal port-forwarding: you will see what that means when you do it - it is self-explanatory.
For every other router out there you will have to google yourself on how to make an IPv6 forwarding.
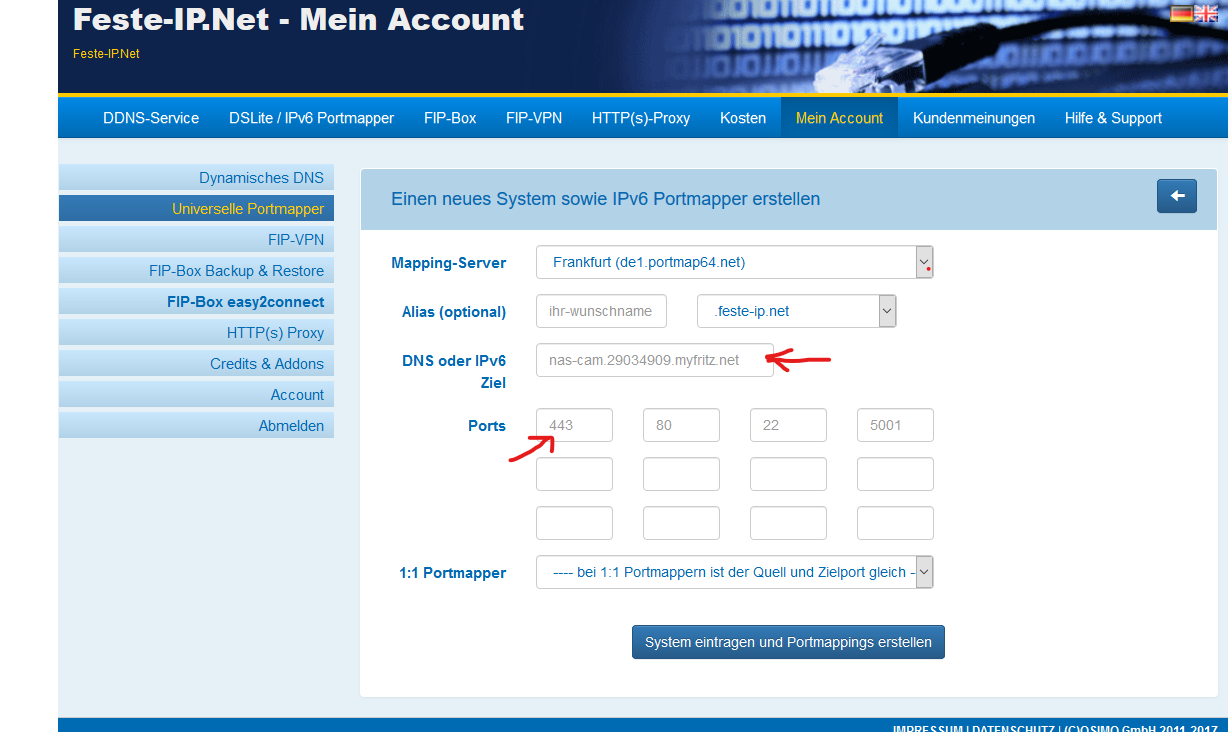
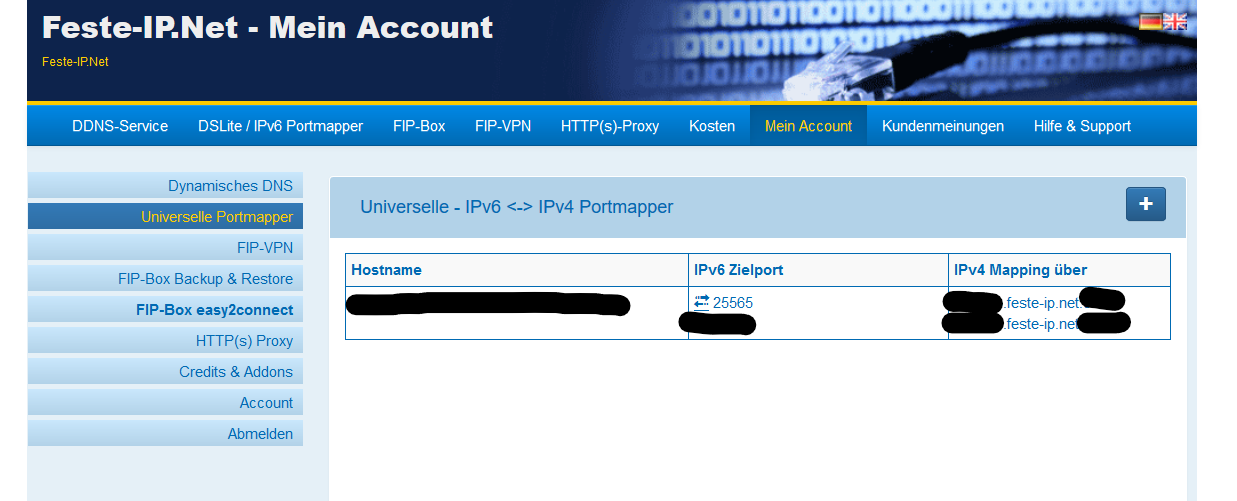
Then you go to https://www.feste-ip.net/ , make an account and choose the Portmapper.
Put in the alias for your server, the global IPv6 address you obtained above and the port(s), in our case 25565.
When you are done you have again a simple IPv4 with a port you enter in minecraft by adding a server.
As you can see it is the alias you chose combined with
feste-ip.net and then a random port that translates to 25565 through the portmapper:
youralias.feste-ip.net:58403 (for example)
Sadly feste-ip.net is not a free service: a portmapper costs 1 credit per day, 365 credits cost 5,-€, meaning you’ll have to invest 5,-€/year.
Lets see: A RaspberryPi 4 4GB costs about 80,-€. Add 5,-€ for one year portmapping. That is 85,-€.
Minecraft servers online start about 5,-€/month. So after 17 months the Pi-server has paid for itself.
Now hit the Start button in MineOS.
That’s it. You should now be able to play in your LAN as well as via internet with a few friends on a modded minecraft server, hosted by yourself at home, with no noise and very little power consumption, making it a very affordable alternative to online hosted servers!
I hope someone will have found in this little tutorial what he/she/it was looking for - I know I did  !
!