Creating a bug report/issue
I have searched the existing open and closed issues
Required Information
- DietPi version | DietPi_RPi-ARMv8-Bookworm
- SBC model | (RP Zero 2 W)
- Power supply used | (5V 2.5A P4721 AC Adapter)
- SD card used | (EG: SanDisk edge)
Steps to reproduce
I’m unable to see my device on the network. I have tried doing a ping sweep and a pingscan using map. I also don’t see the device on my routers UI. I also tried the fings application on my phone and I don’t see it listed either.
Expected behaviour
I should be able to see the device on my network and connect to it via SSH
Actual behaviour
I’m unable to connect to my device via SSH because I cannot see it on the network.
Extra details
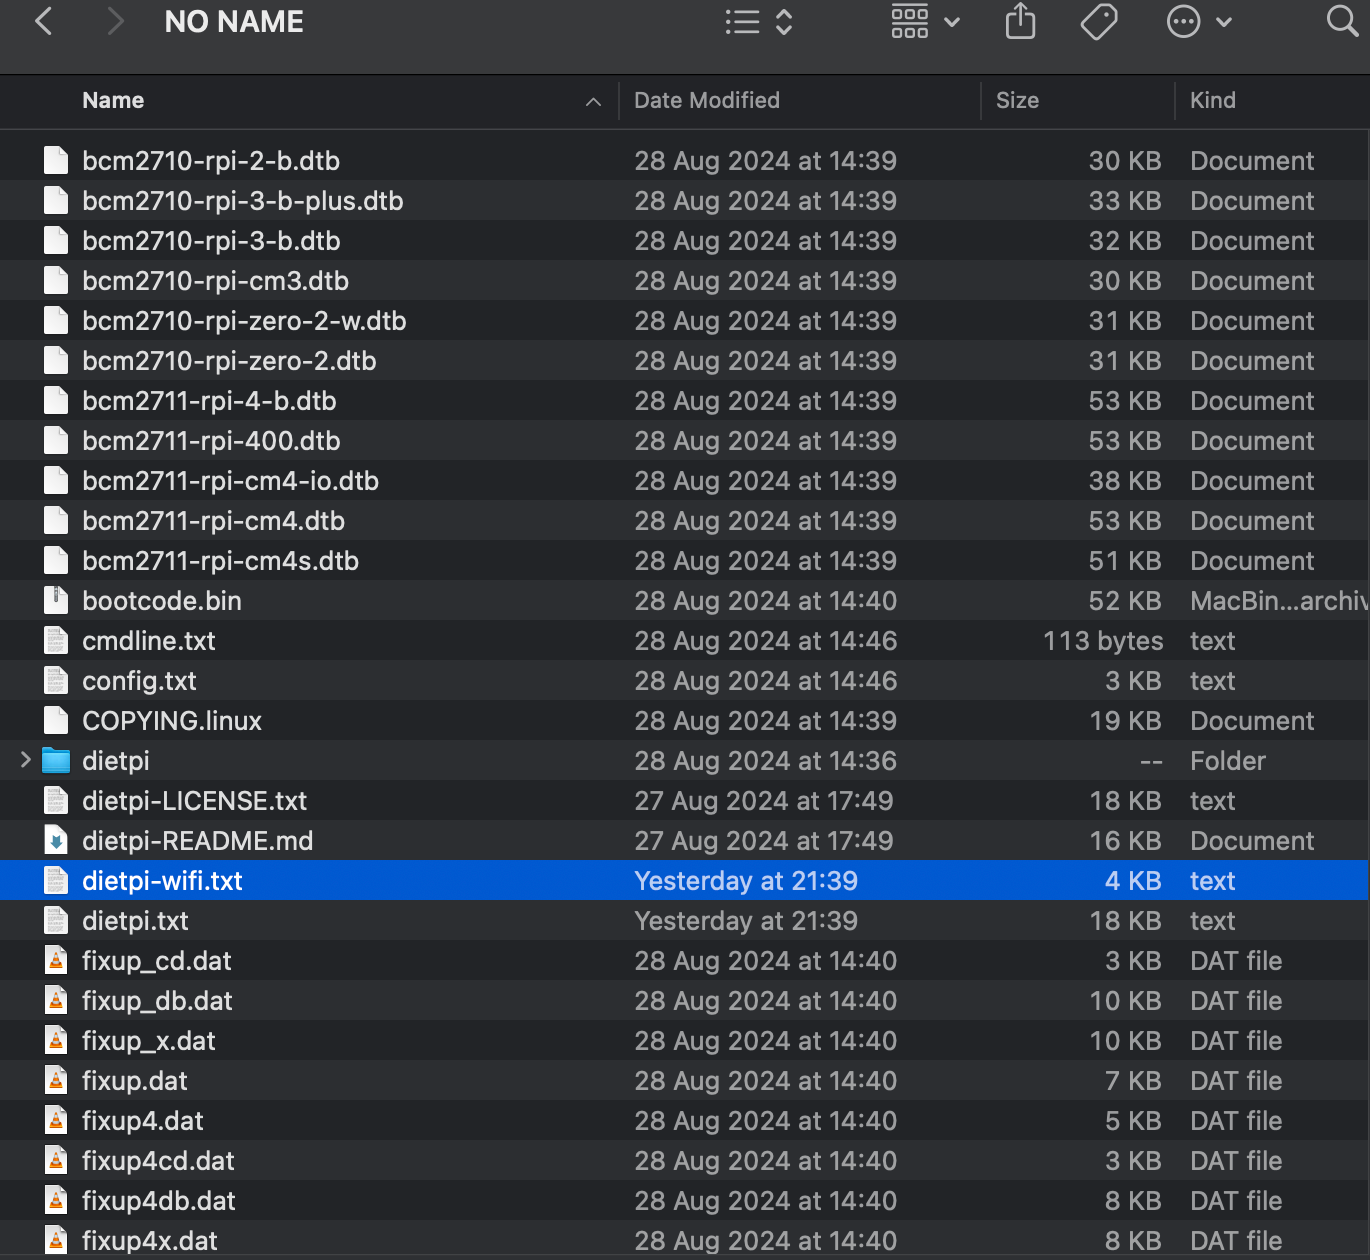
I have waited several minutes, I have modified my dietpi.txt and my dietpi-wifi.txt to match what I think should be correct:
I believe I have loaded the image onto the SD card correctly. I don’t have the necessary cables to get it display on the screen. I would need to buy them. Happy to do so if it makes this less of a headache.
Nmap scan report for vodafone.broadband (192.168.1.1)
Host is up (0.0036s latency).

PORT    STATE  SERVICE
22/tcp  closed ssh
80/tcp  open   http
443/tcp open   https
MAC Address: 20:B0:01:C1:3F:58 (Technicolor Delivery Technologies Belgium NV)

Nmap scan report for Jamie-s-S22.broadband (192.168.1.38)
Host is up (0.46s latency).

PORT    STATE  SERVICE
22/tcp  closed ssh
80/tcp  closed http
443/tcp closed https
MAC Address: 66:63:02:C6:B4:0B (Unknown)

Nmap scan report for MacBookPro.broadband (192.168.1.11)
Host is up (0.00017s latency).

PORT    STATE  SERVICE
22/tcp  closed ssh
80/tcp  closed http
443/tcp closed https
# IMPORTANT:
# - This is intended for advanced users, unless you know what you are doing, do not edit this file. Please use the DietPi programs instead.
# - Do not remove uncommented lines, as the items are scraped by DietPi programs, on demand.

#------------------------------------------------------------------------------------------------------
##### DietPi-Automation settings, applied on first boot of DietPi only, ONCE! #####
#------------------------------------------------------------------------------------------------------

##### Language/Regional options #####
# Locale e.g.: "en_GB.UTF-8" / "de_DE.UTF-8" | One entry and UTF-8 ONLY!
AUTO_SETUP_LOCALE=C.UTF-8

# Keyboard layout e.g.: "gb" / "us" / "de" / "fr"
AUTO_SETUP_KEYBOARD_LAYOUT=gb

# Time zone e.g.: "Europe/London" / "America/New_York" | Full list: https://en.wikipedia.org/wiki/List_of_tz_database_time_zones
AUTO_SETUP_TIMEZONE=Europe/London

##### Network options #####
# Enable Ethernet or WiFi adapter: 1=enable | 0=disable
# - If both Ethernet and WiFi are enabled, WiFi will take priority and Ethernet will be disabled.
# - If using WiFi, please edit dietpi-wifi.txt to pre-enter credentials.
AUTO_SETUP_NET_ETHERNET_ENABLED=0
AUTO_SETUP_NET_WIFI_ENABLED=1

# WiFi country code: 2 capital letter value (e.g. GB US DE JP): https://en.wikipedia.org/wiki/ISO_3166-1_alpha-2
# - NB: This choice may be overridden if the WiFi access point sends a country code.
AUTO_SETUP_NET_WIFI_COUNTRY_CODE=GB

# Enter your static network details below, if applicable.
AUTO_SETUP_NET_USESTATIC=0
AUTO_SETUP_NET_STATIC_IP=192.168.0.100
AUTO_SETUP_NET_STATIC_MASK=255.255.255.0
AUTO_SETUP_NET_STATIC_GATEWAY=192.168.0.1
AUTO_SETUP_NET_STATIC_DNS=9.9.9.9 149.112.112.112

# Set to "1" to convert DHCP leased network settings into static settings automatically on first boot.
AUTO_SETUP_DHCP_TO_STATIC=0
#---------------------------------------------------------------
# Entry 0
# - WiFi SSID: required, case sensitive
aWIFI_SSID[0]='ssidredacted'
# - WiFi key: If no key/open, leave this blank
# - In case of WPA-PSK, alternatively enter the 64-digit hexadecimal key returned by wpa_passphrase
# - Please replace single quote characters ' in your key with '\''. No other escaping is required.
aWIFI_KEY[0]='passwordredacted'
# - Key type: NONE (no key/open) | WPA-PSK | WEP | WPA-EAP (then use settings below)
aWIFI_KEYMGR[0]='WPA-PSK'
# - WPA-EAP options: Only fill if WPA-EAP is set above
aWIFI_PROTO[0]=''
aWIFI_PAIRWISE[0]=''
aWIFI_AUTH_ALG[0]=''
aWIFI_EAP[0]=''
aWIFI_IDENTITY[0]=''
aWIFI_PASSWORD[0]=''
aWIFI_PHASE1[0]=''
aWIFI_PHASE2[0]=''
# - Path to the certificate file, e.g.: /boot/mycert.cer
aWIFI_CERT[0]=''
Could someone give me some suggestions on where the issue might lie?