DNS Servers
Overview
- Pi-hole - Network-wide Ad Blocking
- Unbound - A validating, recursive and caching DNS resolver
- AdGuard Home - A powerful network-wide ads & trackers blocking DNS server
How do I run DietPi-Software and install optimised software items?
To install any of the DietPi optimised software items listed below run from the command line:
dietpi-software
Choose Browse Software and select one or more items. Finally select Install.
DietPi will do all the necessary steps to install and start these software items.
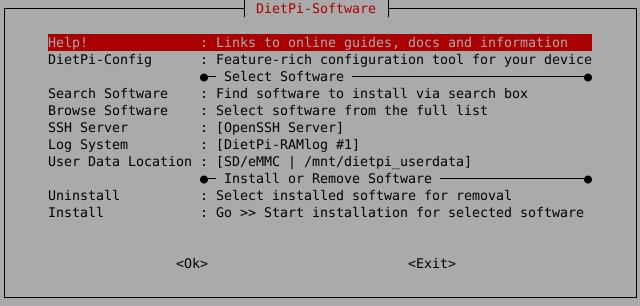
To see all the DietPi configurations options, review the DietPi Tools section.
Return to the Optimised Software list
Pi-hole
Pi-hole is a DNS sinkhole with web interface that will block ads for any device on your network.
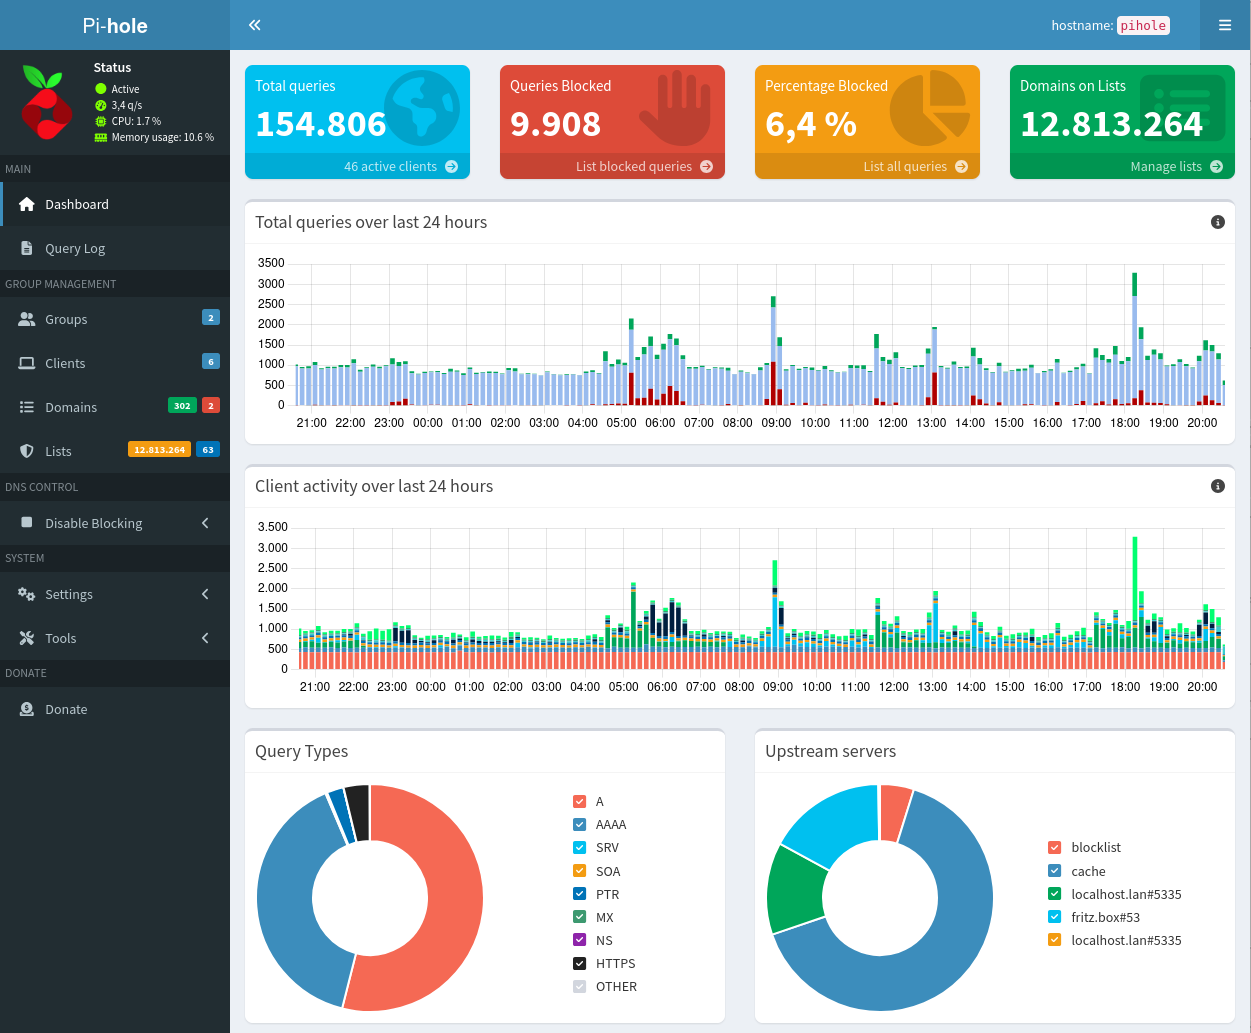
The web interface of Pi-hole can be accessed via:
- URL =
http://<your.IP>:8089/admin/ - Password =
<yourGlobalSoftwarePassword>(default:dietpi)
The setup contains setting devices (e.g. router) to use Pi-hole for DNS resolution.
Option 1 - Setup single devices to use the Pi-hole DNS server
Simply change your DNS settings to use the IP address of your Pi-hole device. This will need to be done for each device that you want Pi-hole to work with.
Example:
- My Pi-hole device has the IP address of 192.168.0.100
- On my PC, I would set the DNS address to 192.168.0.100
- Tutorial The Ultimate Guide to Changing Your DNS settings.
Option 2 - Setup your router to use the Pi-hole DNS server
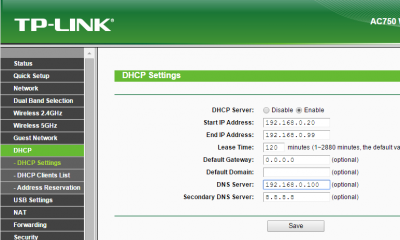
This method will automatically point every device (that uses DHCP) on your network to Pi-hole. On your routers control panel web page, you will need to find a option called “DNS server”. This should be located under DHCP settings.
Simply enter the IP address of your Pi-hole device under “DNS server”:
On your Pi-hole device, you will need to set a different DNS server.
Depending on your router configuration, if you don’t do this step, the Pi-hole device may not be able to access the internet. It’s highly recommended to have the device running Pi-hole, pointing to a DNS server outside your network.
- Run the following command:
dietpi-config 8 1 - Select: Ethernet
- If you are running in DHCP mode, select Change Mode, then select: Copy Current address to Static
- Select Static DNS from the list, then choose a DNS server, or manually enter a custom entry.
- Once completed, select Apply to save the changes.
The DietPi Pi-hole implementation uses the official installer script, but it comes with a few differences, compared to the official default setup:
- The Pi-hole web UI port is set to 8089, i.e. it can be accessed via:
http://<your.IP>:8089/admin/ - The Pi-hole web UI is secured with the global software password you chose during first run setup, default:
dietpi DNS query logging to
/var/log/pihole/pihole.logis disabled. This does not affect the query logs in the web UI and database, but thepihole -t/pihole tailcommand does not show DNS queries anymore. If you want to use this command or need query logs in/var/log/pihole/pihole.logfor other reasons, it can be re-enabled via web UI privacy settings or running:sudo pihole-FTL --config dns.queryLogging trueDNS query logging to database (as shown in web UI) is reduced to 2 days. This can be changed via web UI privacy settings or e.g.
sudo pihole-FTL --config database.maxDBdays 7to raise it to 7 days.
Pi-hole can be updated via the shell command sudo pihole -up.
You can use sudo pihole -r to repair or reconfigure your Pi-hole instance.
If you forgot your login password for the Pi-hole admin web page, you can set it with the shell command sudo pihole setpassword on your Pi-hole device.
There are many sites in the web giving blocklists and whitelists for Pi-hole. They can be used when you want to have more blocking as the standard installation gives you. Here are some examples:
- The Big Blocklist Collection by
WaLLy3K - Phishing Army blocklist
- Whitelist collection by
anudeepND - RPiList: Block- and whitelists with focus on German domains
If you try to add many block- resp. whitelists (e.g. > 1 Mio), it can occur that the /tmp filesystem overflows.
If pihole -g fails with an error message like sed: couldn't write 44 items to stdout: No space left on device, you can verify this case using the df command:
root@dietpi:~# df -h /tmp
Filesystem      Size  Used Avail Use% Mounted on
tmpfs           995M  995M     0 100% /tmp
root@dietpi:~#
The output value of 100% signals a full /tmp filesystem.
In this case the /etc/fstab could be changed to a larger /tmp by editing it. We propose to set it to a maximum value of 75 % of your RAM size. E.g. in case of 2 GB RAM, you could adjust the mount option to size=1500M. This could lead to an output like
root@dietpi:~# df -h /tmp
Filesystem      Size  Used Avail Use% Mounted on
tmpfs           1,5G   41M  1,5G   3% /tmp
root@dietpi:~#
DietPi-CloudShell has a Pi-hole scene included, which can be used to monitor the most important DNS query and block statistics. Simply run dietpi-cloudshell, select Scenes and assure that 8 Pi-hole is selected. Toggle Output Display to choose whether to print the output to the current console or the main screen, then select Start / Restart to start the output.
Official website: https://pi-hole.net/
Official documentation: https://docs.pi-hole.net/
Wikipedia: https://wikipedia.org/wiki/Pi-hole
Source code: @pi-hole
DietPi Blog: DietPi and the new Pi-hole version 6
YouTube video tutorial #1: Raspberry Pi / Pi-hole / Diet-Pi / Network wide Ad Blocker !!!!
YouTube video tutorial #2: Block ads everywhere with Pi-hole and PiVPN on DietPi
YouTube video tutorial #3 (German language): Raspberry Pi & DietPi : Pi-hole der Werbeblocker für Netzwerke mit Anleitung für AVM FritzBox
YouTube video tutorial #4 (German language): Raspberry Pi Zero W mit Pi-hole - günstiger Werbeblocker & Schritt für Schritt Anleitung unter DietPi
Blog entry with YouTube video #5 (German language): Unbound Installation für PiHole unter DietPi
Unbound
Unbound is a validating, recursive, caching DNS resolver. It can resolve hostnames by querying the root name servers directly, replacing ISP/public DNS resolvers. Eliminating one player involved in handling your DNS requests, increases your internet privacy. Additionally Unbound can be configured to use the encrypted DoT (DNS over TLS) protocol, which requires again a public DNS provider, but masks requests for your LAN operator and ISP instead. For more info, see the “Activating DNS over TLS (DoT)” tab below.
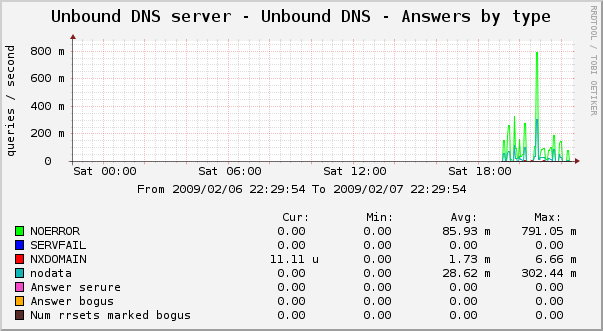
- Default DNS port: 53
- DNS port when Pi-hole or AdGuard Home are installed: 5335
The configuration directory is located there: /etc/unbound
View the log files:
journalctl -u unbound
Update to latest version:
apt update
apt upgrade
DoT (DNS over TLS) sends DNS requests encrypted, masking them from your LAN operator and ISP. But it requires again a public DNS provider, to query the root name servers, which is otherwise, thanks to Unbound, not required. Root name server requests can only be unencrypted, either sent directly from Unbound (default) or by a public provider (when using DoT). Whether DoT (or any other encrypted DNS wrapper protocol) is preferable or not, depends on your individual case and needs, i.e. if you trust your LAN operator and ISP more, or a public DNS provider. You can activate DoT by copying and executing the following command block:
cat << '_EOF_' > /etc/unbound/unbound.conf.d/dietpi-dot.conf
# Adding DNS-over-TLS support
server:
tls-cert-bundle: /etc/ssl/certs/ca-certificates.crt
forward-zone:
name: "."
forward-tls-upstream: yes
## Cloudflare
forward-addr: 1.1.1.1@853#cloudflare-dns.com
forward-addr: 1.0.0.1@853#cloudflare-dns.com
## Quad9
forward-addr: 9.9.9.9@853#dns.quad9.net
forward-addr: 149.112.112.112@853#dns.quad9.net
_EOF_
The used DNS servers are examples only and can be replaced by your favorite one.
A list of public DNS providers, their IP addresses and their in cases included ad blocking / adult content blocking features are available on Wikipedia:
For the change to take effect, the Unbound service needs to be restarted:
systemctl restart unbound
Official website: https://nlnetlabs.nl/projects/unbound/about/
Official man pages: https://nlnetlabs.nl/documentation/unbound/unbound/
Official documentation: https://unbound.docs.nlnetlabs.nl/en/latest/
Wikipedia: https://wikipedia.org/wiki/Unbound_(DNS_server)
Source code: NLnetLabs/unbound
DietPi Blog: DietPi and the new Pi-hole version 6
Blog entry with YouTube video (German language): Unbound Installation für PiHole unter DietPi
AdGuard Home
AdGuard Home is a DNS sinkhole with web interface that will block ads for any device on your network.
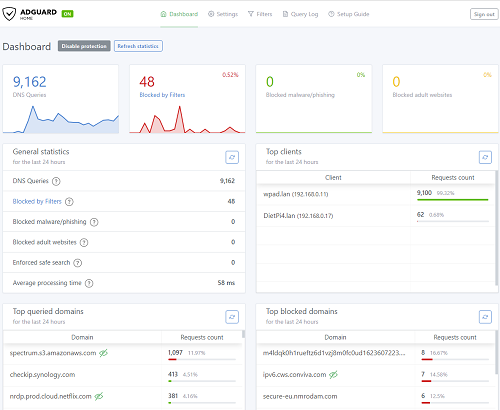
The web interface is accessible via port 8083:
- URL =
http://<your.IP>:8083 - User =
admin - Password =
<yourGlobalSoftwarePassword>(default:dietpi)
The configuration contains setting devices (e.g. router) to use AdGuard Home for DNS resolution.
Option 1 - Setup single devices to use the AdGuard Home DNS server
Simply change your DNS settings to use the IP address of your AdGuard Home device. This will need to be done for each device that you want AdGuard Home to work with.
Example:
- My AdGuard Home device has the IP address of 192.168.0.100
- On my PC, I would set the DNS address to 192.168.0.100
- Tutorial The Ultimate Guide to Changing Your DNS settings.
Option 2 - Setup your router to use the AdGuard Home DNS server
This method will automatically point every device (that uses DHCP) on your network to AdGuard Home. On your routers control panel web page, you will need to find a option called “DNS server”. This should be located under DHCP settings.
Simply enter the IP address of your AdGuard Home device under “DNS server”:

On your AdGuard Home device, you will need to set a different DNS server.
Depending on your router configuration, if you don’t do this step, the AdGuard Home device may not be able to access the internet. It’s highly recommended to have the device running AdGuard Home, pointing to a DNS server outside your network.
- Run the following command:
dietpi-config 8 1 - Select: Ethernet
- If you are running in DHCP mode, select Change Mode, then select: Copy Current address to Static
- Select Static DNS from the list, then choose a DNS server, or manually enter a custom entry.
- Once completed, select Apply to save the changes.
Please use the internal updater from the web interface to update your AdGuard Home. You will see a notification at the top of the page once an update is available.

If you forgot your login password for the AdGuard Home admin web page, you can set it with the following shell command on your AdGuard Home device.
G_CONFIG_INJECT 'password:[[:blank:]]' "    password: $(htpasswd -bnBC 10 '' "<your_new_password>" | tr -d ':\n' | sed 's/\$2y/\$2a/')" /mnt/dietpi_userdata/adguardhome/AdGuardHome.yaml
systemctl restart adguardhome
There are many sites in the web giving blocklists and whitelists for AdGuard Home. They can be used when you want to have more blocking as the standard installation gives you. Here are some examples:
Official website: https://adguard.com/en/adguard-home/overview.html
Official documentation: https://github.com/AdguardTeam/AdGuardHome/wiki
Wikipedia: https://en.wikipedia.org/wiki/AdGuard#AdGuard_Home
Source code: AdguardTeam/AdGuardHome
License: GPLv3