I tried to follow the FriendlyElec guide to flash the DietPi image to the eMMC storage of the Nano Pi R6S. Below are my steps:
1) Download an “eflasher” firmware from network drive(in the “01_Official images/02_SD-to-eMMC images” directory), extract it and install it to a TF card ;
I downloaded this file directly from FriendlyElec Google Drive:
rk3588-eflasher-debian-bookworm-core-6.1-arm64-20231213.img.gz
Then flashed it to an SD card via the Win32Imager tool
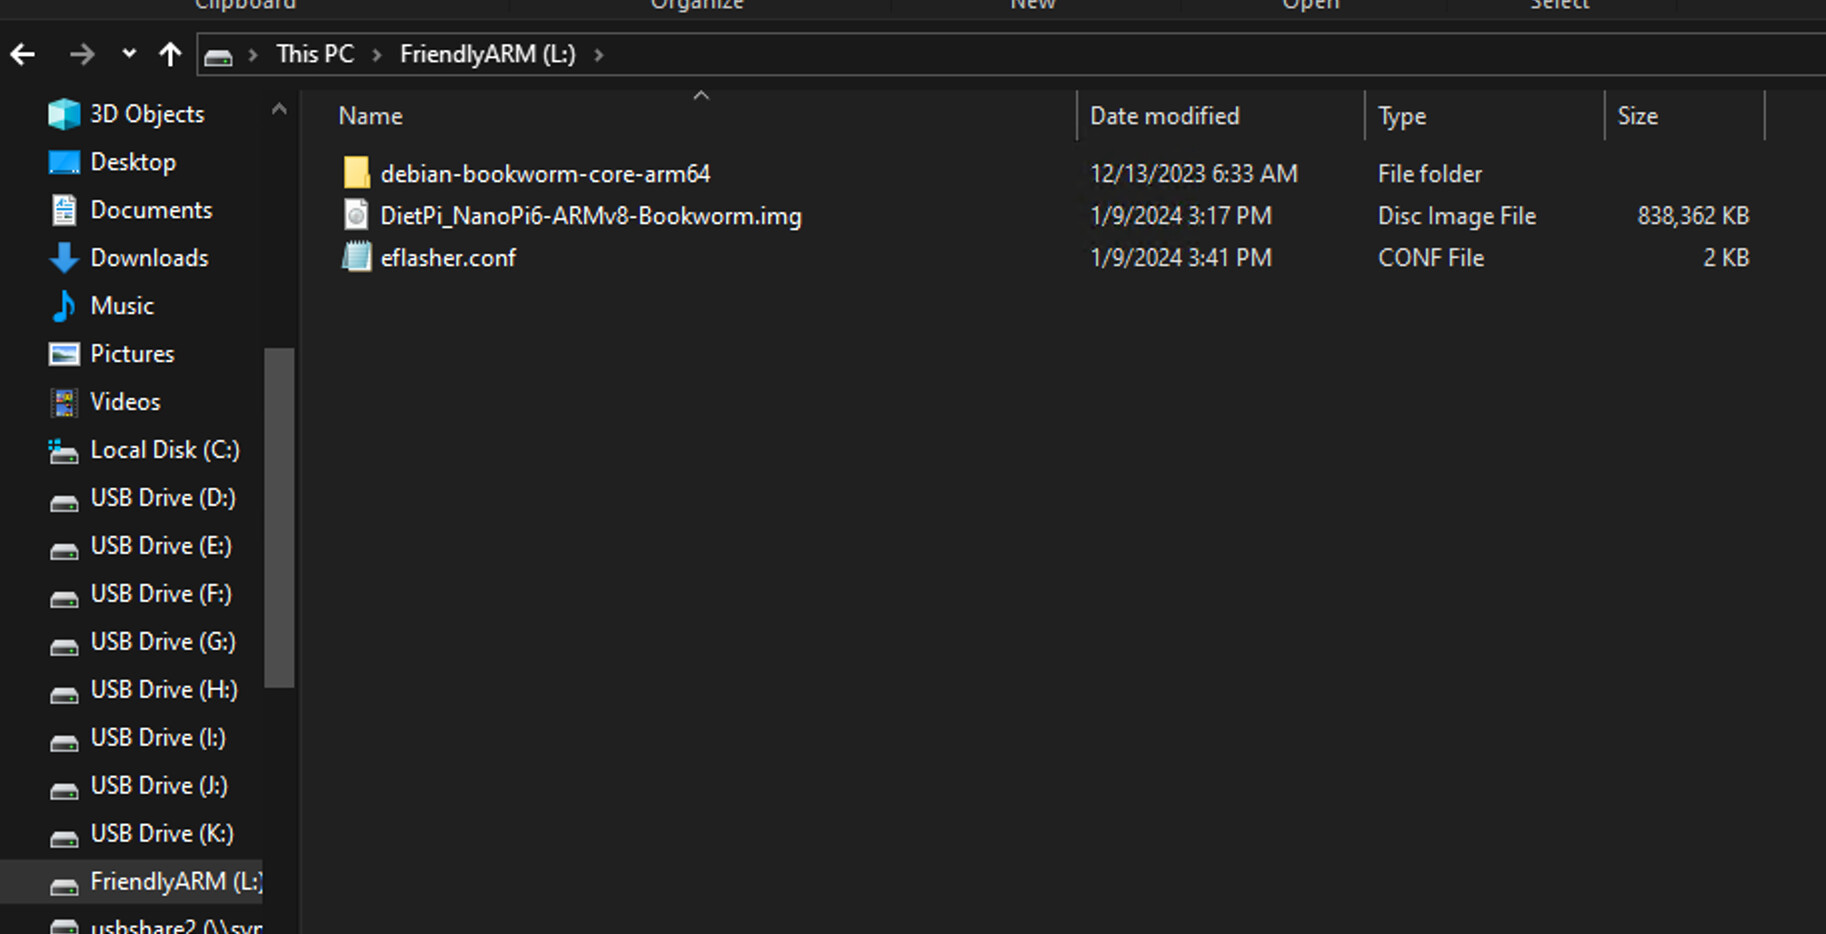
2) Eject and insert the TF card to your PC, after a “FriendlyARM” device shows up(Under Linux, it is a “FriendlyARM” directory), copy an .img or .gz file to the TF card.
I downloaded and unzipped the image file directly from our website
- Open the eflasher.conf file on the TF card, set “autoStart=” to the name of your image file, such as:
autoStart=openwrt-rockchip-armv8_nanopi-ext4-sysupgrade.img.gz
In addition to third-party image, official image files which with the ‘-sd-’ word in the filename are also supported, for example: rk3NNN-sd-friendlywrt-21.02-YYYYMMDD.img.gz
Below is the content of the eflasher.conf file:
; This is the eFlasher configuration file.
; See http://wiki.friendlyarm.com/wiki/index.php/EFlasher for detailed information.

[General]
; Automate OS installation at system startup,
; Use the "autoStart" field to specify the image path or RAW image file,
; The RAW image file can be a gzip compressed file,
; The RAW image file extension must be ".raw" or ".gz",
; Available values: debian-bookworm-core-arm64
autoStart=DietPi_NanoPi6-ARMv8-Bookworm.img

; If the "autoExit" field set to true, the eflasher-gui will automatically exit after burning or restoring is completed,
; You can do something else after burning or restoring by modifying /opt/run-eflasher.sh.
autoExit=false

; Don't erase the flash before burning, useful if you only want to update part of the system files
disableLowFormatting=false

[UI]
; HDMI overscan option, examples:
;	 screenSizePercent=auto
;	 screenSizePercent=90
screenSizePercent=auto

welcomeMessage=
hideMenuButton=false
hideBackupAndRestoreButton=false
hideStatusBar=false
autoRebootWhenSDBeEjected=true
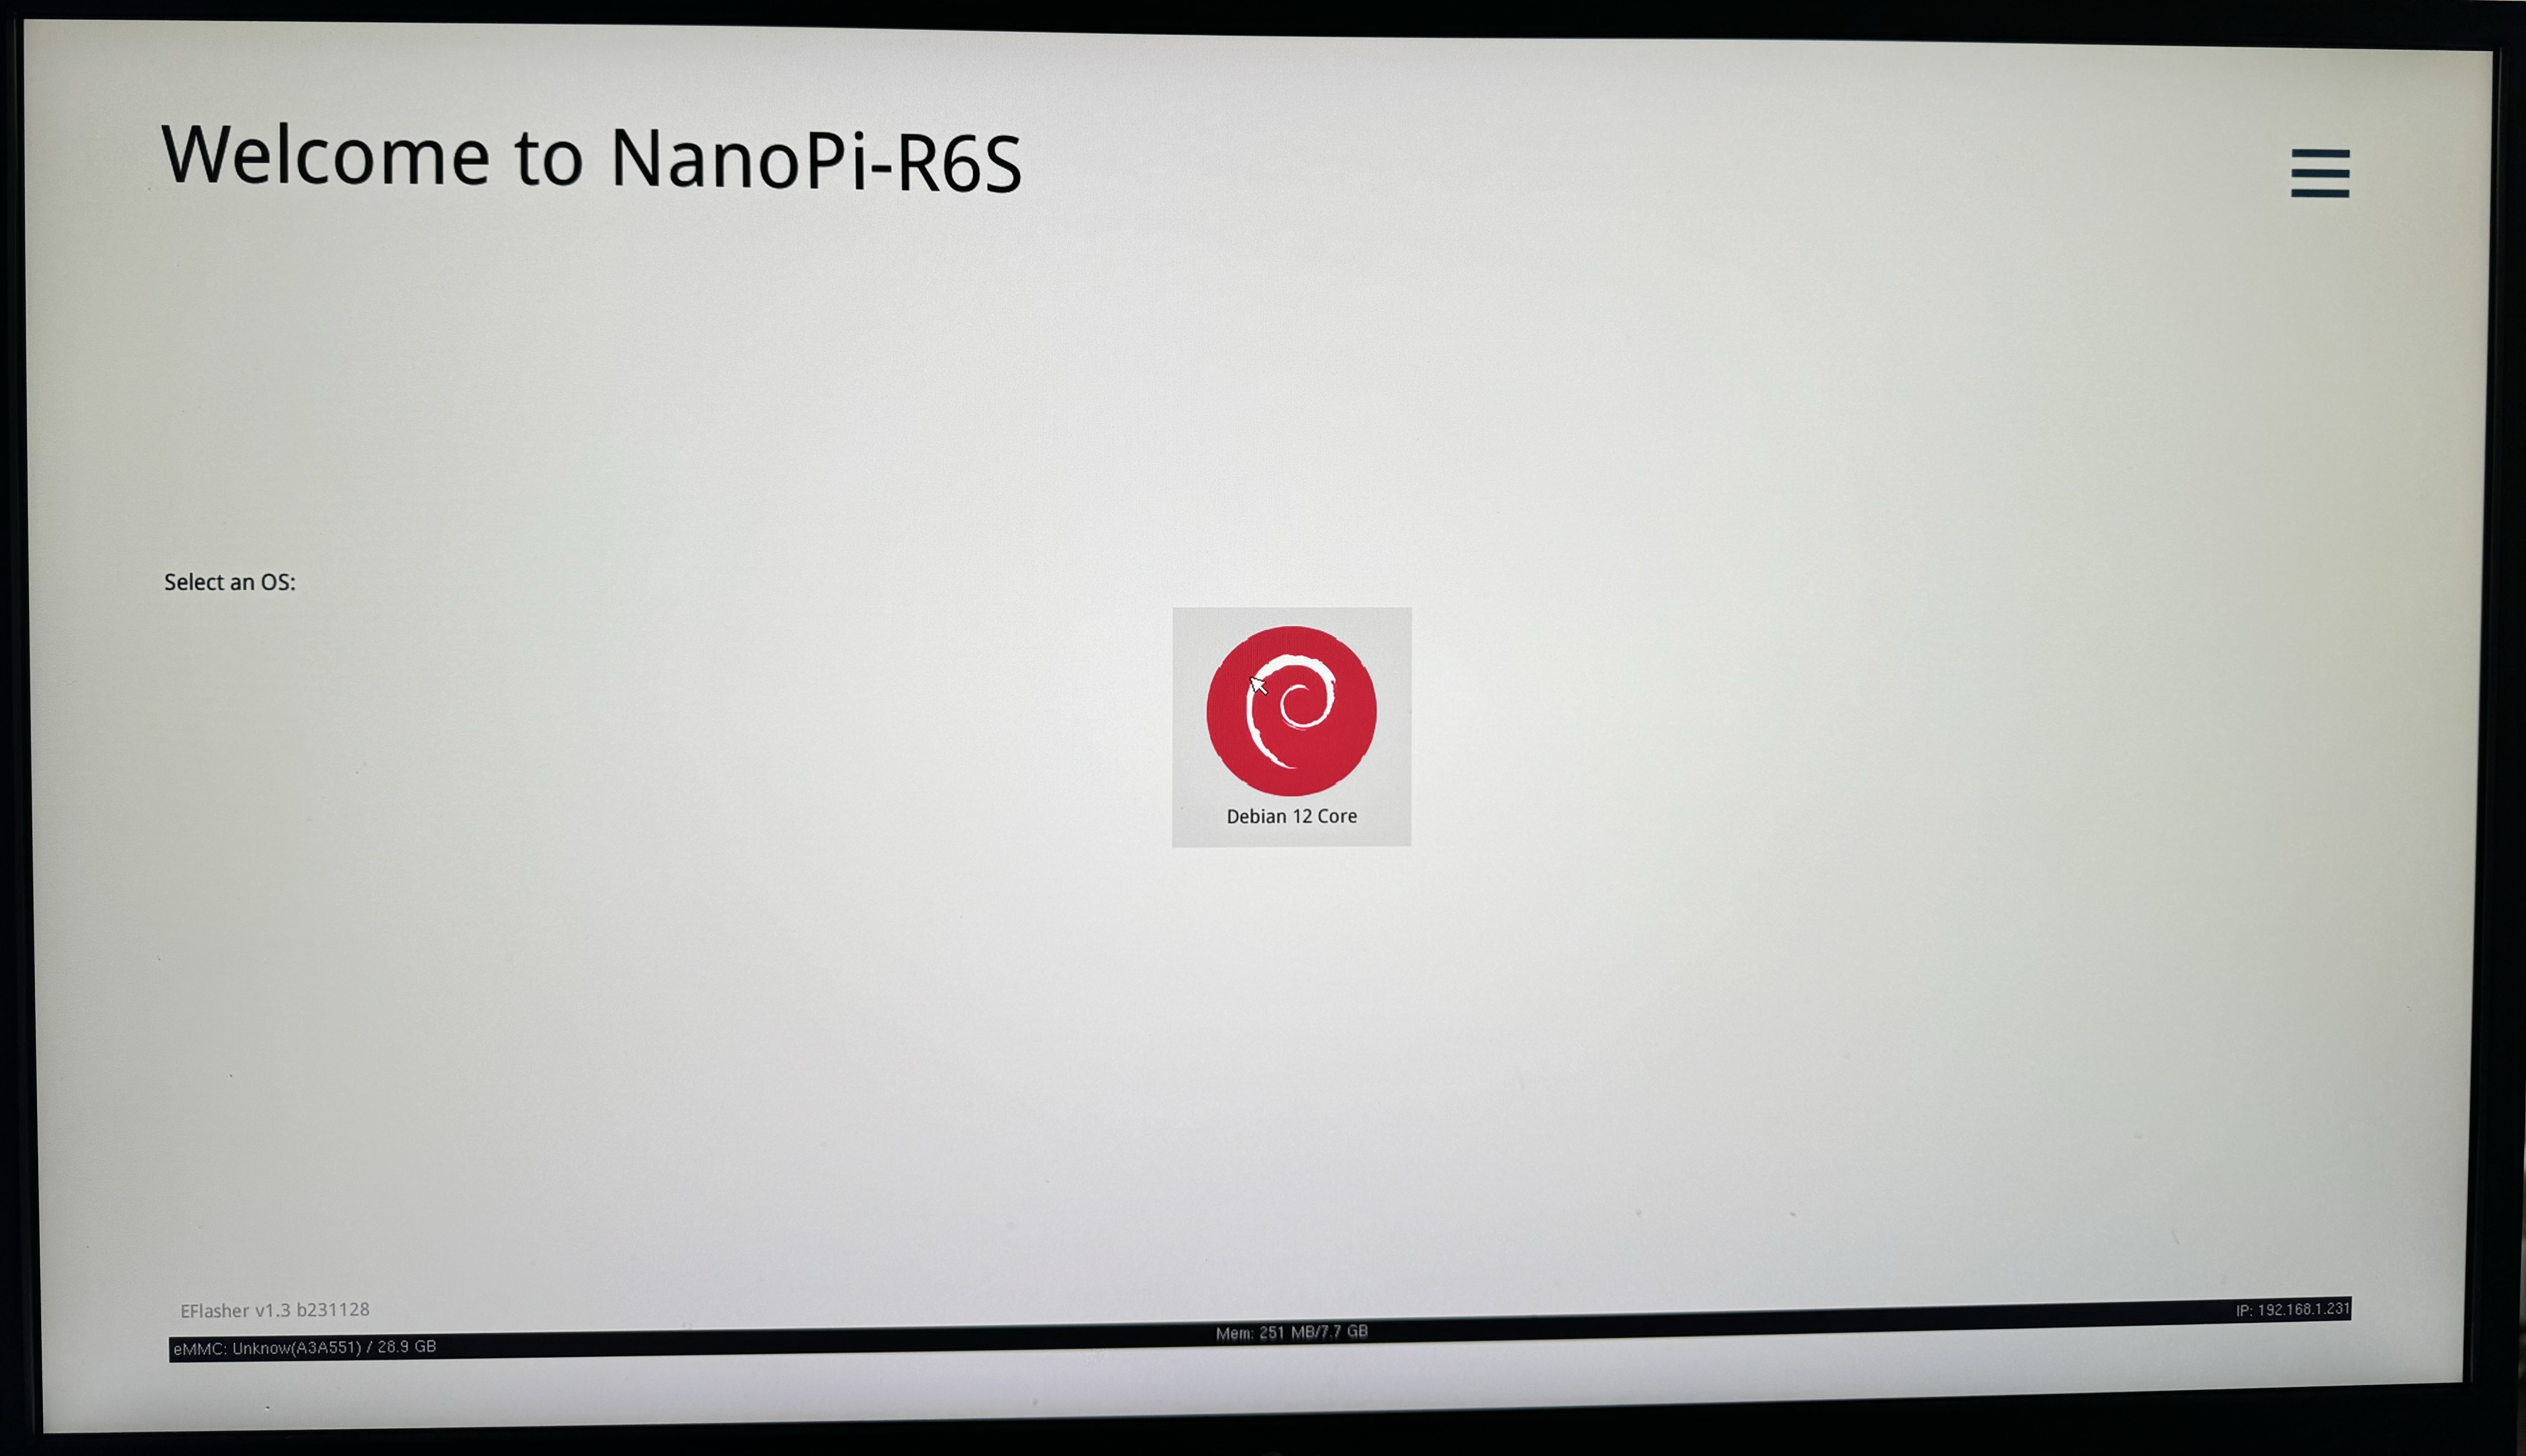
4) Eject the TF card, insert the TF card to NanoPi-R6S, power it on it will automatically install your firmware. You can watch the installation progress by observing the LEDs’ status.
I put the SD card back to the Nano Pi R6S, it does not detect the DietPi image
Questions:
(1) What am I doing wrong?
(2) Is there a better known-working process I can follow?
Thank you very much!