Creating a bug report/issue
I have searched the existing open and closed issues
Required Information
- DietPi version | can’t install, I don’t know but supposed to be 9.5.1
- Distro version | Native PC for UEFI
- Kernel version |
- Architecture |
- SBC model | MiniPC MinisForum GK41
- Power supply used | supplied power supply with the miniPC
- SD card used | USB Kingston DataTraveler G4 32GB
Additional Information (if applicable)
Steps to reproduce
- Download Native PC for UEFI image in xz format
- Decompress it to obtain the iso file (not even necesary with Balena, just in case)
- Run Ballena Etcher in a LinuxMint desktop PC
- Burn image on the USB
- Boot MiniPC on USB
- From the menu, try to select “Dietpi Installer”
Expected behaviour
- Selecting Dietpi Installer you should go to the Dietpi installation
Actual behaviour
- Whatever the option you try, you allways go to Clonezilla aplication
Extra details
usually Clonezilla is used to install the DietPi image to HDD/SSD
Thanks, @Joulinar
I’ll try it later at home.
Maybe installation instructions for UEFI version needs an update, then.
It’s not like this one? How to install DietPi - DietPi.com Docs One Step 3, Clonezilla is shown.
It would be perfect if you could describe a bit more in detail at which installation step it differs from the DietPi docs. Possibly a photo put here clearifies it for me.
Then I can also try a clean install on one of my spare PCs and check it tomorrow.
In case that our docs can be improved, I would like to achieve this.
Hi!
Sure, it is a great idea.
I would like to help in DietPi development but I do not have enough programming nor linux management skills. By now, I can only donate from time to time.
So I will do that.
I’ve just finished installing DietPi in the miniPC, but I can restart the process and take pictures with my mobile and send it to you. The bad side is this kind of pictures are not worth publishing on the web, but it doesn’t matter a lot.
I will also write the step by step process, that is in some way different from installing in a SBC.
See next post
Step by step.
-
Download the Native PC for UEFI
-
If you don’t gonna use Balena Ethcher, decompress it
-
Burn it (the compressed .xz file if using Balena or the decompressed .iso if using another image burner) on an USB equal or greater than 1 GB (as for DietPi 9.1.5)
-
Check that miniPC is powered off
-
Plug the USB on the powered off miniPC. The MiniPC must have a keyboard and a screen connected
-
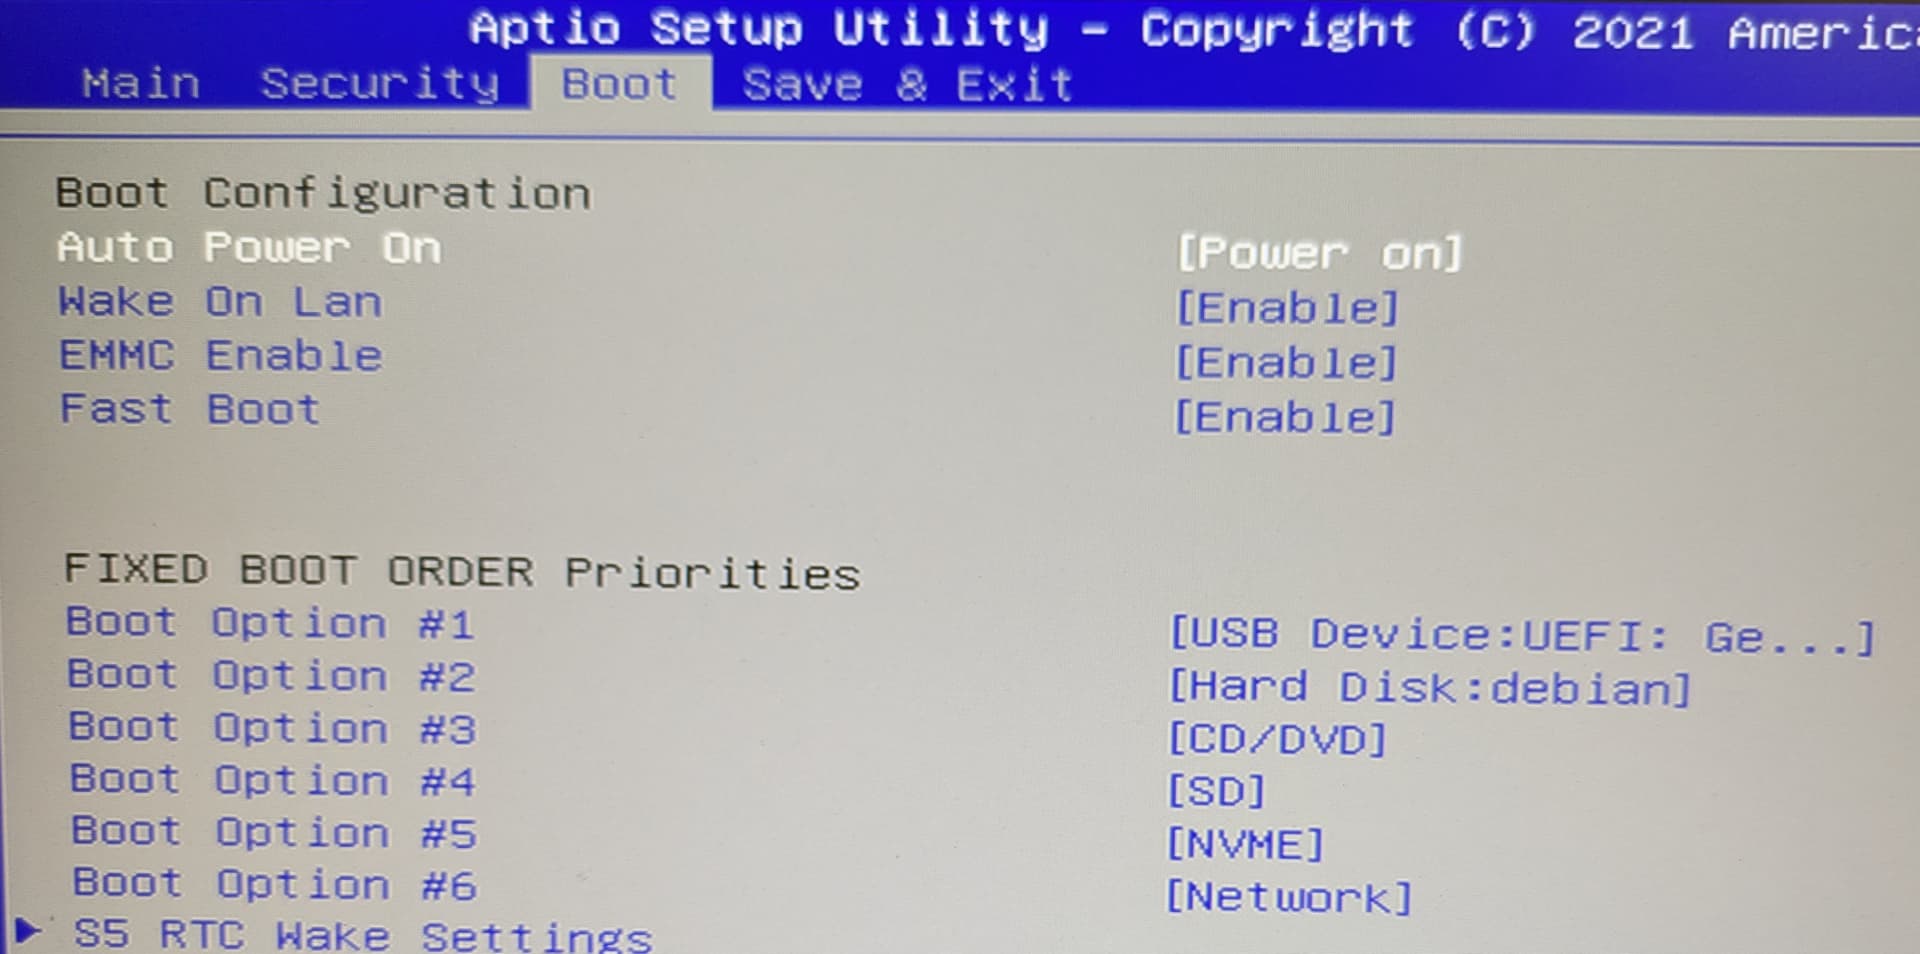
Start the miniPC and enter Bios setup usually pushing “del” key
-
Set UEFI USB as the first boot option
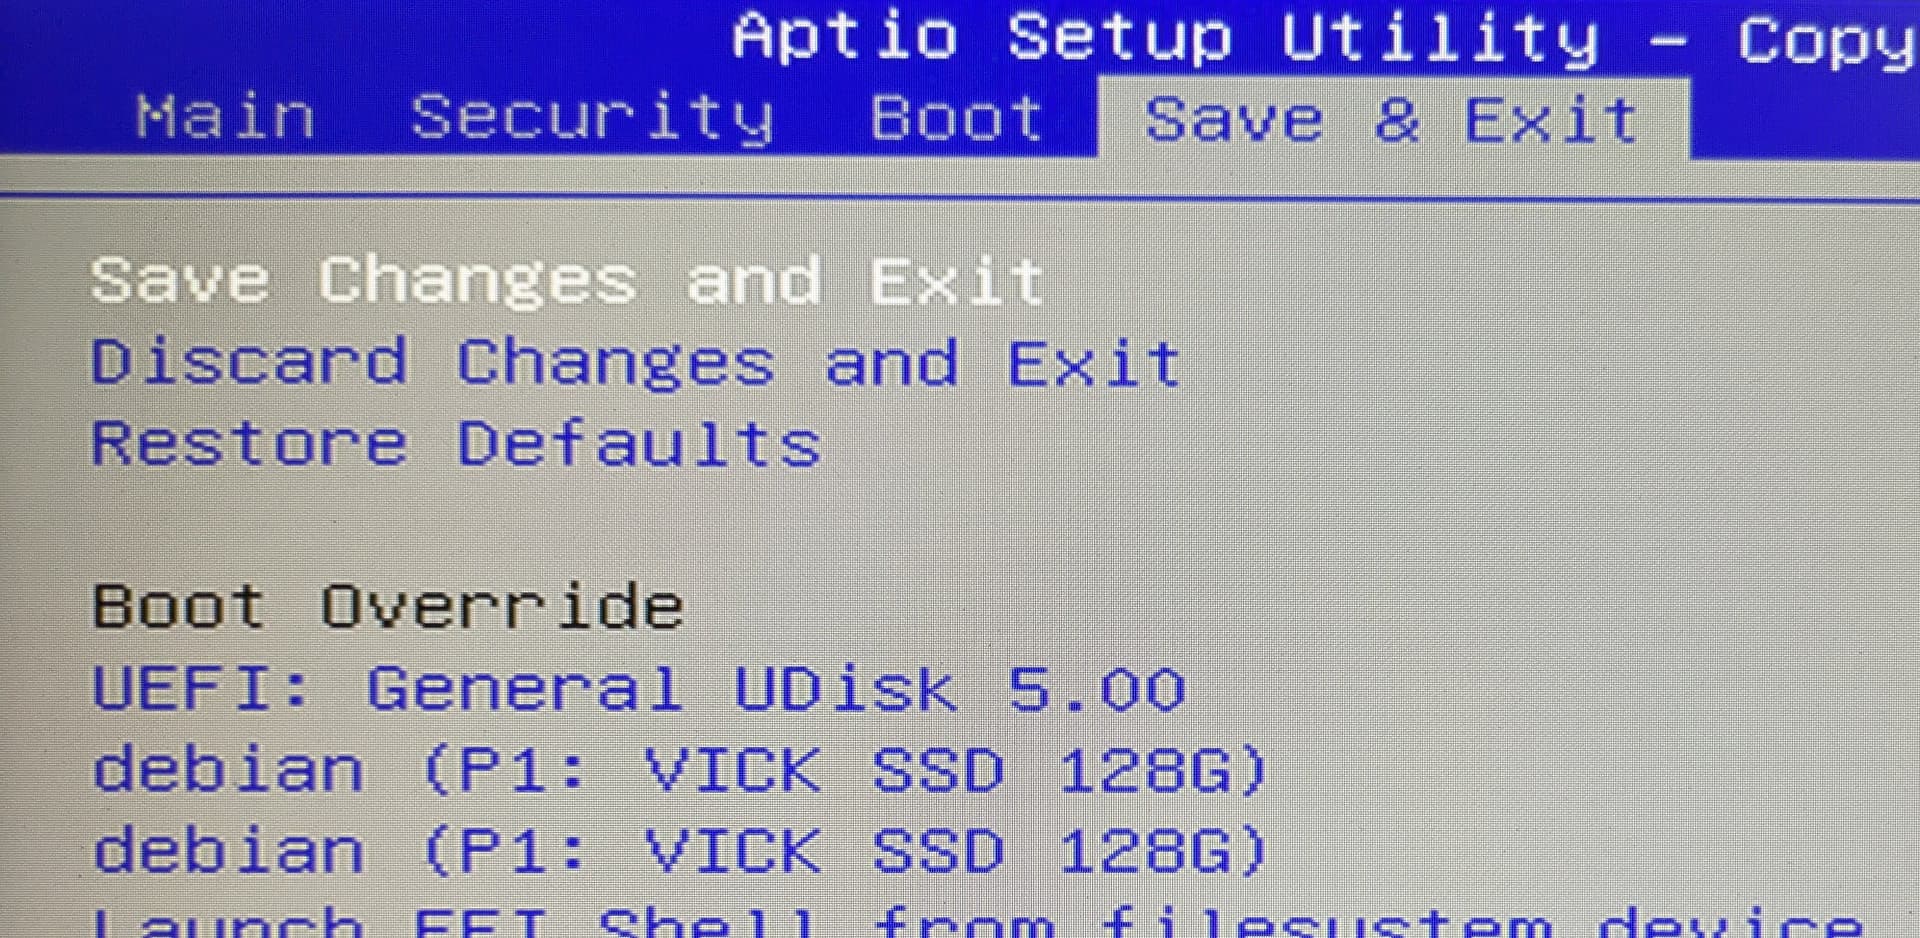
-
Save and exit
-
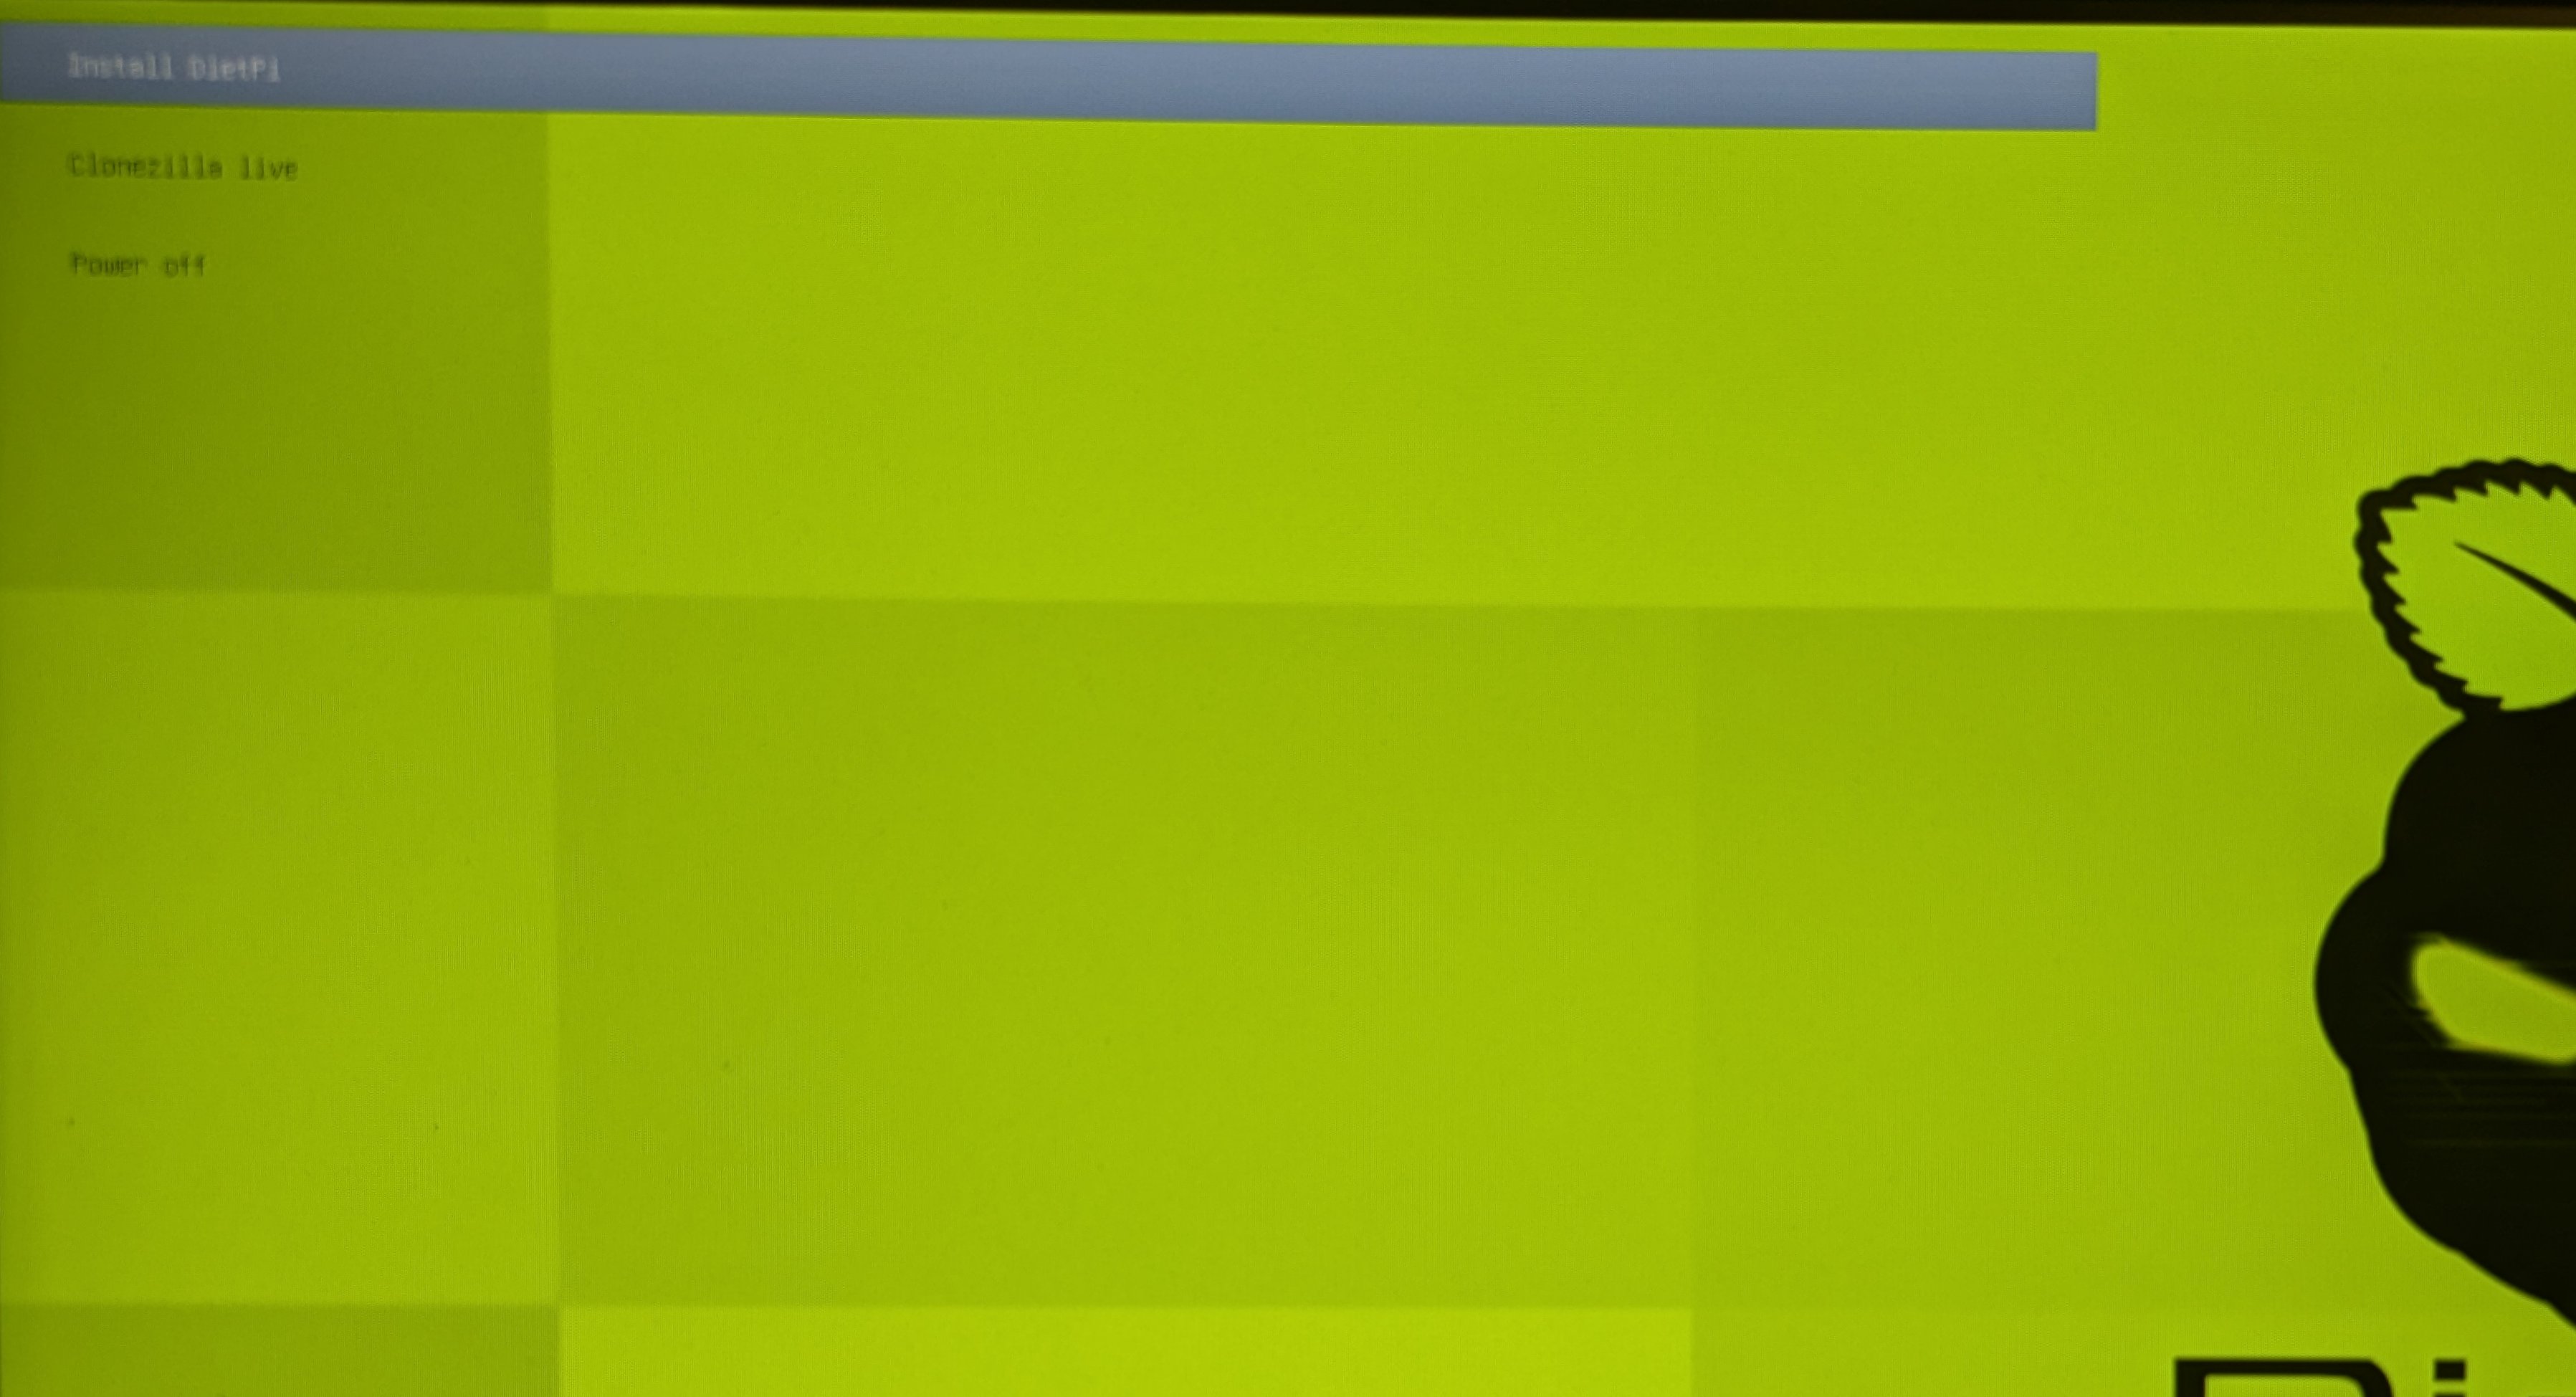
Wait until you see the initial screen
The first option you see is the Dietpi image copy to the disk of the miniPC via Clonezilla
The second option is in case you want to save an image of the current disk before being repartitioned.
We will go with the first option.
10. With the cursor keys, go to “Dietpi installer”. This brings a Clonezilla screen where you must wait a few minutes depending on your miniPC
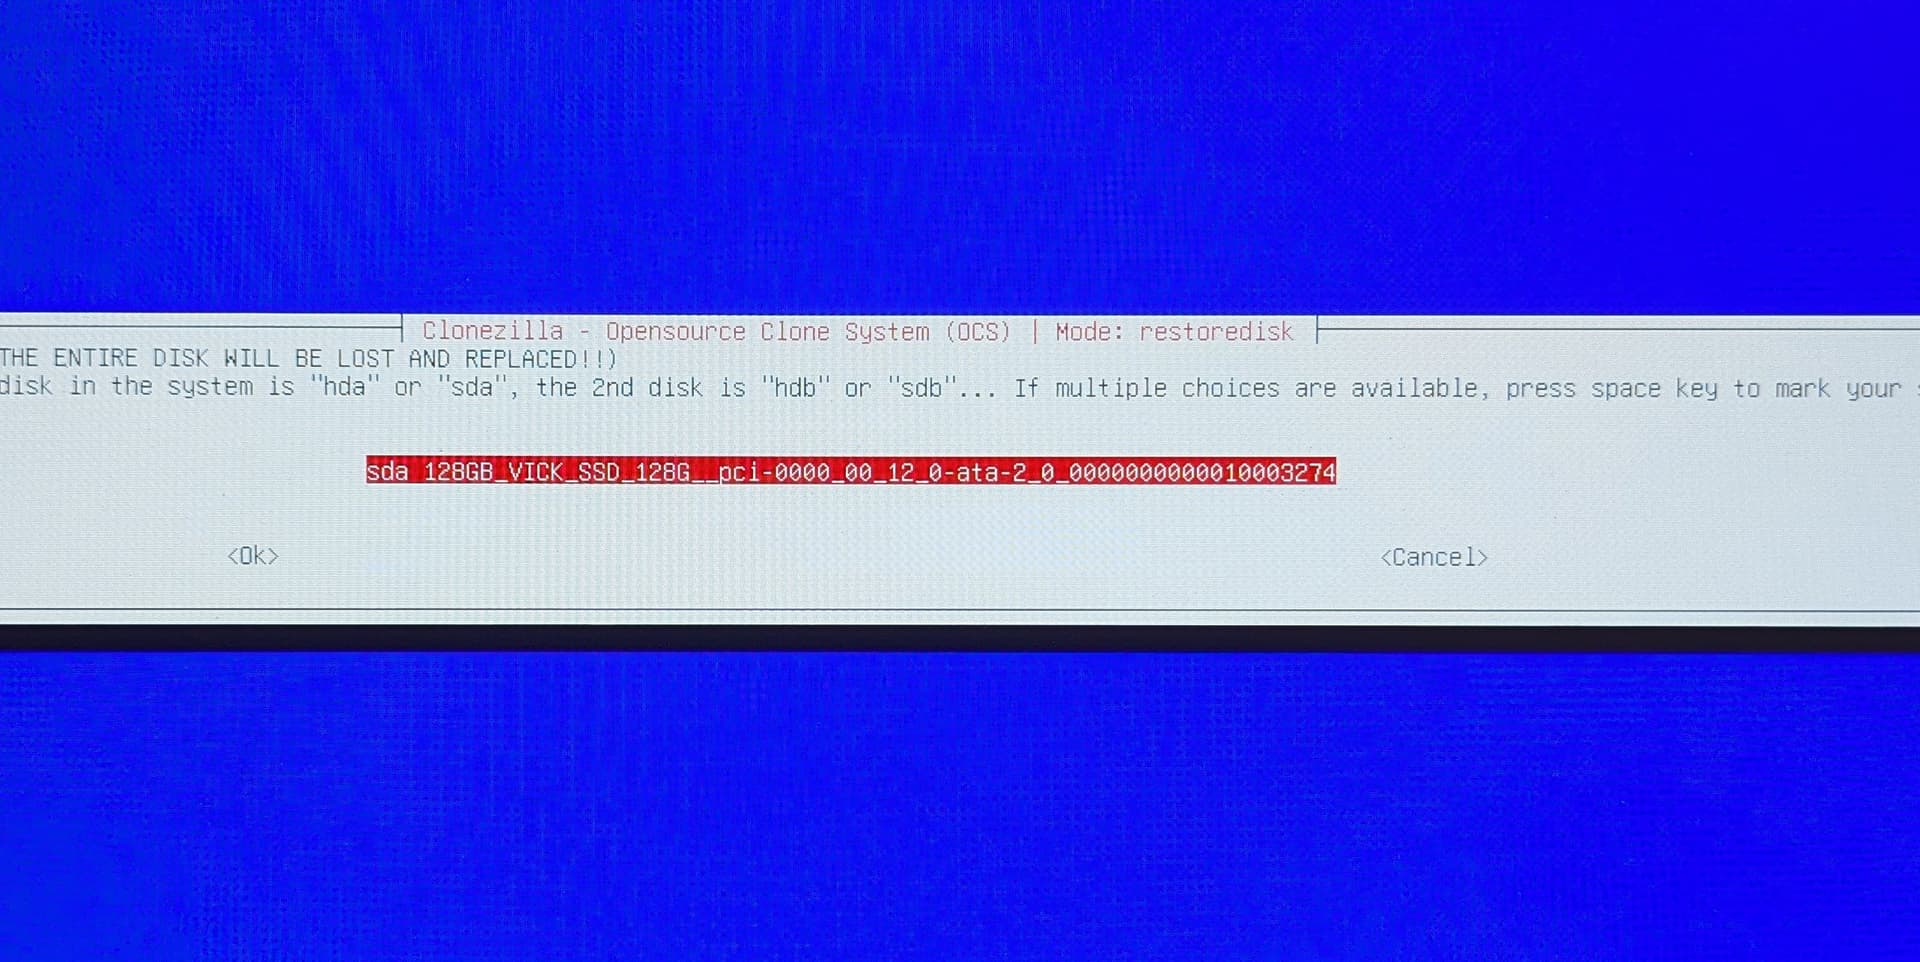
11. You will see the destination selection to save the Dietpi image. Usually there will be only one disk in the miniPC and it will be selected
-
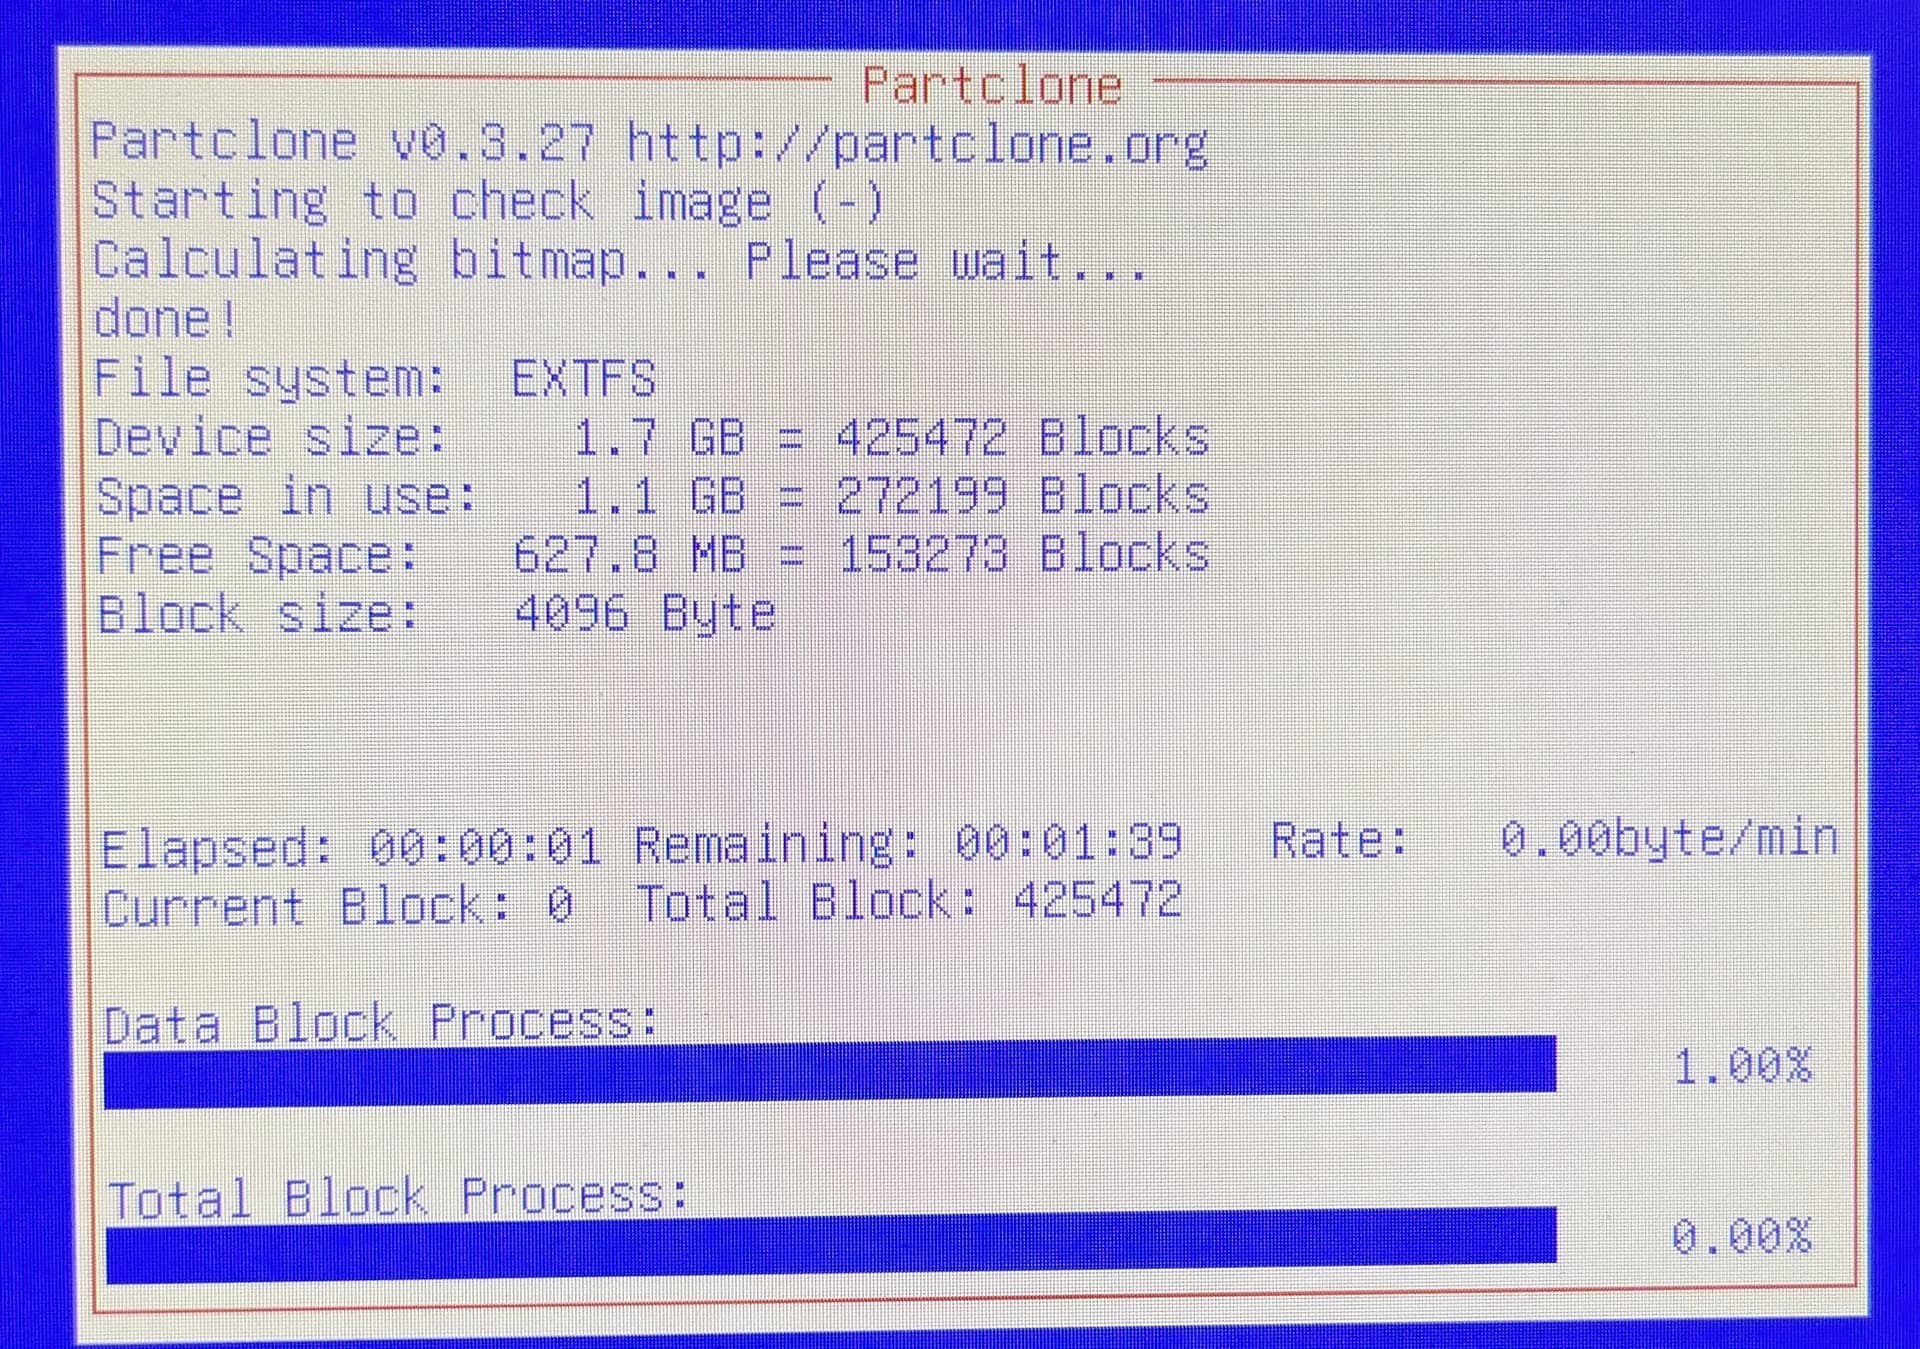
Accept that and there will be some screens showing the progress recording the three partitions. Wait until the system shutdowns itself.
-
Take off the USB, then power on the miniPC
-
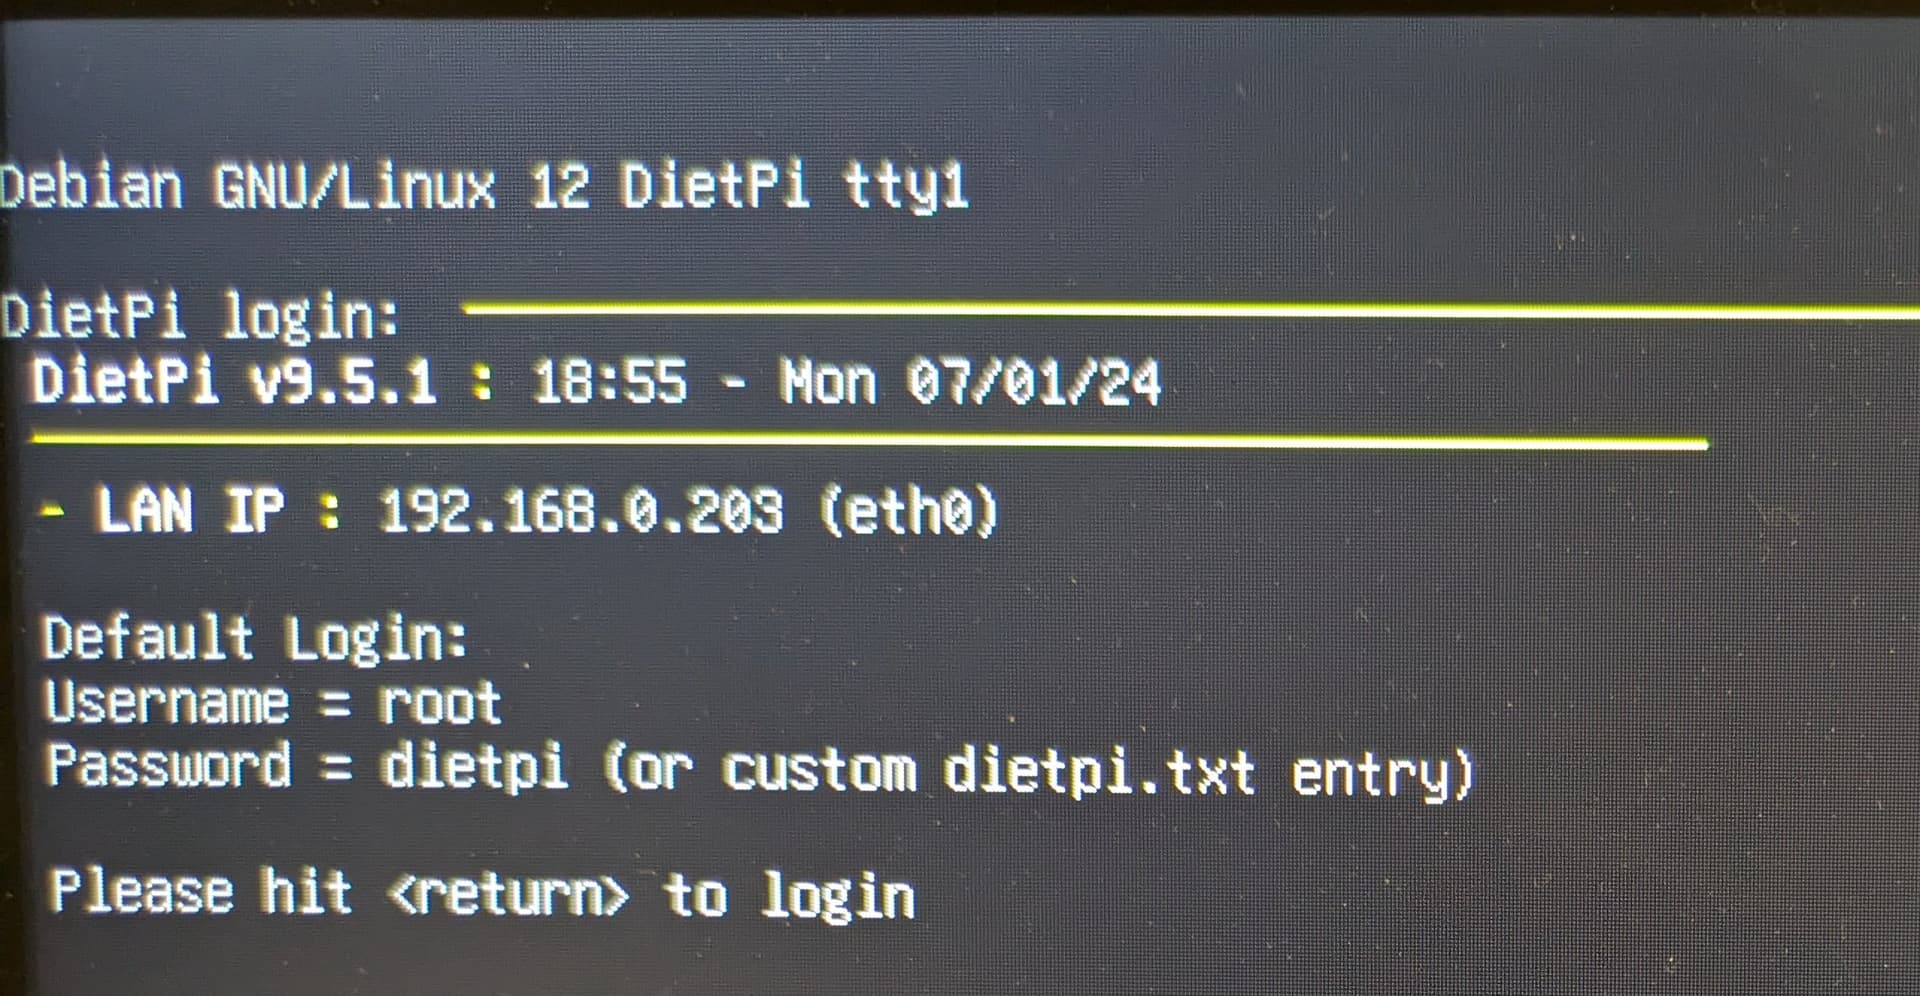
After booting, you will see the Dietpi initial welcome screen
-
From now on, there is a normal Dietpi setup. Remember than most of miniPC’s has RTC, so keep it in mind with dietpi-config-> Advanced options.
Thanks also to @MichaIng for remember me to do not answer by email 
I hope this may help other people as clumsy as I am
thx for the detailed description. It is almost close to what we describe on our online docs How to install DietPi - DietPi.com Docs isn’t it?
reminds me, that we still need to setup our mail server 
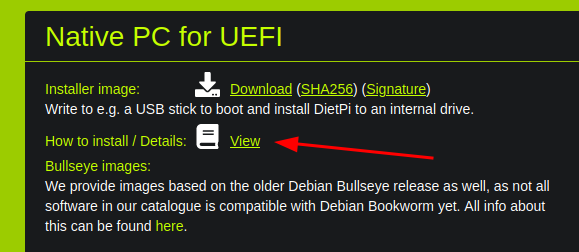
Ups, I didn’t know this page. Then I think you must update the link in the option to download the image:
This link points to:
And it is for SBC’s only.
Sorry then for me to make you loose your time.
Have you noticed that there are several tabs?
On the far right is the tab for Native PC
Aaaaarrrrggggghhhhh!!!
No!

I will check and update the links. Since some time we can link to a dedicated tab contents.
Thx for the hint with the wrong links.