I don’t want make any error so original meson-g12b-odroid-n2-plus.dtb I will rename to meson-g12b-odroid-n2-plus-native.dtb and your dtb meson-g12b-odroid-n2-plus-con1-opp-uart.dtb I will rename to meson-g12b-odroid-n2-plus.dtb and copy to /boot/dtb-6.1.11-meson64/amlogic ? Next I will edit dietpiEnv.txt and delete all links placed in overlays= and user_overlays= ? Then reboot
Correct ?
I see now that all those shipped UART and I2C overlays are for meson gxbb (Odroid C2), no wonder they do not work on Odroid N2.
Upstream device tree sources contain only a single UART node as far as I can see. Not sure whether there is something implicitly added or I’ve overlooked something, i.e. where the 3 additional nodes on the running system are coming from and why they appear all as ttyAML6. Armbian’s patches seem to not interfere with this.
Probably this did not break but did never work with mainline kernel.
@usual-user
Many thanks! You did add the additional UART node from scratch I guess? (Currently can not review it on mobile phone)
Will it work also with N2+ ? (I hope for N2 and N2+ is the same)


For a generic serial test, connect the RX line to the TX line (easiest done by placing a jumper plug on con1-08 and con1-10). Then open /dev/ttyAML1 with your preferred terminal program, all typed characters should appear as an echo. Then disconnect the RX-TX connection to check that the echo fails.
Before dietpi upgrade it was working. In the SW I set ttyAML1 and communication was running complete.
Now when I set ttyAML1 software will switch to mode connecting and will not go ot online. So AML1 isn’t reachable by the SW.
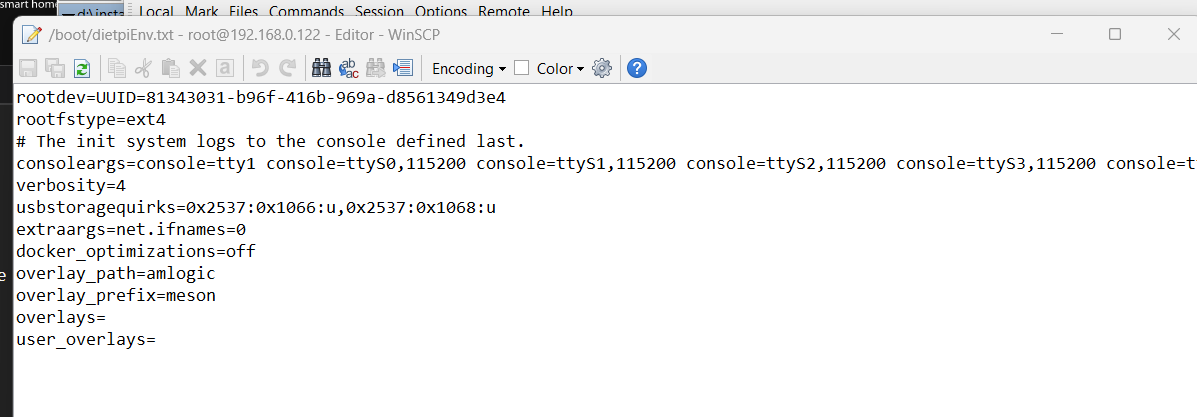
It shouldn’t cause issues, but I suggest to remove/disable all the additional serial console entries (ttyS0 etc) which do not work anyway but just cause a lot of errors during boot.
Checked the patched device tree and this is the relevant addition:
serial1 = "/soc/bus@ffd00000/serial@24000";
This is indeed the device with uart_A symbol in the default device tree, so should be the one using pins 8 and 10. I did test it and indeed it works, but it uses an uncommon low baudrate:
root@OdroidN2:~# stty -F /dev/ttyAML1
speed 38400 baud; line = 0;
min = 1; time = 0;
-brkint -icrnl -imaxbel iutf8
-isig -icanon -iexten -echo -echoe -echok -echoctl -echoke
Changing it via stty -F /dev/ttyAML1 115200 works for a short time, so I’m sometimes get a plain text login prompt and can enter the username but it automatically switches back to 38400. @usual-user I guess this is something which can be set via device tree as well?
Using 38400 in serial client works fine, but is a little slow, of course.
Devicetree describes hardware and no policies, although there are always attempts to shoehorn them in.
It is up to the device users to implement them.
Regarding the automatic switching, there is certainly another application that is fiddling with the device. E.g. I’ve seen ModemManager doing weird things with serial devices that it would have been better off staying away from.
It was a clean DietPi install, so there is definitely no application like ModemManager messing with it. But serial-getty@ttyAML1.service of course is running. It is however the default systemd unit which calls agetty with --keep-baud 115200,57600,38400,9600, i.e. starting with 115200 and using the first functional baud rate. I’ve actually never tested whether it then keeps enforcing this once taken baud rate or just leaves it untouched after start. If it indeed enforces 38400, then the question is why 115200 did not work in the first place, as it definitely does work with this UART device ![]() .
.
Thanks, 38400 is really qiute slow. Strange that there is so big problem with functionality of the basic onboard odroid n2+ hardware with distribution exactly for this minipc.
Hope there will be a solution for the future to go back to 115200.
I don’t think that’s what @alda wants, as it would probably interfere with his SW if the getty occupies the device.
I don’t know what heuristic systemd is using to determine the device working, so the selection can be random.
Given the console= cmdline entry, I think a serial console is wanted, and a login prompt is then commonly wanted as well, as long as it’s not for bootloader/early boot stage debugging only.
However, nothing easier than disabling it:
systemctl disable --now serial-getty@ttyAML1
systemctl mask serial-getty@ttyAML1
or doing it via dietpi-config advanced options. The mask is required since systemd starts a serial-getty service automatically on serial devices used for console= output. If needed, you can also create an own serial-getty service which uses a baud rate of 115200 only, in case this is really what otherwise resets it to 38400 all the time (in my case). However, first test your use case.
The Odroid N2(+) is quite old already and I’m sure that ttyAML1 never worked on mainline kernel images. In all these years never someone requested it before at us and obviously not sufficiently often (if ever) at Armbian for someone to create a patch or overlay for it, even that it is so simple (except the baud rate issue). I guess everyone uses ttyAML0 instead.
I’m sure that AML1 with DietPi was working without any problems (I was using it). I have img file which I downloaded 31.07.2022 (DietPi_OdroidN2-ARMv8-Bullseye.img) and here is AML1 presented. Problem is, that istallation will do automaticaly DietPi upgrade and after this upgrade is AML1 away. I can disconnect network and break installation before upgrade, so I can see AML1. Is there any chance to do upgrade step by step to see with which upgrade version problem started ?
Probably not the DietPi update, but one of the apt package updates that we trigger in parallel. Maybe a kernel patch. You could check this by simply interrupting the initial boot/install process and checking for available apt updates.
Yes, when I will interrupt a initial boot/install before updates, I can see AML1 there and it’s also part of dietPi config. After all updates is gone. So solution for me is disable update which it will cause.
Not sure if I can do a updates step by step. Please what is instruction to check available updates ? I will check and send here.
for apt packages you can generate a list as follow. This will not trigger the update. Just show the list of available packages.
apt update
apt list --upgradable
Ok, I will do it. Is there any way how to disable some updates during boot/install process or do a updates step by step to see which update is critical for me ?
we don’t have such a feature. You would need to do it manually. I would go with apt package updates one by one. Keep in mind, after each reboot, first time install process will start again ![]()
not clear for me how to manually install only what I want, when install process will start again and install all updates automatically
if you interrupt the first boot install process, run following to get an overview
apt update
apt list --upgradable
This would be the first step. Afterwards we could check what is in.