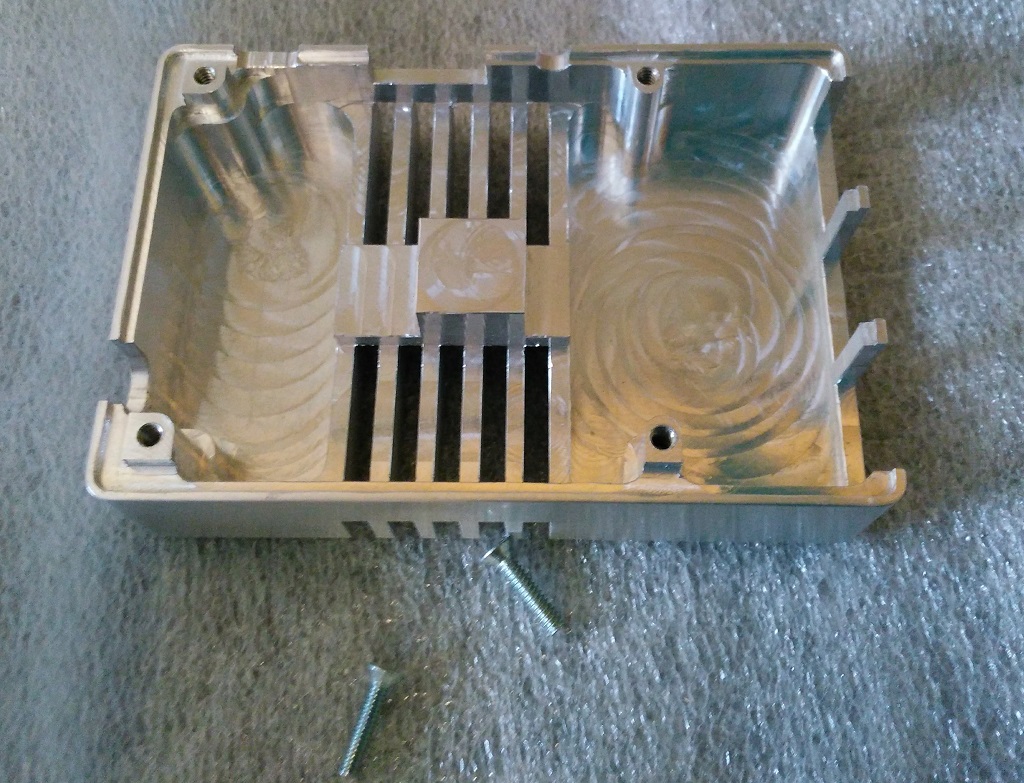
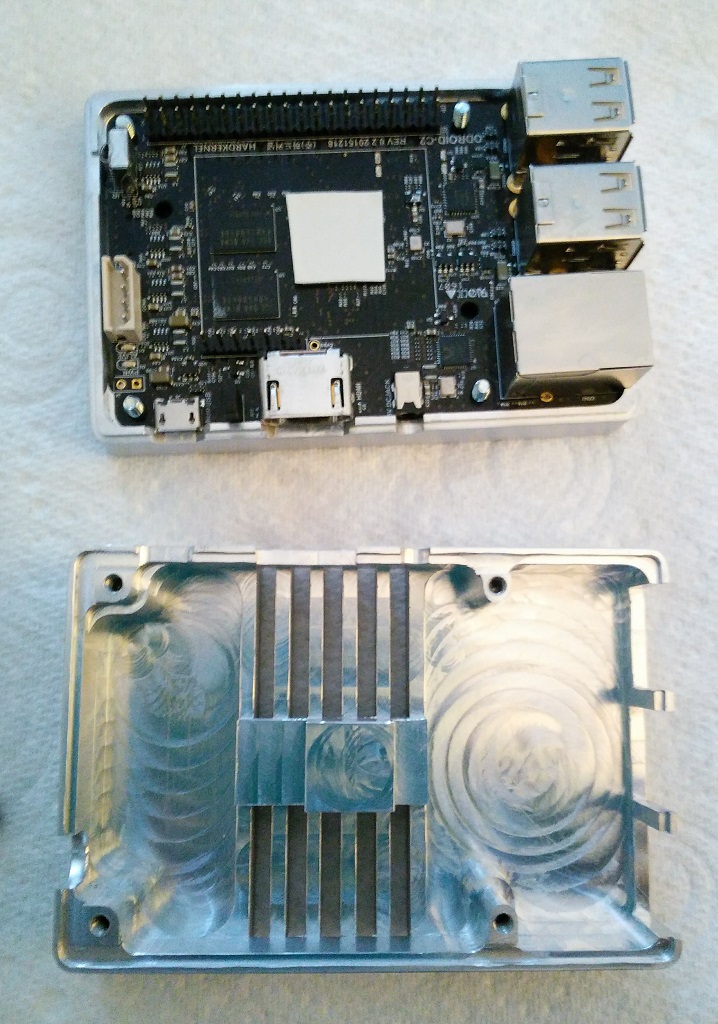
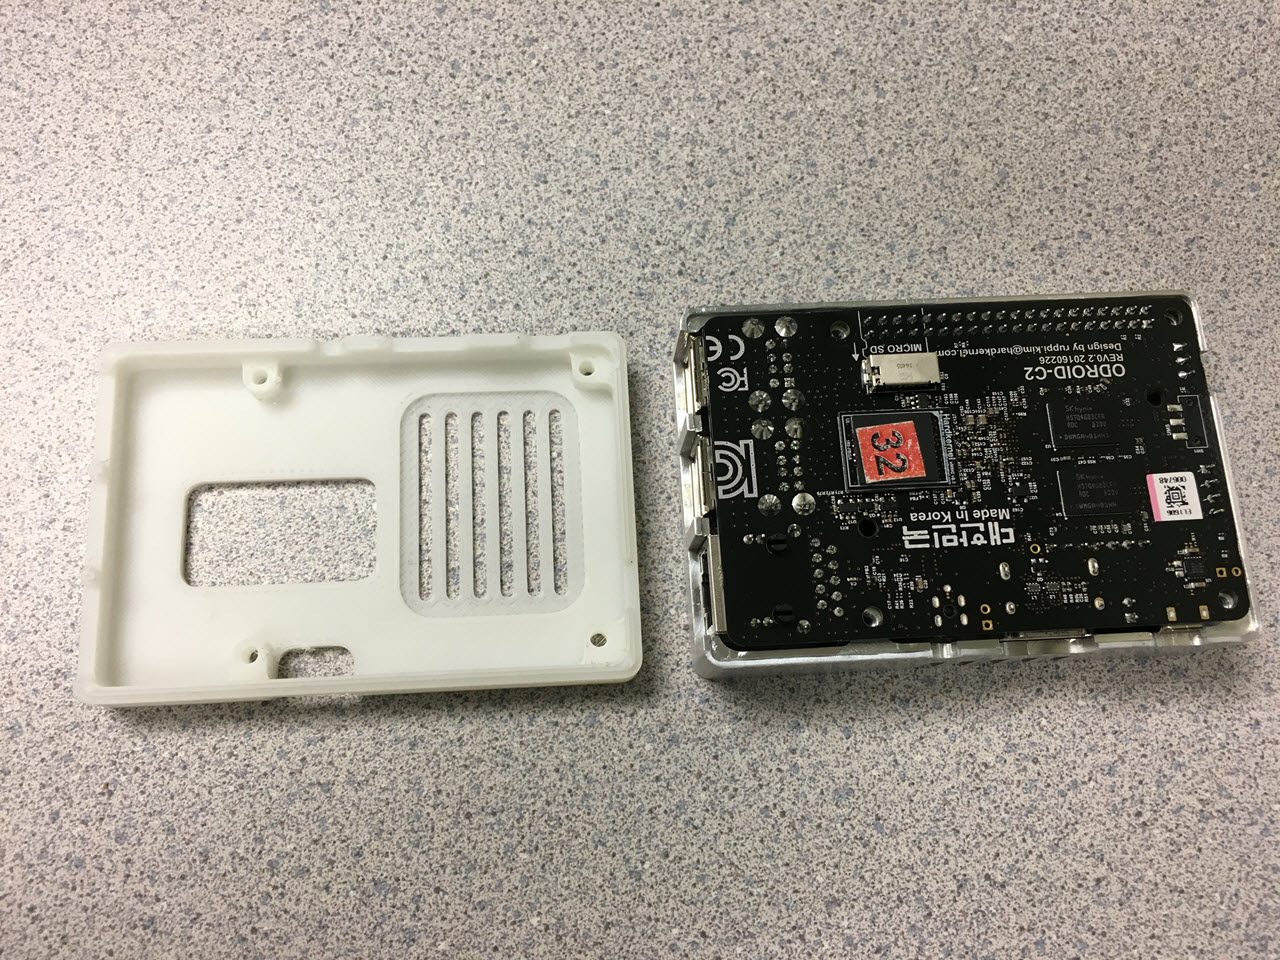
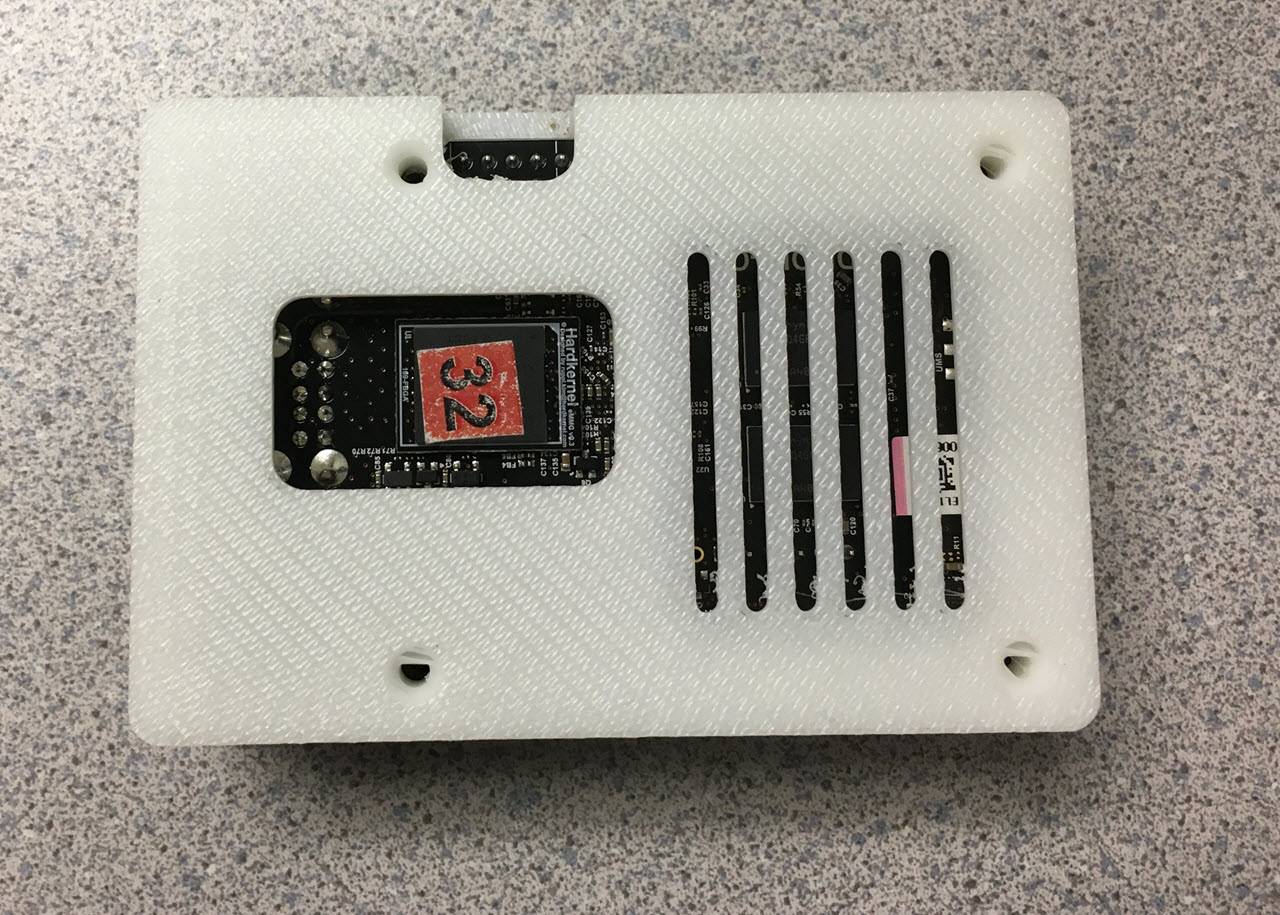
Although the CPU will transfer all heat to the case, other components will heat up. This has been thought out well in the case design and features various slots and holes for air ventilation
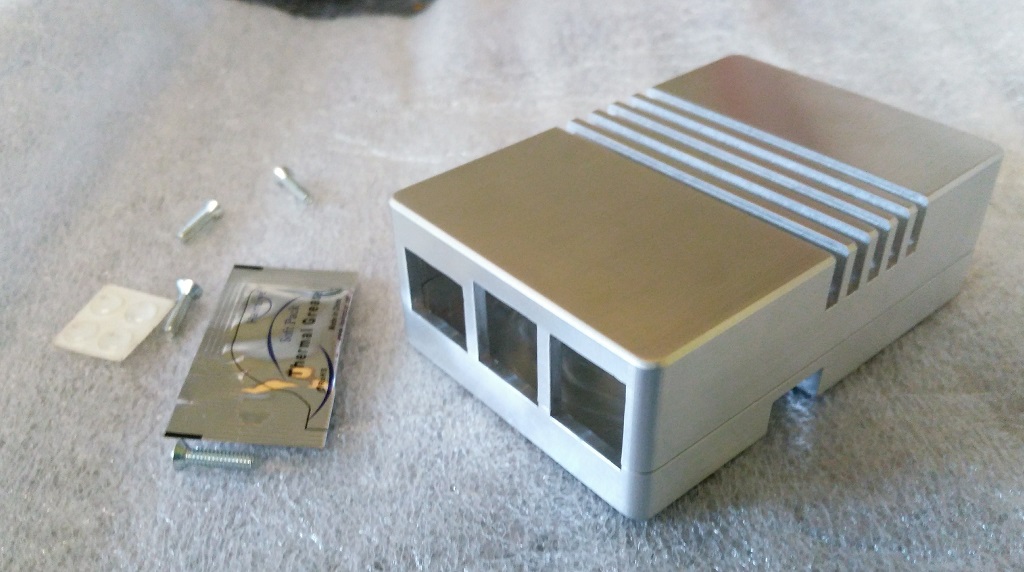
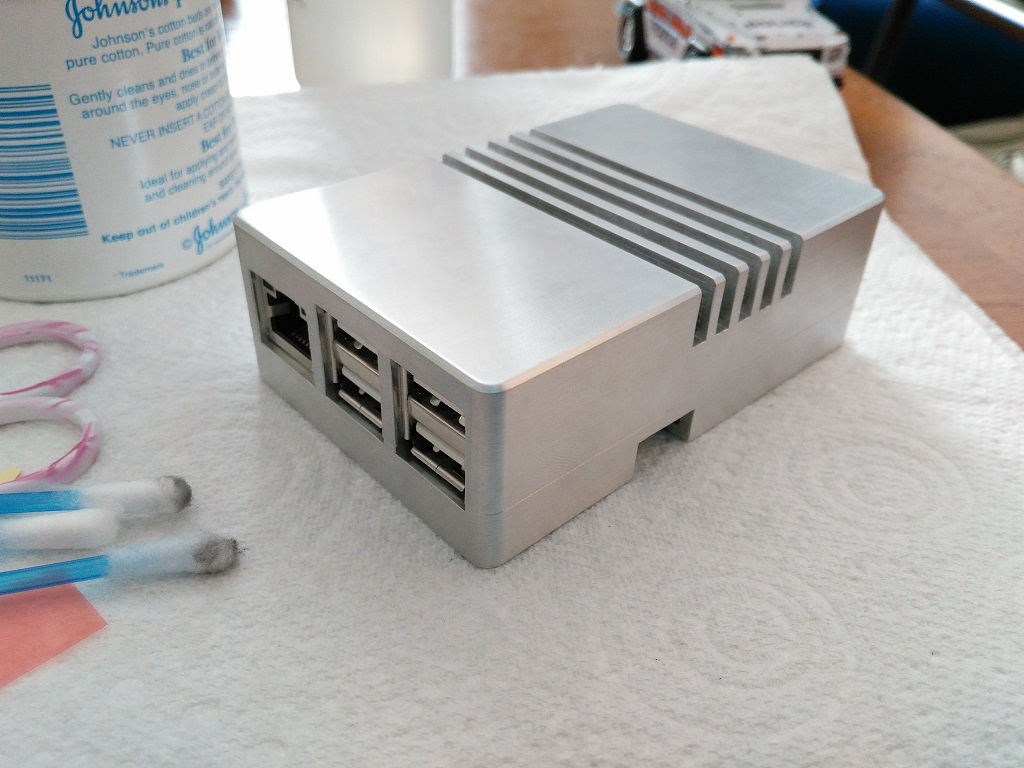
The metal finish on the exterior of the case is exceptional, with a glistening brushed finish and no sharp edges, high quality craftsmanship throughout and it shows.
The thickness of the metal is roughly 3mm thick, its extremely high quality and exceptionally strong.
There is also a satisfying weight to the case, it feels like its built to last.
The case is provided with 4 adhesive, soft gel feet pads to prevent slip.
There is only 2 parts to the case, a top and bottom.
Both the top and bottom parts of the case, appear to be created from a single mold with no additional welding.
There is no access to GPIO built into the case design. The top section would need to be removed for access.
How does it perform as a heatsink?
When we consider the heat will be dissipated through the whole case, with a large surface area, one should expect great results.
Lets run some CPU stress tests:
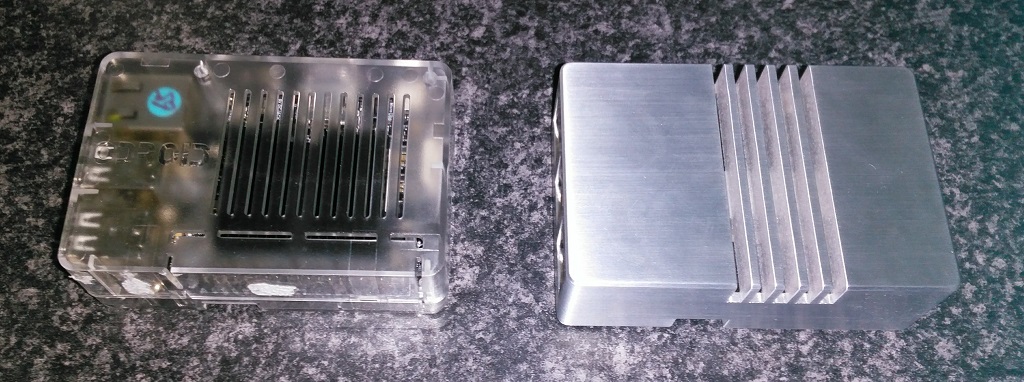
I ran two Odroid C2’s at the same time, one with the Cogent.design case, and the other with the stock heatsink and case from Odroid.
The Cogent.design case runs 28’c cooler than the stock heatsink/case. This has completely exceeded my expectations with a 37.3% reduction in max temperatures. Guide:
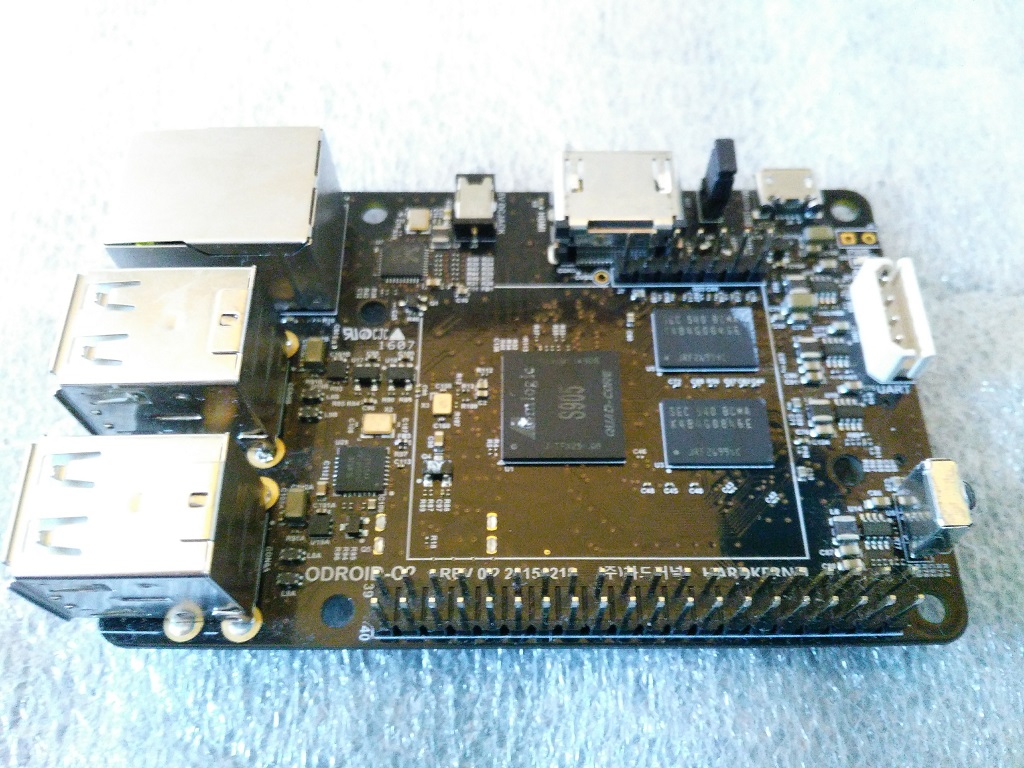
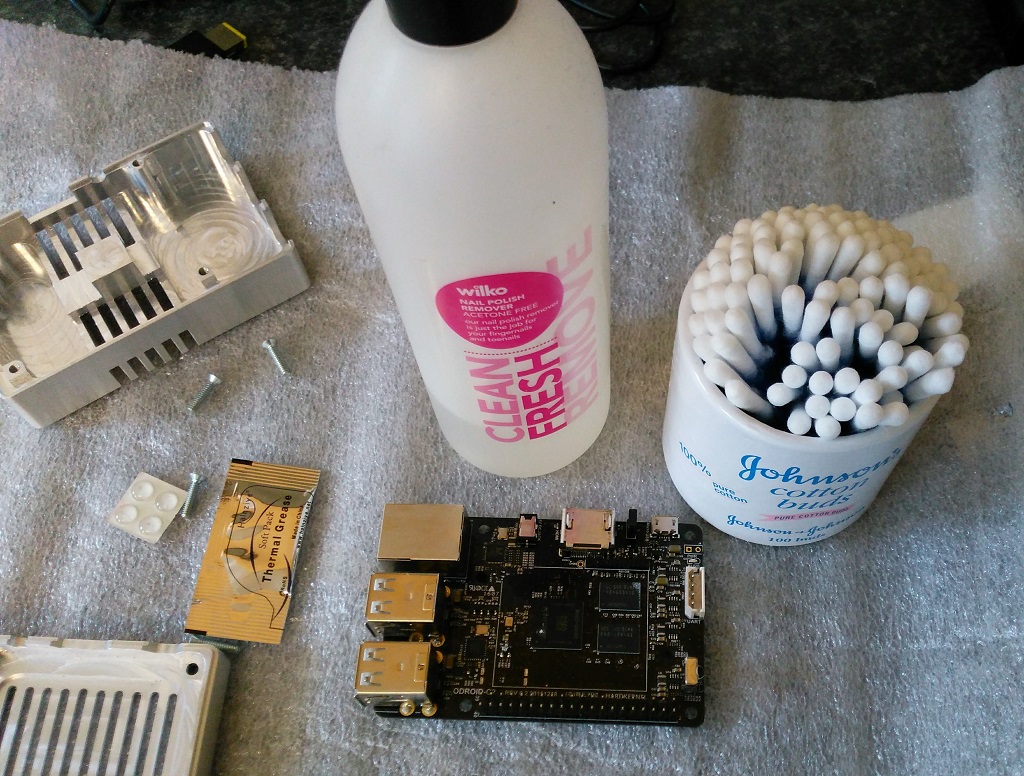
Step 1: Remove the stock heatsink: First you need to remove the pins:
From the top of the board, push one pin down.
Use a pair of tweezers to “squash” the bottom sides of the pin.
Release the pin and tweezers. If successful the pin will exit through the hole on release.
Now we need to gently remove the heatsink:
Get your girlfriends hair dryer and heat up the heatsink.
Once the heatsink is warm, gently twist the heatsink in both directions.
Repeat the process several times.
Over time it will become lose and can easily removed.
Step 3: Apply thermal compound/adhesive: This is required to give maximum heat dissipation efficiency through both surfaces: NOTE: Although I was provided with a thermal compound, I decided to use a Akasa thermal adhesive pad instead as I want a permanent attachment.
Step 4: Complete the case build: Here is the method I used to complete the case build, to achieve a dead centre board alignment with case:
Place the Odroid C2 on the bottom section of the case, line up the holes.
Push all the 4 bottom screws, through the bottom of the case so they are visible from the top. This will ensure the case and board alignment is perfect.
Line up the top section of the case and gently place it on top of the bottom section.
When the top section touches the screws, gently lift the whole case up. The screws will fall out and you should be left with a perfect allignment.
Gently press the bottom and top section together and ensure its flush.
Now you can insert the screws and fix it into place.
Odroid-C2 cases are now available at http://cogent.design . If you want more than one or live outside the US and want a little better shipping price than the standard flat rate, feel free to message me or send an email to mhoney@cogent.design , I’ll get you a quote for International First Class USPS.
In order to get the word out and get some feedback on the case design and quality, we’ve decided to sell our first batch of Odroid-C2 cases for $39. This is for our first batch only (run of 30), so if you want the best heat sink you can get combined with an almost indestructible enclosure now is the time.
I can’t express enough how good this case it. Grab one while you can.
A case for life, doubles up as the best heatsink on the market currently for the C2. Cogent.Design have nailed the “case + heatsink” combo, and, its gorgeous.
We are getting ready to make another run of Odroid-C2 cases and I was wondering what you guys think about adding an opening to the bottom of the case that lets you change out the EMMC card without having to unscrew the lower half of the case? It would have to be a pretty big opening which would take away from the protection the bottom provides so I want to get some input before we do this.
great idea! Have you a picture or drawing from the new case?
Hmm … I personally would prefer a sunk-in lid or cap on it, which will be fixed with one screw or better magnets.
Or slide-in the EMMC in the lid/cap to fix EMMC module and so the snap-in EMMC board connectors will hold on the lid/cap.
We now have a prototype design change ready for the Odroid-C2 so that the EMMC can be accessed without removing the case bottom. Please take a look and let us know if this is something we should move forward with or just stick to the original design.
I think it looks great, this is one of the only aluminum cases I have seen that have vent holes. Most seem to have the case to transfer out heat from the processor but trap all other heat inside.
I’m interested in a few of these (maybe 3 or 4) of this version or the old version, am waiting for them to come back in stock online.
Odroid C2 cases are back in stock at http://cogent.design with a new design that makes the eMMC accessible without taking apart the case.
Although we only offer the standard non-anodized version on the website (http://cogent.design), you can get a black anodized version for $5.00 extra by contacting me either through the Contact Us button on our homepage or by emailing me directly via mhoney(at)cogent.design. Just mention you saw the special offer available from the DietPi forum.