Step by step.
-
Download the Native PC for UEFI
-
If you don’t gonna use Balena Ethcher, decompress it
-
Burn it (the compressed .xz file if using Balena or the decompressed .iso if using another image burner) on an USB equal or greater than 1 GB (as for DietPi 9.1.5)
-
Check that miniPC is powered off
-
Plug the USB on the powered off miniPC. The MiniPC must have a keyboard and a screen connected
-
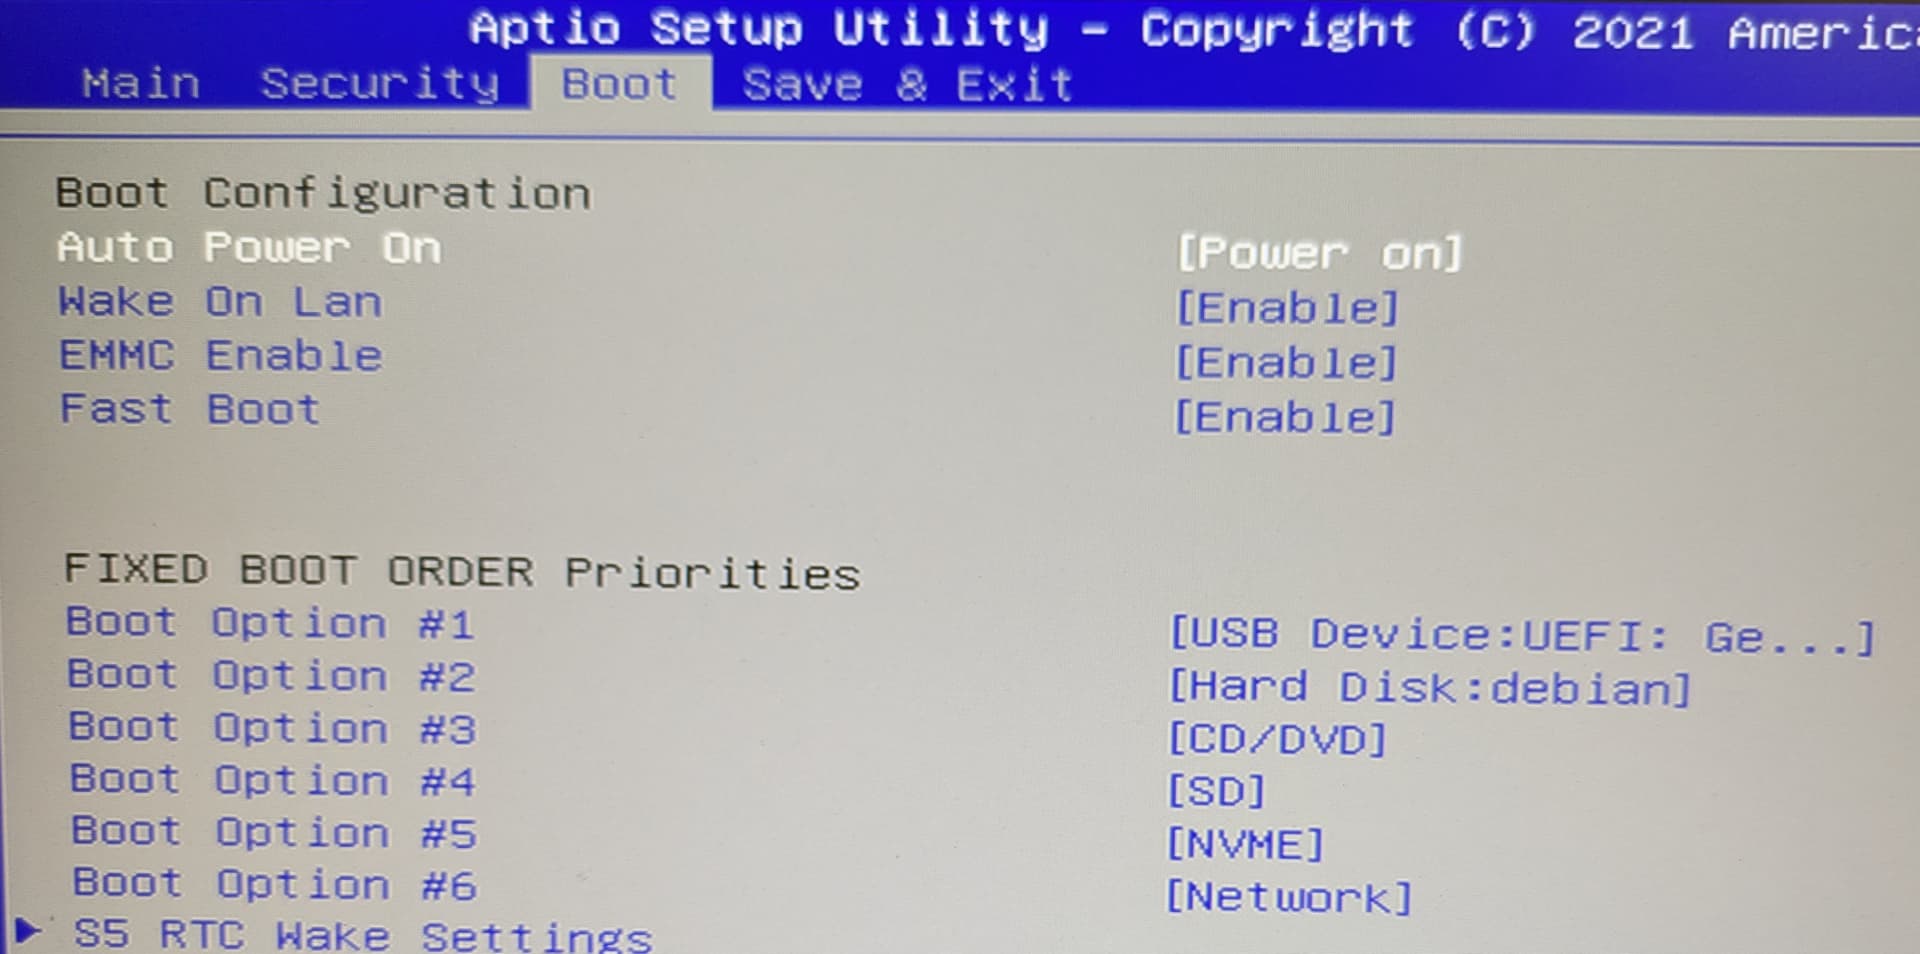
Start the miniPC and enter Bios setup usually pushing “del” key
-
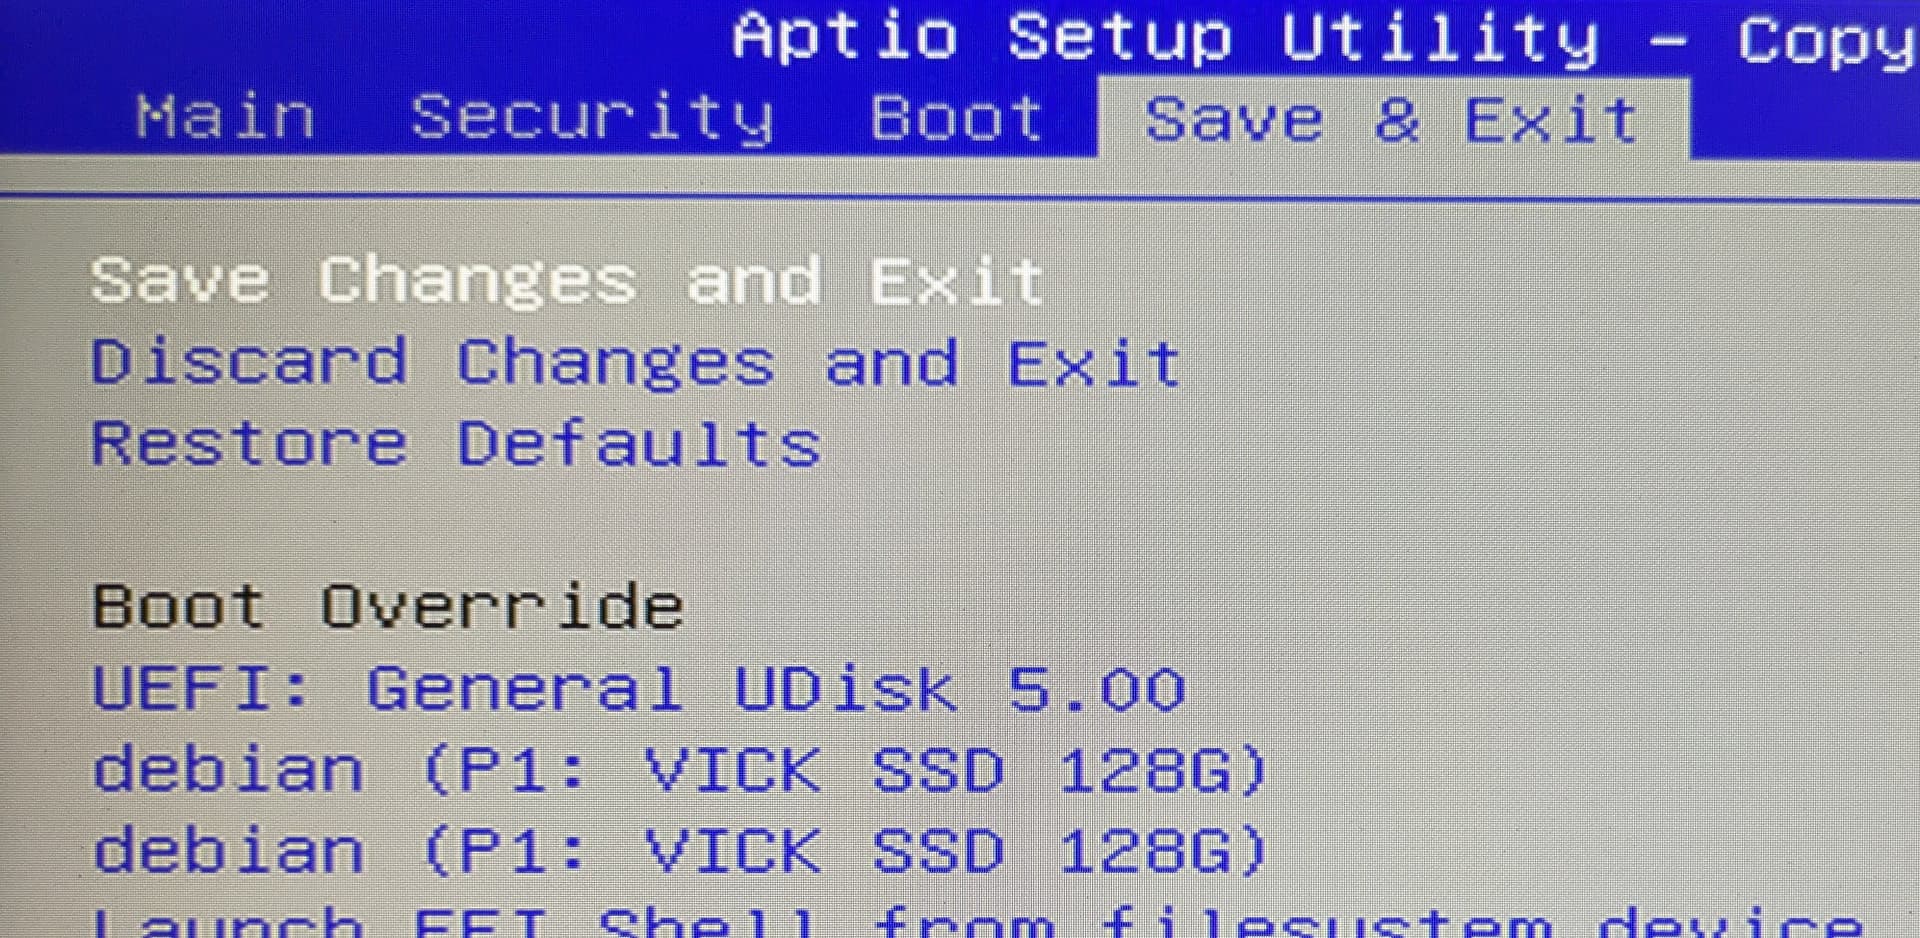
Set UEFI USB as the first boot option
-
Save and exit
-
Wait until you see the initial screen
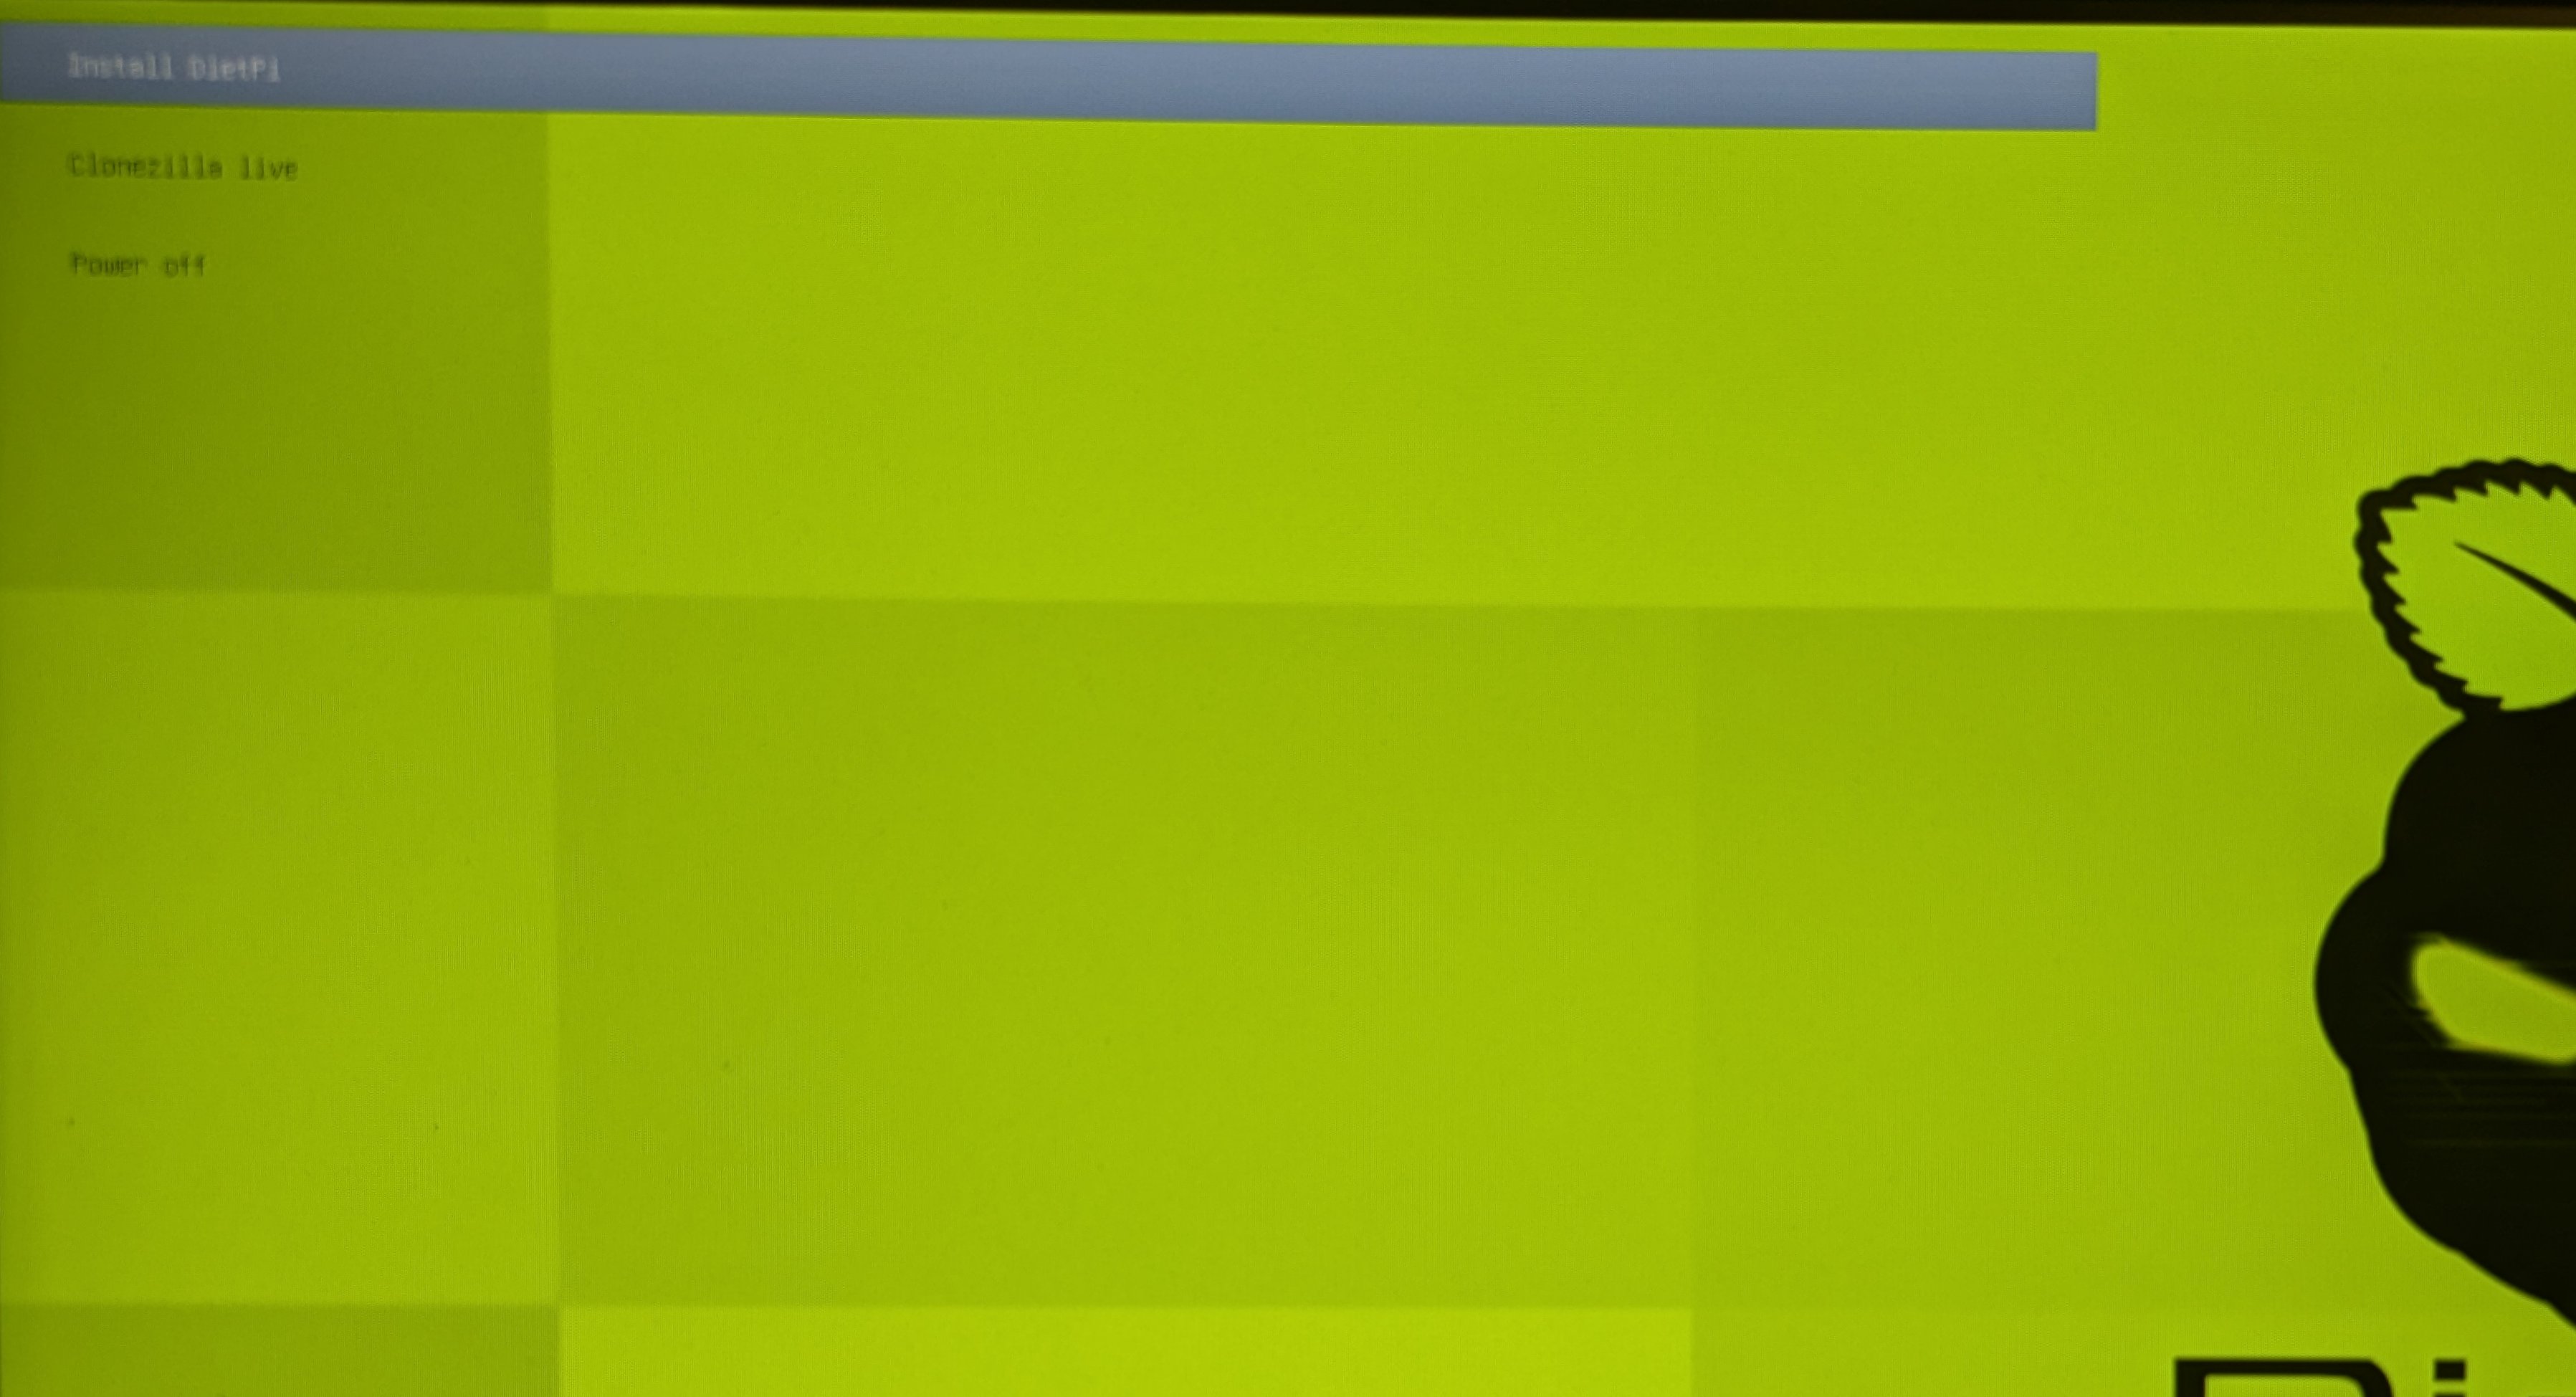
The first option you see is the Dietpi image copy to the disk of the miniPC via Clonezilla
The second option is in case you want to save an image of the current disk before being repartitioned.
We will go with the first option.
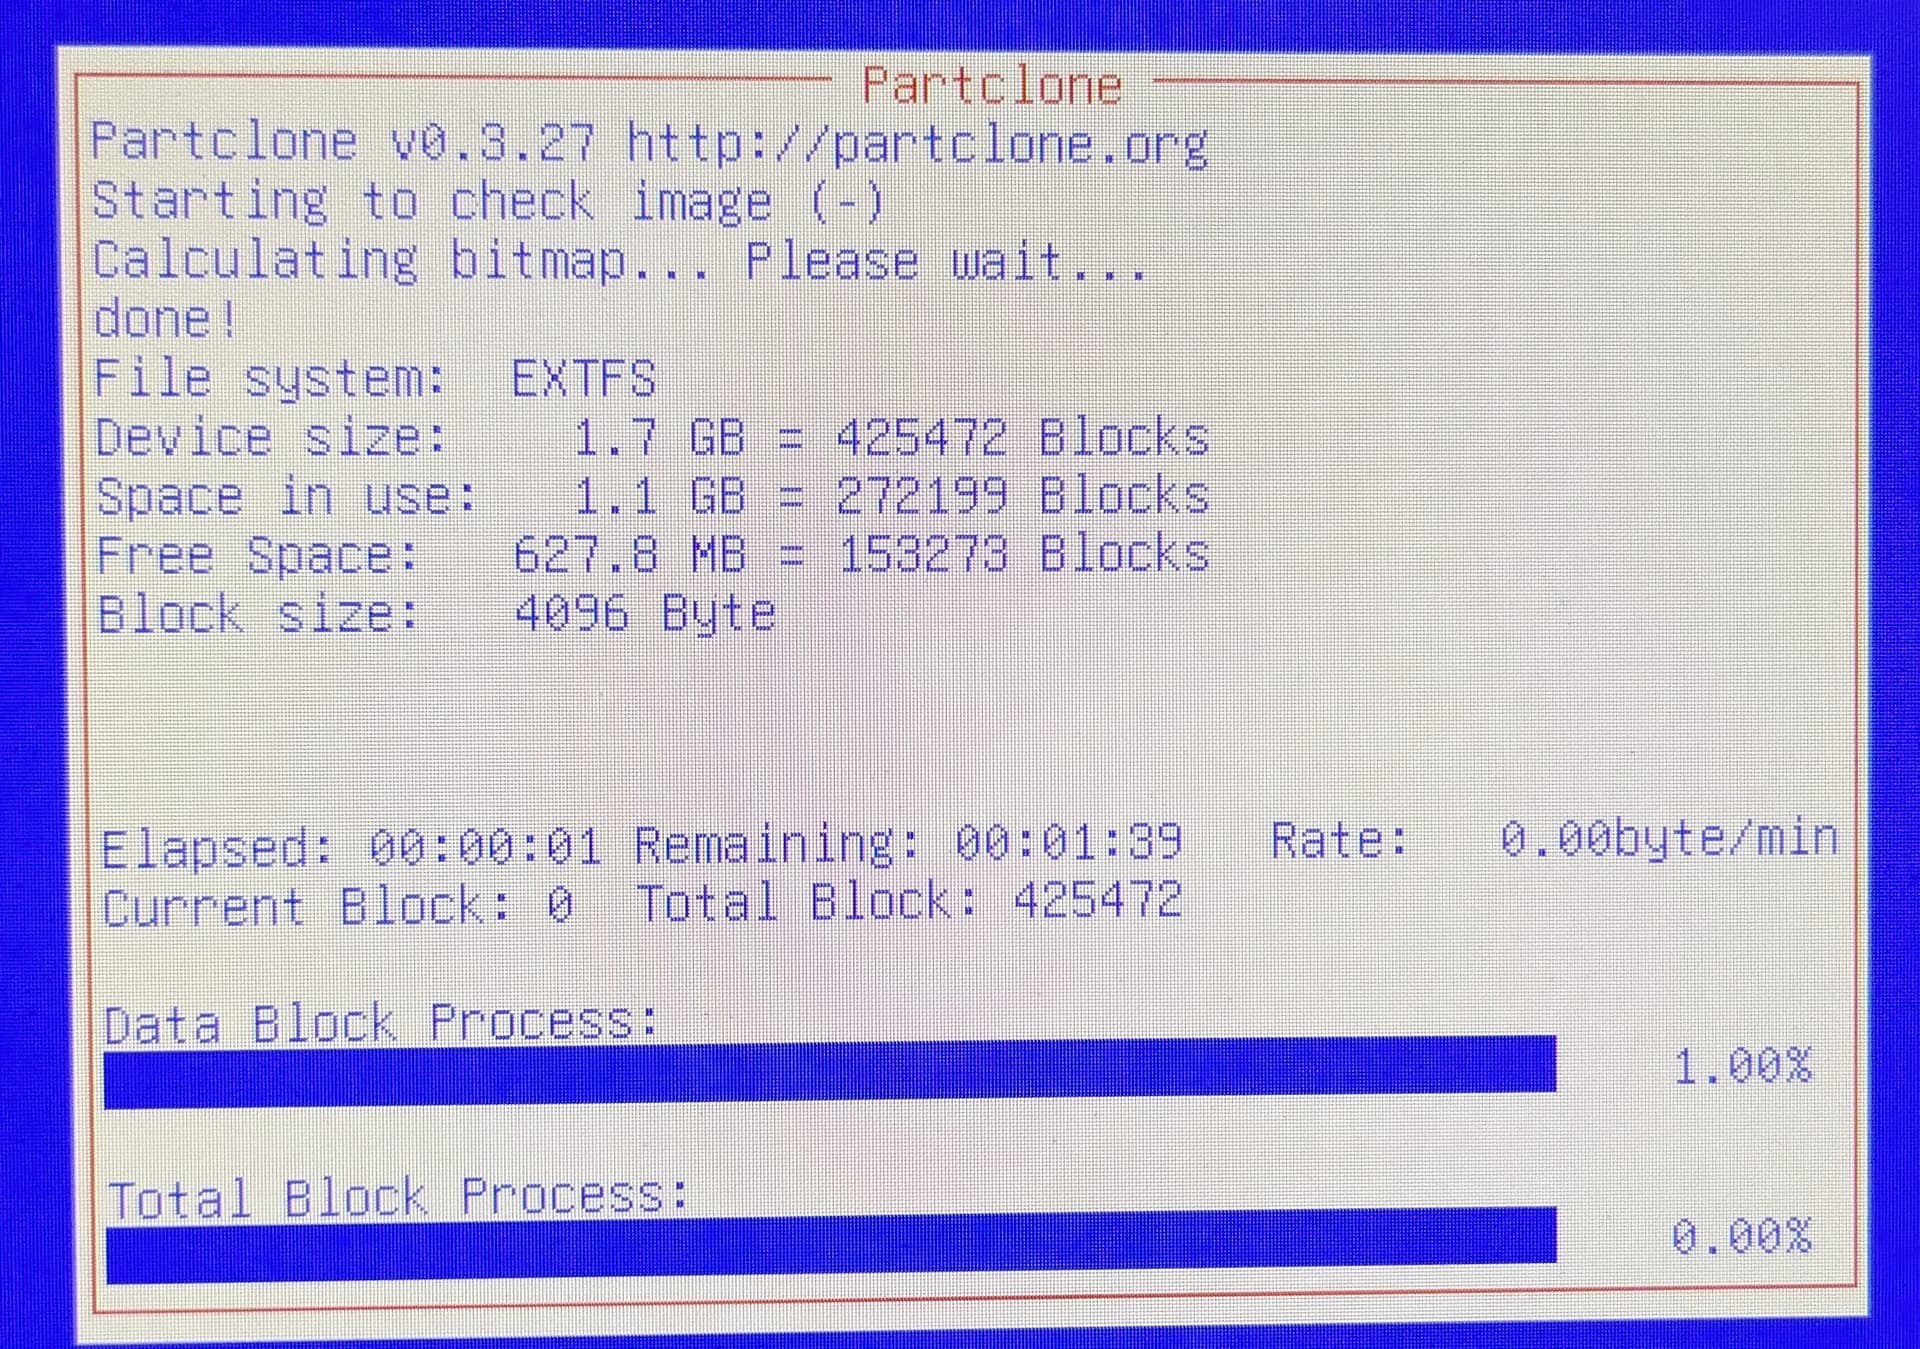
10. With the cursor keys, go to “Dietpi installer”. This brings a Clonezilla screen where you must wait a few minutes depending on your miniPC
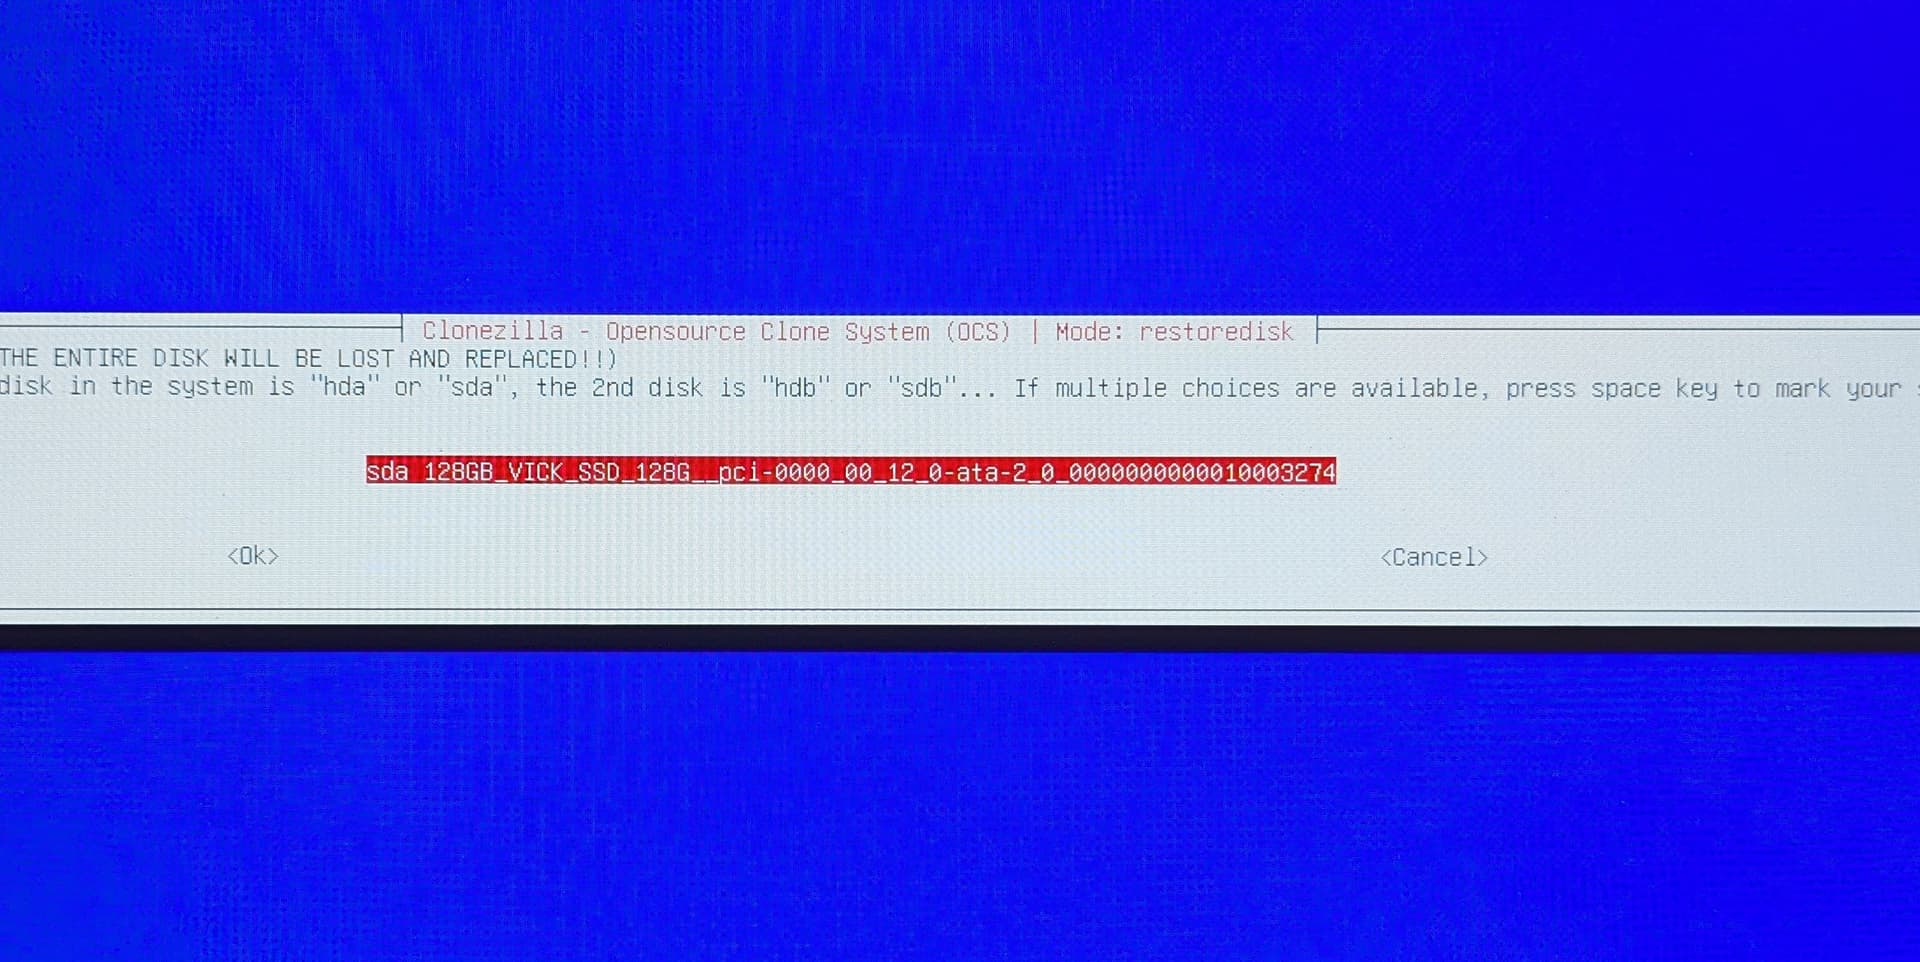
11. You will see the destination selection to save the Dietpi image. Usually there will be only one disk in the miniPC and it will be selected
-
Accept that and there will be some screens showing the progress recording the three partitions. Wait until the system shutdowns itself.
-
Take off the USB, then power on the miniPC
-
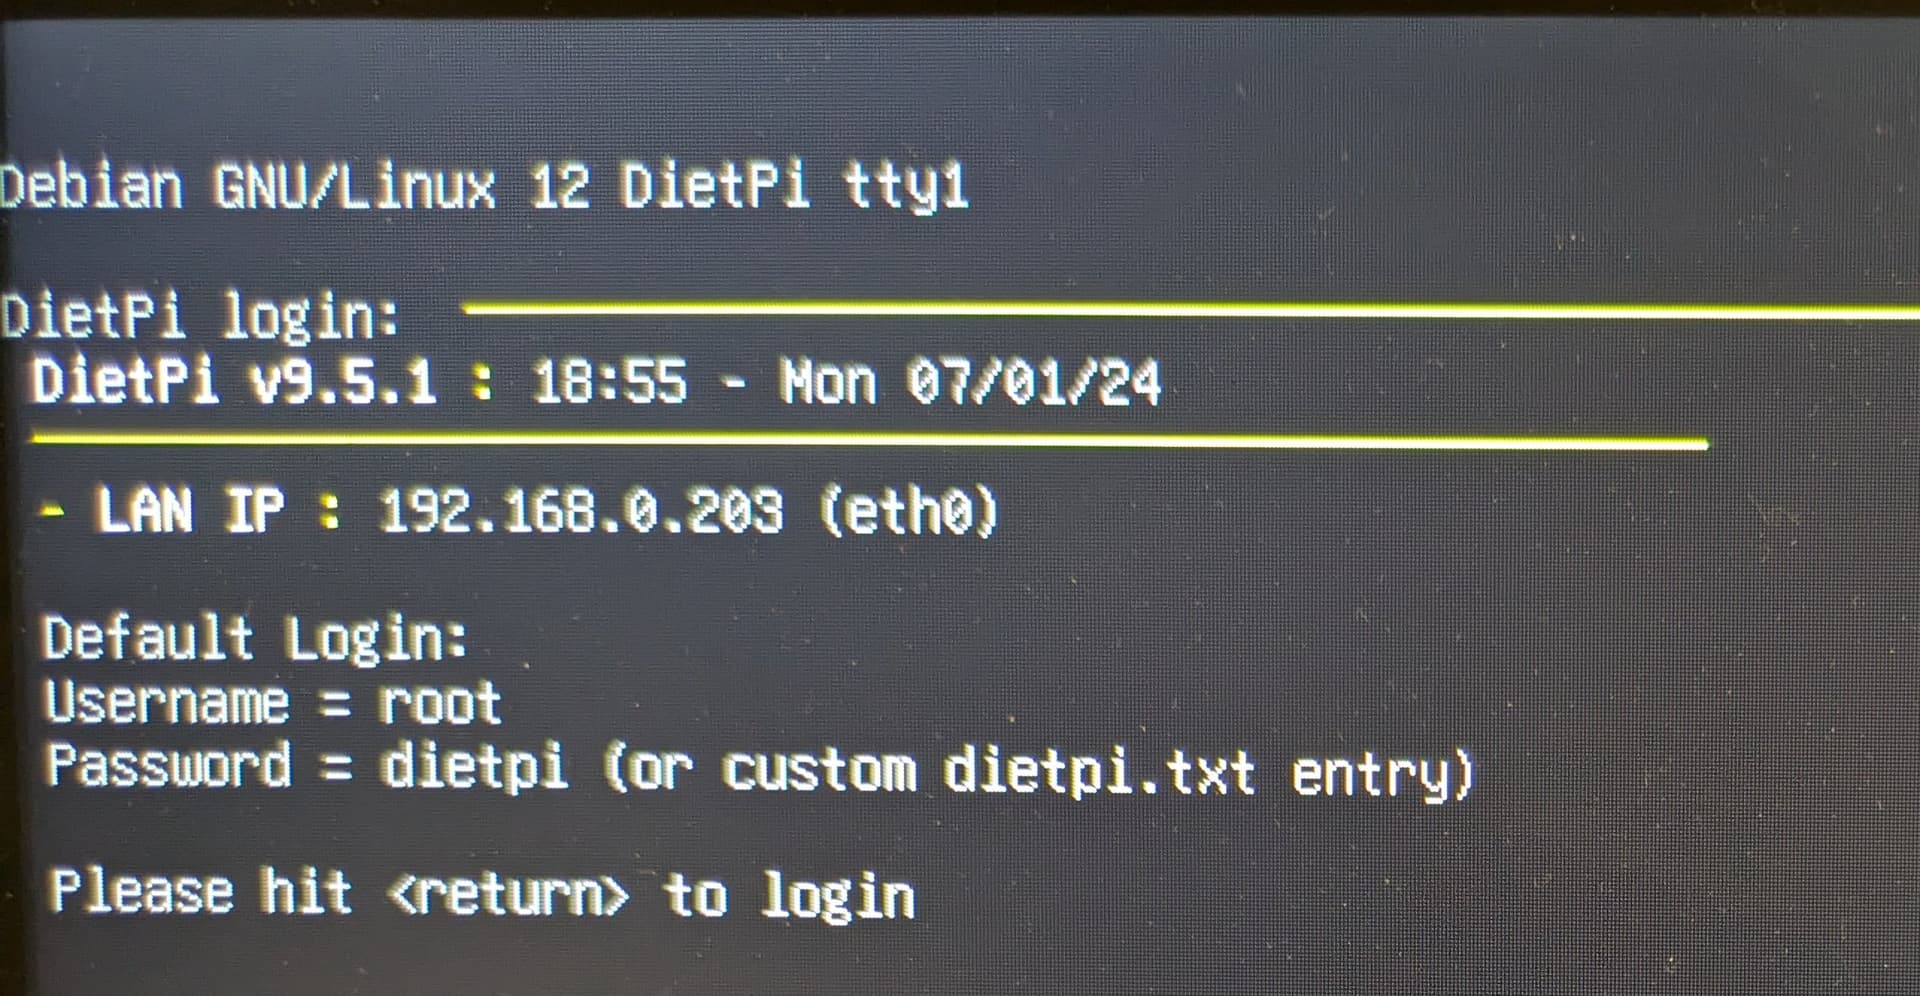
After booting, you will see the Dietpi initial welcome screen
-
From now on, there is a normal Dietpi setup. Remember than most of miniPC’s has RTC, so keep it in mind with dietpi-config-> Advanced options.
Thanks also to @MichaIng for remember me to do not answer by email ![]()
I hope this may help other people as clumsy as I am