Home Automation
Overview
- Home Assistant - Open-source home automation platform running on Python 3
- Domoticz - Multi platform Home Automation System
- TasmoAdmin - Administrative website for Tasmota devices
- openHAB - Open Home Automation Bus, an open source home automation platform
- Homebridge - Open Home Automation Bus, an open source home automation platform
How do I run DietPi-Software and install optimised software items?
To install any of the DietPi optimised software items listed below run from the command line:
dietpi-software
Choose Browse Software and select one or more items. Finally select Install.
DietPi will do all the necessary steps to install and start these software items.

To see all the DietPi configurations options, review the DietPi Tools section.
Return to the Optimised Software list
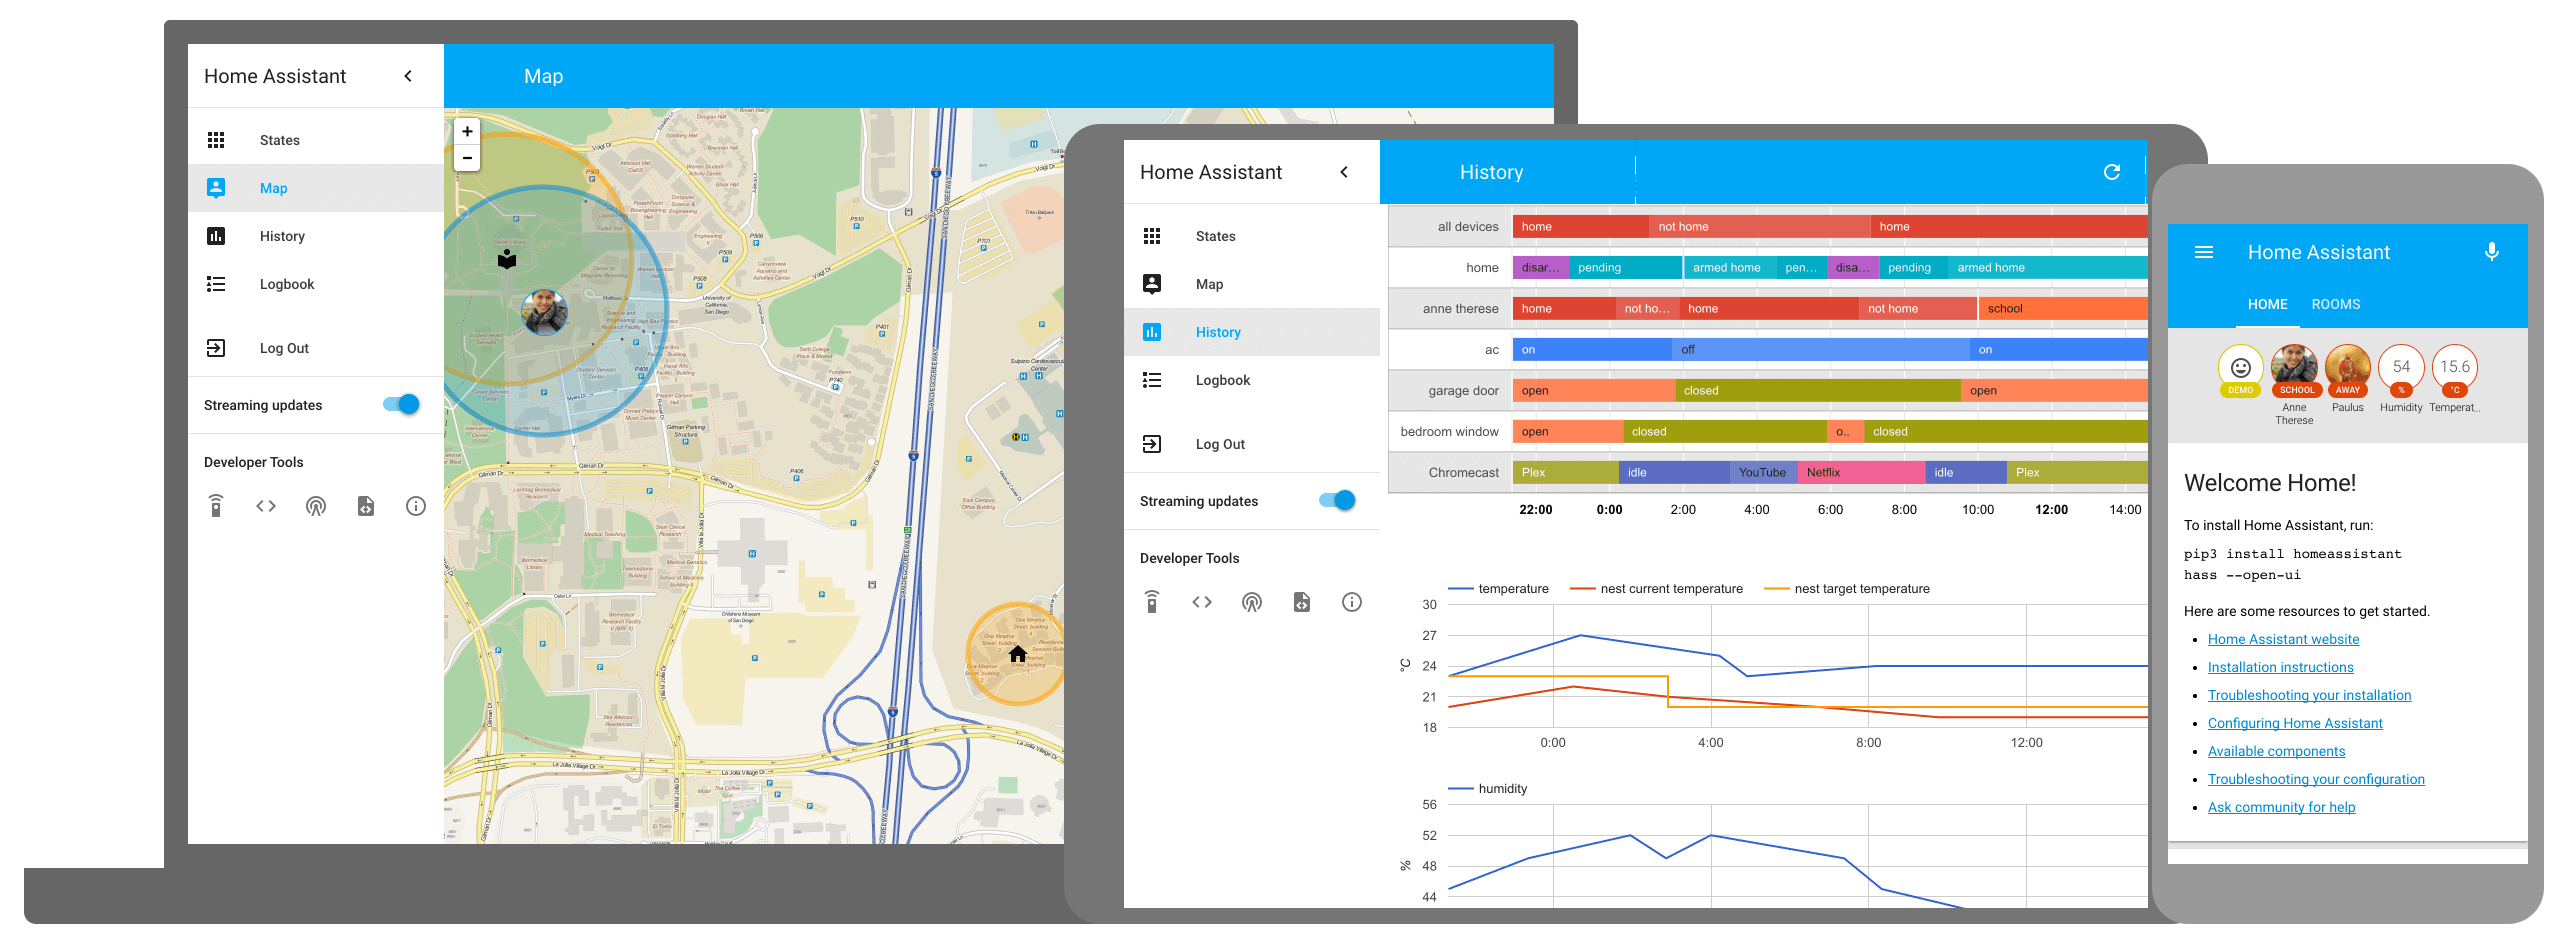
Home Assistant
Home Assistant is an open-source home automation platform running on Python 3. Track and control all devices at home and automate control. Perfect to run on a Raspberry Pi.
Automate install of additional dependencies
Some integrations may require additional APT and/or Python dependencies. The latter are usually installed ondemand by the Home Assistant core, when installing or accessing the integration, but APT packages need to be installed manually.
This can be automated with two dietpi.txt settings: SOFTWARE_HOMEASSISTANT_APT_DEPS and SOFTWARE_HOMEASSISTANT_PIP_DEPS
After dietpi-software has finished and the service starts the first time, please go through the following steps manually:
- Run
htopand wait until the CPU usage of thehomeassistantprocesses goes down to nearly zero. - Run
systemctl restart home-assistant - Run
htopand wait until the CPU usage of thehomeassistantprocesses goes down to nearly zero. - Open the HA web UI (see “Access to the web interface” tab). It will again install some Python modules on first access, which can again take a little while. Always check
htopif you are unsure, which reveals any currently running Python/pip module install process.
Optional usage of the Home Assistant Community Store (HACS)
The Home Assistant Community Store (HACS) provides further community driven integrations, themes, etc.
To activate it, follow this guide: https://hacs.xyz/docs/use/configuration/basic/#to-set-up-the-hacs-integration
The web interface is accessible via port 8123:
URL: http://<your.IP>:8123
Using <hostname>.local instead of using <your.IP> (Avahi-Daemon)
By installing Avahi-Daemon, the web interface can be accessed with <hostname>.local (default: dietpi.local) instead of using <your.IP>. See the Avahi-Daemon documentation for details.
The configuration files are stored system-wide within:/mnt/dietpi_userdata/homeassistant
Please see the online documentation: https://home-assistant.io/docs/
Home Assistant is installed within a dedicated Python virtual environment at /opt/homeassistant/.venv, managed by uv.
This places a standalone Python instance which runs completely independent from any other installed Python instance or modules. If you need to install additional Python modules into this environment, run:
sudo -u homeassistant uv pip install --directory /opt/homeassistant <module>
IKEA TRÅDFRI: apt install autoconf
To view Home Assistant logs, run the following command from console:
journalctl -u home-assistant
To quickly update Home Assistant to the current version, run:
/opt/homeassistant/homeassistant-update.sh
Home Assistant updates may drop support for old Python versions. The release notes would inform about this: https://github.com/home-assistant/core/releases
To update the Python version along with Home Assistant, reinstall it:
dietpi-software reinstall 157
Official website: https://www.home-assistant.io/
Official documentation: https://home-assistant.io/docs
Source code: home-assistant/core
License: Apache-2.0
Domoticz
Domoticz is a Home Automation System that lets you monitor and configure various devices like lights, switches, various sensors/meters like for temperature, rain, wind, UV radiation, electric fields, gas, water and much more. Notifications/Alerts can be sent to any mobile device.

The web interface is accessible via HTTPS on port 8424:
- URL:
https://<your.IP>:8424 - Username:
admin - Password:
domoticz
Using <hostname>.local instead of using <your.IP> (Avahi-Daemon)
By installing Avahi-Daemon, the web interface can be accessed with <hostname>.local (default: dietpi.local) instead of using <your.IP>. See the Avahi-Daemon documentation for details.
Change default user and password
We recommend to create a new user with admin privileges via Setup -> Users and remove the default one, or at least change the default password.
/opt/domoticz
/mnt/dietpi_userdata/domoticz
Use the following commands to control the Domoticz system service:
systemctl status domoticz
systemctl stop domoticz
systemctl start domoticz
systemctl restart domoticz
journalctl -u domoticz
Official website: https://www.domoticz.com/ Official docs: https://www.domoticz.com/wiki/Main_Page Official forum: https://www.domoticz.com/forum/ Source code: domoticz/domoticz
TasmoAdmin
TasmoAdmin is an administrative website for devices flashed with Tasmota to be used for smart home systems.
Also installs:
- Webserver (based on your preference)
- PHP

The web interface of TasmoAdmin can be accessed via:
http://<your.IP>/tasmoadmin
Using <hostname>.local instead of using <your.IP> (Avahi-Daemon)
By installing Avahi-Daemon, the web interface can be accessed with <hostname>.local (default: dietpi.local) instead of using <your.IP>. See the Avahi-Daemon documentation for details.
Source code: reloxx13/TasmoAdmin
Credits: Implemented by @svh1985
openHAB
openHAB (open Home Automation Bus) is an open source home automation platform. The keywords are Bindings, Things, Channels, Items, Rules, Pages.

The web interface is accessible via port 8444:
- URL:
https://<your.IP>:8444 - Username/Password: Are set at first web interface login
Using <hostname>.local instead of using <your.IP> (Avahi-Daemon)
By installing Avahi-Daemon, the web interface can be accessed with <hostname>.local (default: dietpi.local) instead of using <your.IP>. See the Avahi-Daemon documentation for details.
- Install directory:
/usr/share/openhab - Site configuration directory:
/etc/openhab - Config file:
/etc/default/openhab - Data directory:
/var/lib/openhab
See also openHAB file locations.
journalctl -u openhab
Per default, HTTPS is active and HTTP is inactive (DietPi recommendation).
In cases, that HTTP shall be used, it can be activated in the file /etc/default/openhab by setting OPENHAB_HTTP_PORT= to your desired port.
Official website: https://www.openhab.org/
Official docs: https://www.openhab.org/docs/
Official community: https://community.openhab.org/
Homebridge
Homebridge allows you to integrate with smart home devices that do not natively support HomeKit. There are over 2,000 Homebridge plugins supporting thousands of different smart accessories.

The web interface is accessible via port 8581:
- URL:
https://<your.IP>:8581 - Username/Password: Are set at first web interface login
Using <hostname>.local instead of using <your.IP> (Avahi-Daemon)
By installing Avahi-Daemon, the web interface can be accessed with <hostname>.local (default: dietpi.local) instead of using <your.IP>. See the Avahi-Daemon documentation for details.
- Install directory:
/opt/homebridge - Config, Log & Backup folder:
/var/lib/homebridge
Use the following commands to control the Homebridge system service:
hb-service status
hb-service start
hb-service stop
hb-service restart
journalctl -u homebridge
cat /var/lib/homebridge/homebridge.log
Use the following command to update the bundled Node.js runtime (do not use sudo if running from the Homebridge UI Terminal):
sudo hb-service update-node
Official website: https://homebridge.io/
Official docs: https://github.com/homebridge/homebridge/wiki