Camera & Surveillance
Overview
- RPi Cam Web Interface - Web interface & controls for your RPi camera
- motionEye - Web interface & surveillance for your camera
- mjpg-streamer - Simple camera streaming tool with HTML plugin
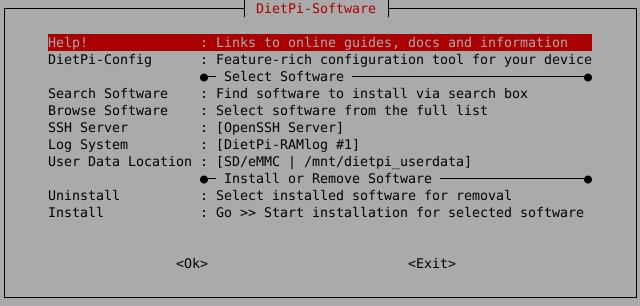
How do I run DietPi-Software and install optimised software items?
To install any of the DietPi optimised software items listed below run from the command line:
dietpi-software
Choose Browse Software and select one or more items. Finally select Install.
DietPi will do all the necessary steps to install and start these software items.

To see all the DietPi configurations options, review the DietPi Tools section.
Return to the Optimised Software list
RPi Cam Web Interface
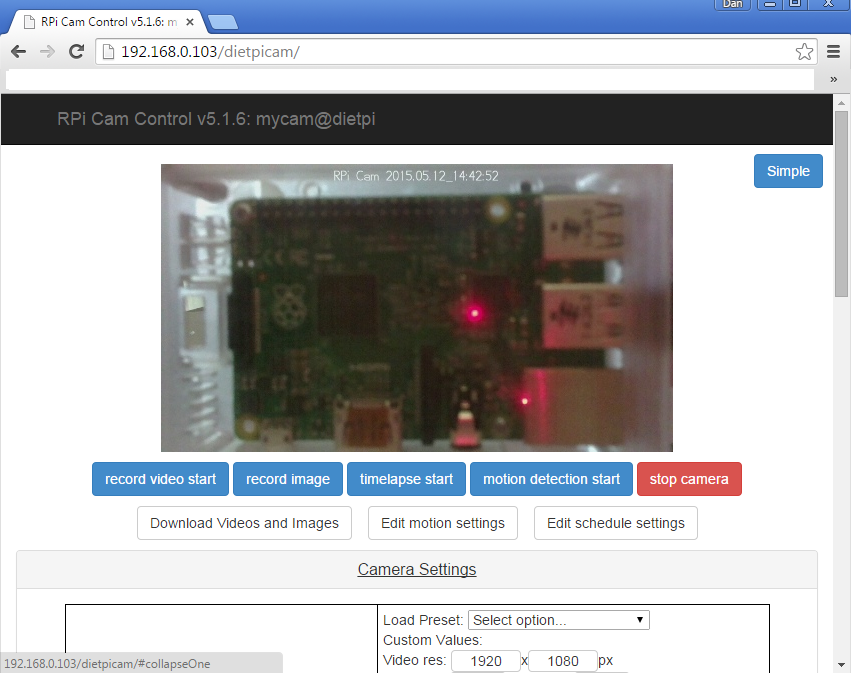
The RPi Cam Web Interface package can be used in combination with a Raspberry Pi camera module to
- take an image
- record a video
- observe based on motion detection
- record a video with time lapse
It consists of full control of the camera in a web-based interface.

The web interface is accessible via:
- URL =
http://<your.IP>/rpicam
To access you recordings remotely without the web interface, you might want to have one of DietPi’s file servers installed.
Directories used by RPi Cam Web Interface:
- Media directory =
/mnt/dietpi_userdata/rpicam - Accessed from file server =
/rpicam
RPi Cam Web Interface can be updated to the latest version by reinstalling it via
dietpi-software reinstall 59
The RPi camera module is automatically enabled during the installation process. However, It requires a reboot and/or sometimes a power cycle to take effect.
The camera activation may be checked via dietpi-config > Display Options > RPi Camera to show [On]. Additionally, the behaviour of the cameras LED can be set in the same dialog via RPi Camera LED.
Remark: After changing the camera activation you need to reboot and/or sometimes power cycle the SBC incl. camera.

Github page: silvanmelchior/RPi_Cam_Web_Interface
Wiki: https://elinux.org/RPi-Cam-Web-Interface
License: MIT
motionEye
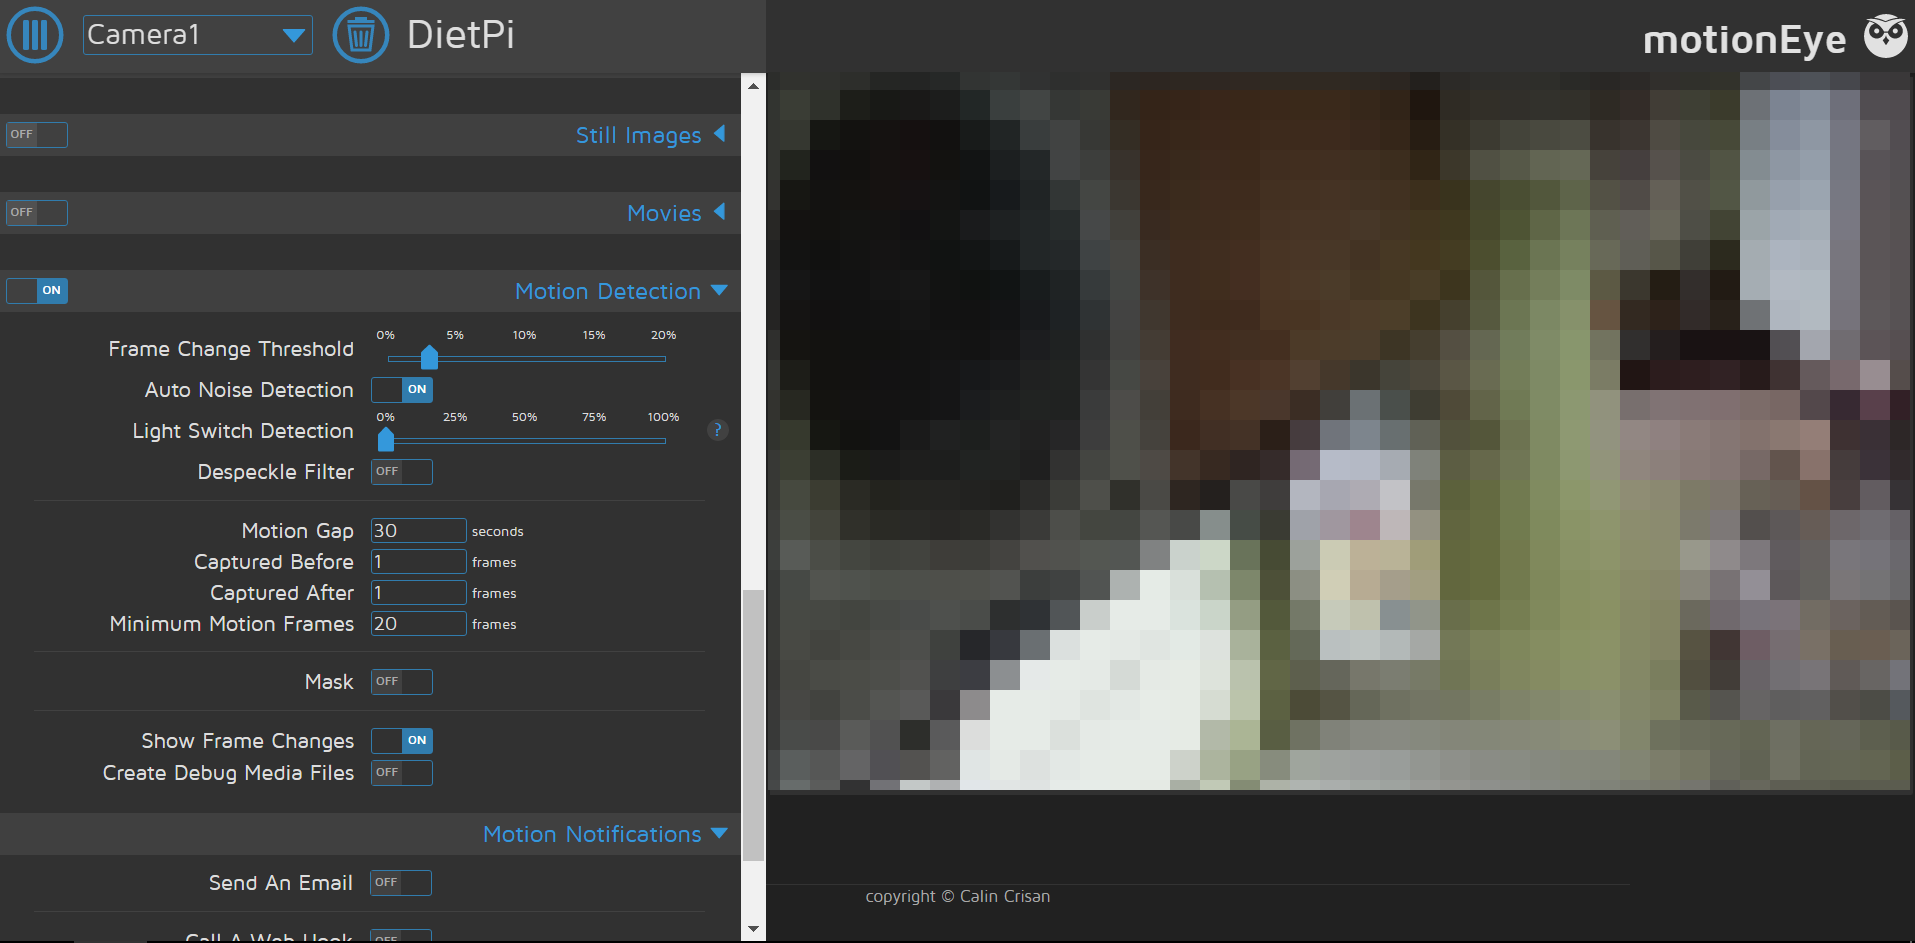
The motionEye package offers surveillance for your camera.
It is mainly focused towards motion detection usage. It contains a web interface.
The software can
- take an image
- record a video
- observe based on motion detection
- record a video with time lapse
from any RPi camera, USB camera or an IP camera network stream.

The web interface is accessible via port 8765:
- URL =
http://<your.IP>:8765 - User =
admin - Password = not required
Passwords can be configured in the web interface.
To access you recordings remotely without the web interface, you might want to have one of DietPi’s file servers installed.
Directories used by motionEye:
- Media directory =
/mnt/dietpi_userdata/motioneye - Accessed from file server =
/motioneye
motionEye can be updated to the latest version via
sudo pip3 install -U --pre motioneye
If you have an official Raspberry Pi camera module, it can be enabled via dietpi-config > Display Options > RPi Camera to show [On].
Additionally, the behaviour of the cameras LED can be set in the same dialog via RPi Camera LED.
Remark: After changing the camera activation you need to reboot and/or sometimes power cycle the SBC incl. camera.

Github page: motioneye-project/motioneye
Wiki: https://github.com/motioneye-project/motioneye/wiki
YouTube video tutorial (German language): DietPi & MotionEye - Vollautomatische Installation inkl. Wlan Konfiguration, Updates und Anwendung
License: GPLv3
mjpg-streamer
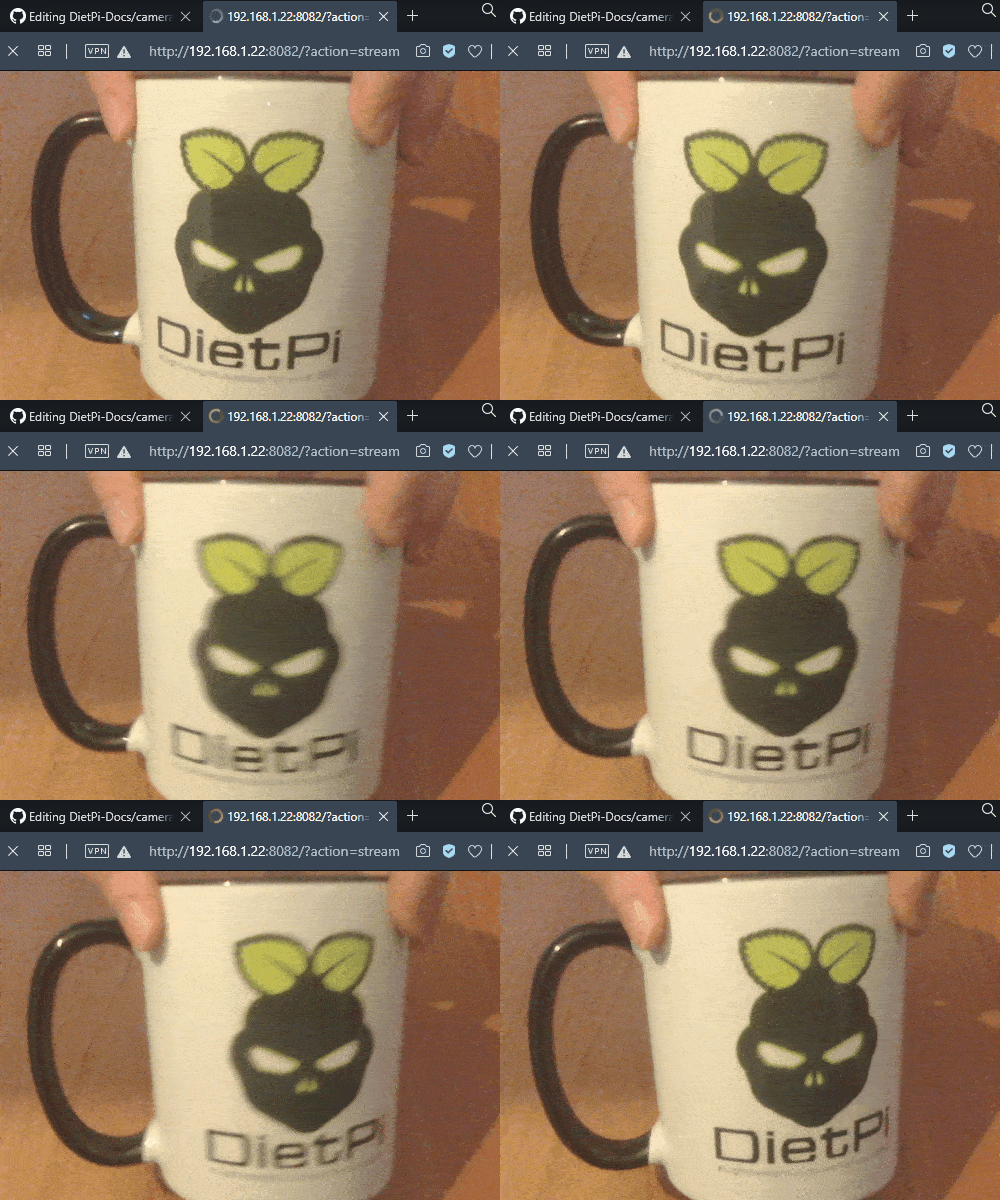
Stream JPEG frames from various sources to various possible outputs. With the default setup it streams an attached camera image to a simple web page with the included HTTP plugin.

The web interface uses port 8082:
- Stream:
http://<your.IP>:8082/?action=stream - Snapshot:
http://<your.IP>:8082/?action=snapshot - HTTP plugin docs: https://github.com/jacksonliam/mjpg-streamer/blob/master/mjpg-streamer-experimental/plugins/output_http/README.md
When OctoPrint is installed, it will be automatically configured to use the mjpg-streamer HTTP stream and snapshots, as this is the major use case this software title was requested for. You can review and test the setup from within the OctoPrint web interface settings.
By default, the HTTP stream is accessible on port 8082 without any authentication. This is required when you embed it into OctoPrint, since the browser sends the request and cannot pass credentials currently. If you however use the stream otherwise, especially when you expose it to the world-wide-web, we recommend to setup a password. For this:
- Run
dietpi-services - Select
mjpg-streamer - Select
Editto open a service override config with thenanocommand line editor. - In the
[Service]section, uncomment theExecStart=line and add-c username:passwordto the last single quote'block, with username and password of your choice. Above that line you need to add another
ExecStart=without any content, which is to remove the original start command, so that yours is effectively replacing it. The file may finally look like this:[Unit] #Description=mjpg-streamer (DietPi) #Documentation=https://github.com/jacksonliam/mjpg-streamer/tree/master/mjpg-streamer-experimental #Wants=network-online.target #After=network-online.target dietpi-boot.service [Service] #User=mjpg-streamer #WorkingDirectory=/opt/mjpg-streamer ExecStart= ExecStart=/opt/mjpg-streamer/mjpg_streamer -i 'input_uvc.so -d /dev/video0' -o 'output_http.so -p 8082 -n -c micha:youNeverGuessThis!' # Hardening #ProtectSystem=strict #PrivateTmp=true #ProtectHome=true #ProtectKernelTunables=true #ProtectControlGroups=true [Install] #WantedBy=multi-user.targetPress Ctrl+O to save the file and Ctrl+X to exit the editor. When exiting
dietpi-services, the service is automatically reloaded to be password-protected from now on.
mjpg-streamer can be updated to the latest version by reinstalling it via
dietpi-software reinstall 137
You can view the service logs via
journalctl -u mjpg-streamer
and the service status via
systemctl status mjpg-streamer
If you have an official Raspberry Pi camera module, it can be enabled via dietpi-config > Display Options > RPi Camera to show [On].
Additionally, the behaviour of the cameras LED can be set in the same dialog via RPi Camera LED.
Remark: After changing the camera activation you need to reboot and/or sometimes power cycle the SBC incl. camera.

Github page: jacksonliam/mjpg-streamer
Plugin docs: https://github.com/jacksonliam/mjpg-streamer/tree/master/mjpg-streamer-experimental
License: GPLv2